Pete is way out in front as usual,but seeing his pics have given me a gee up to start on a build of my own
.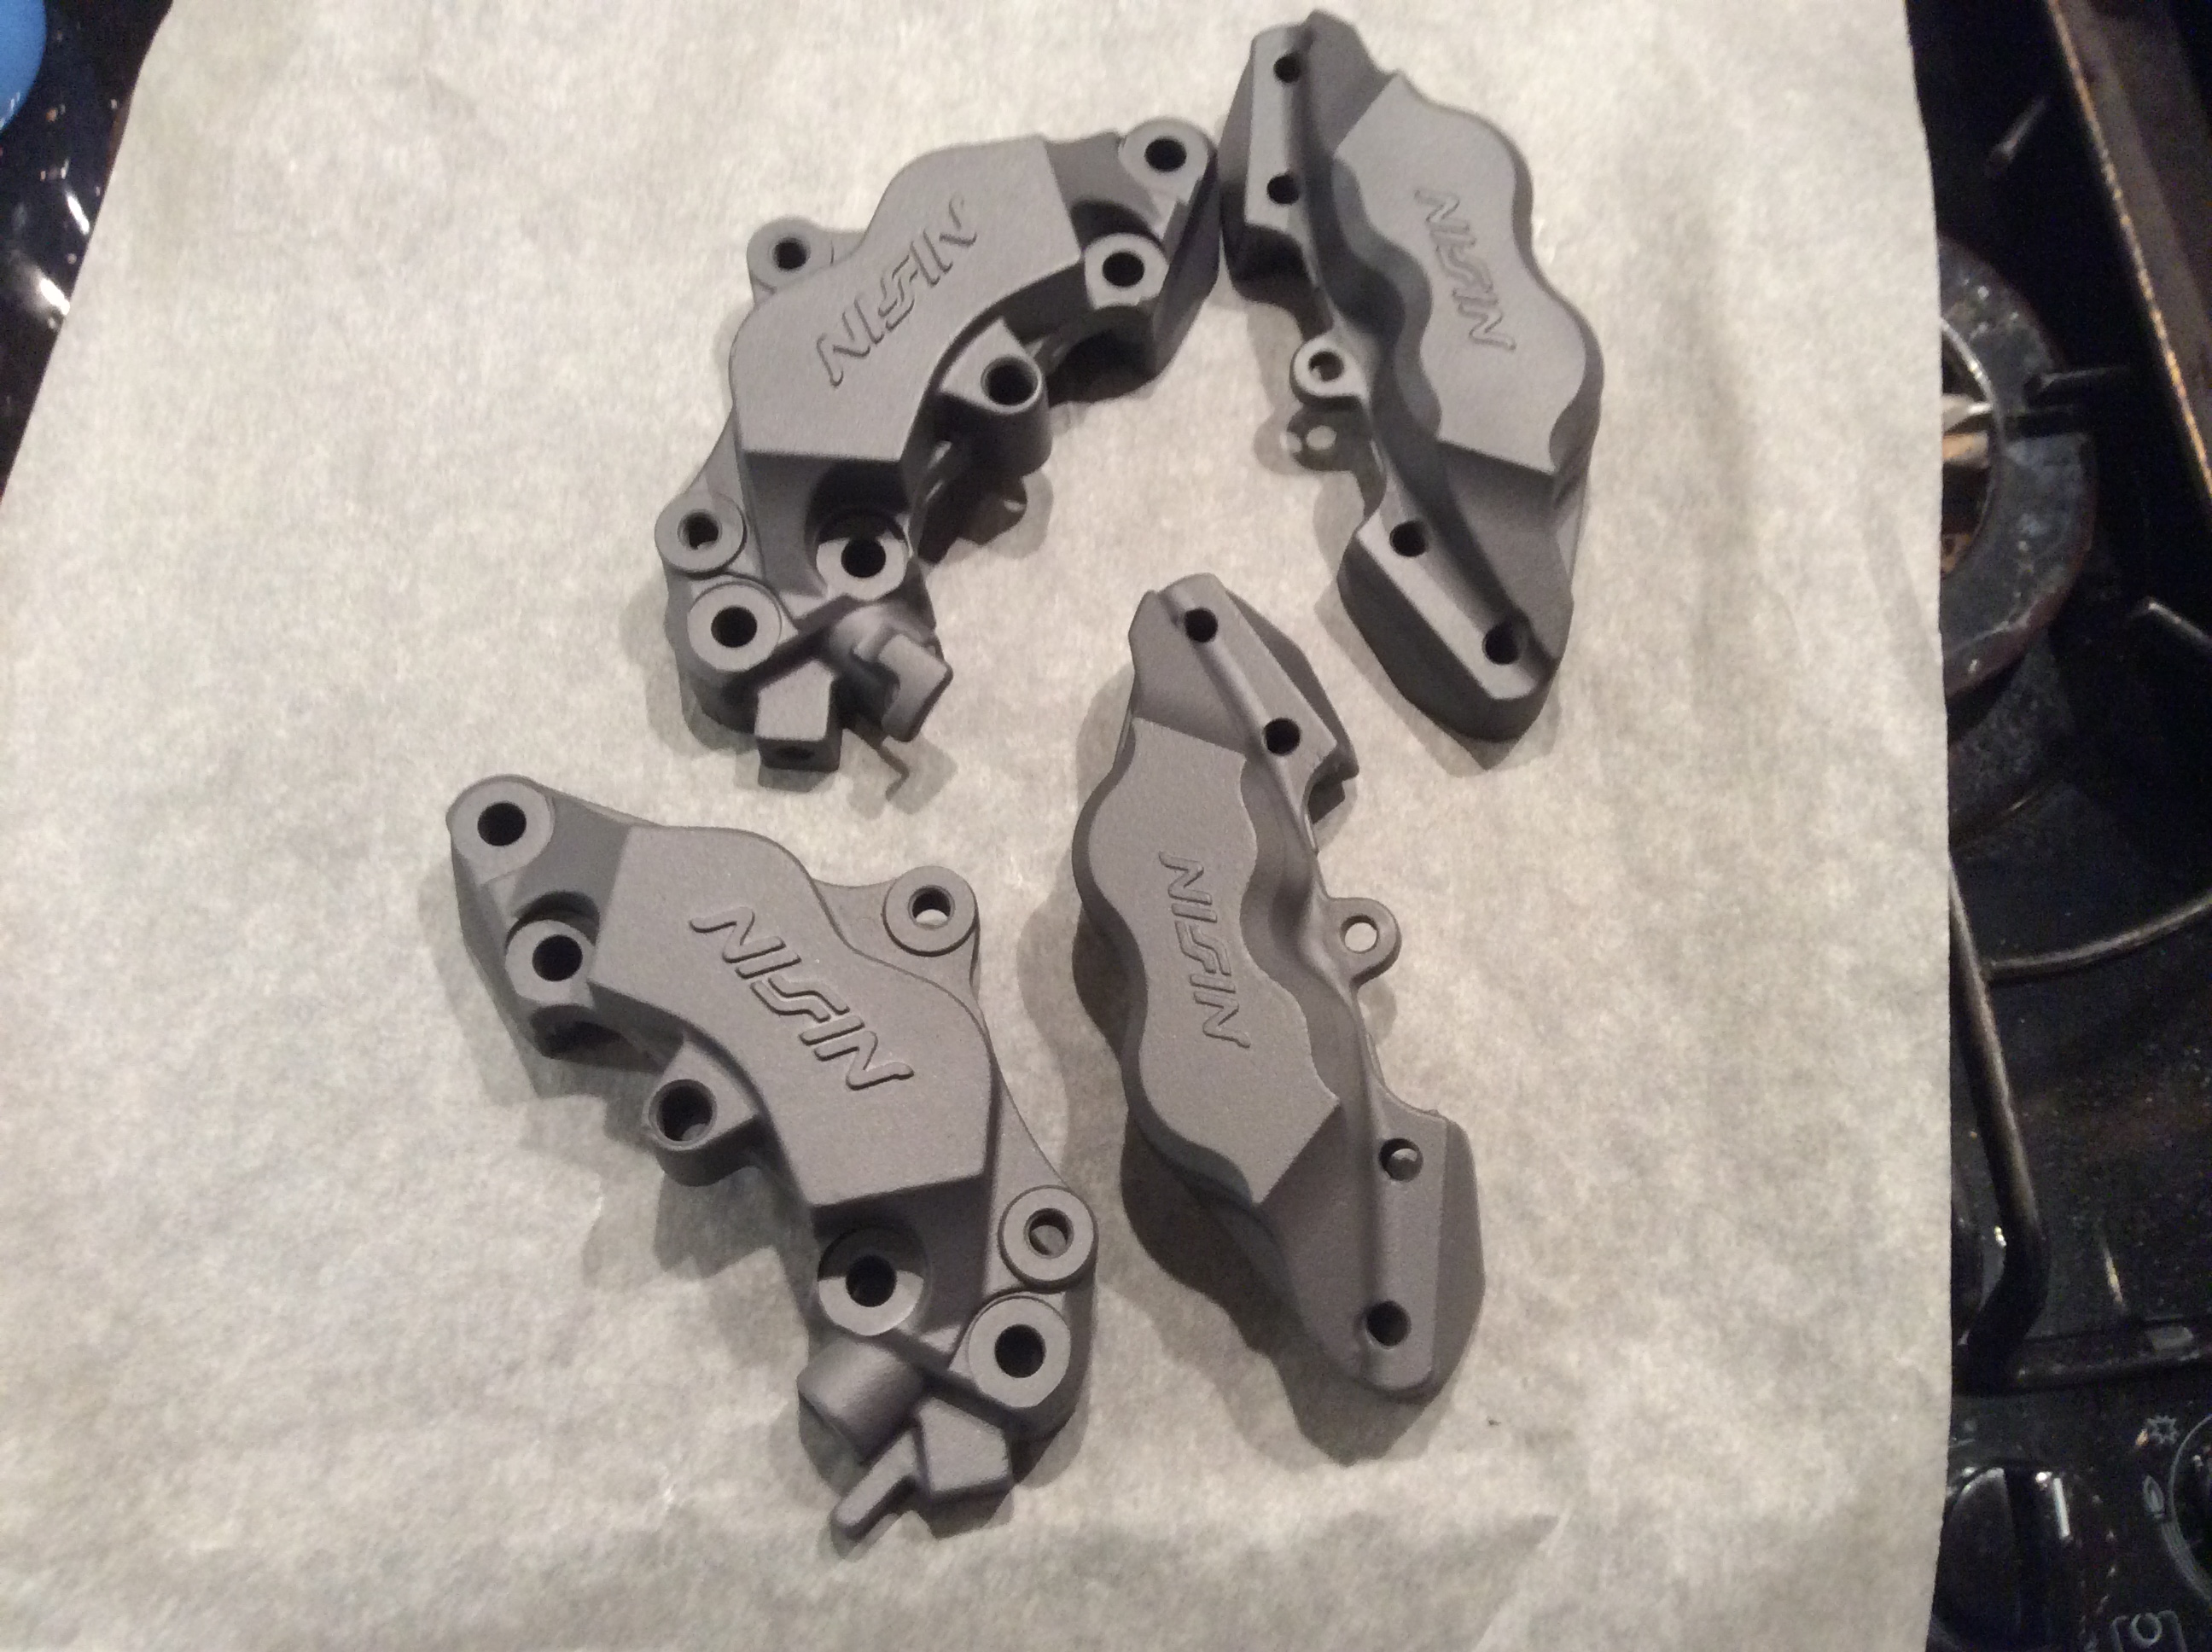
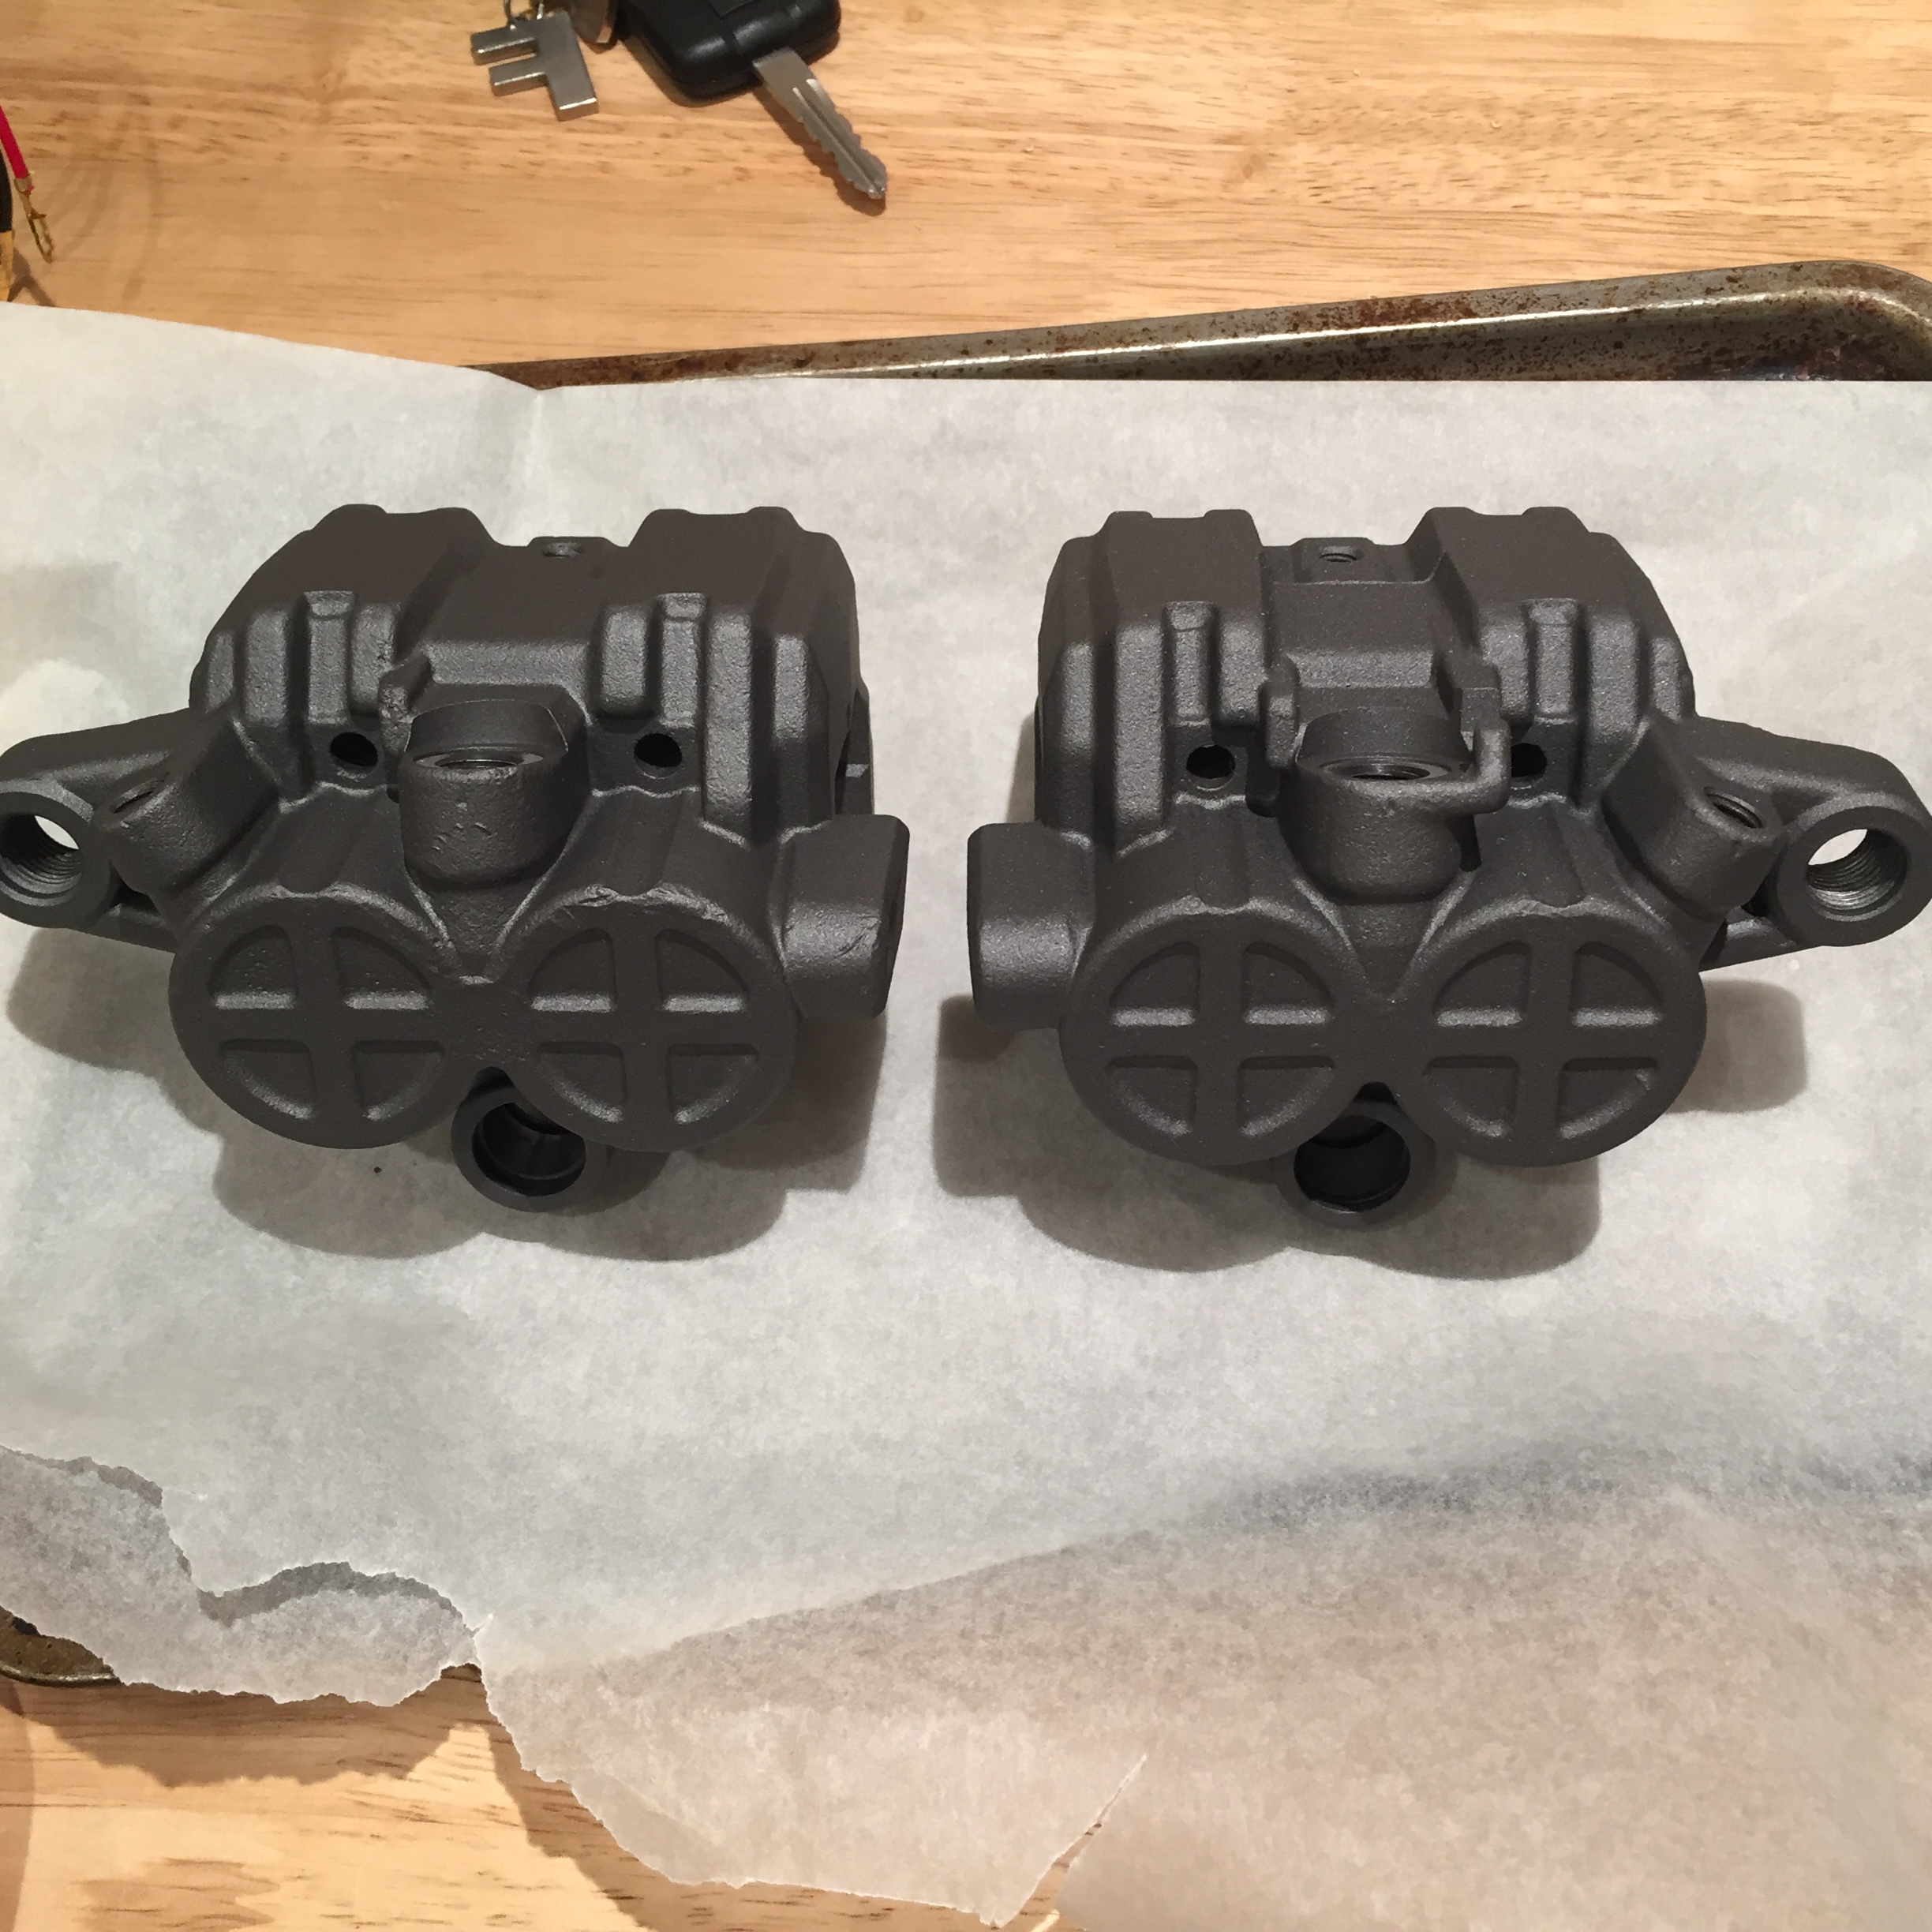
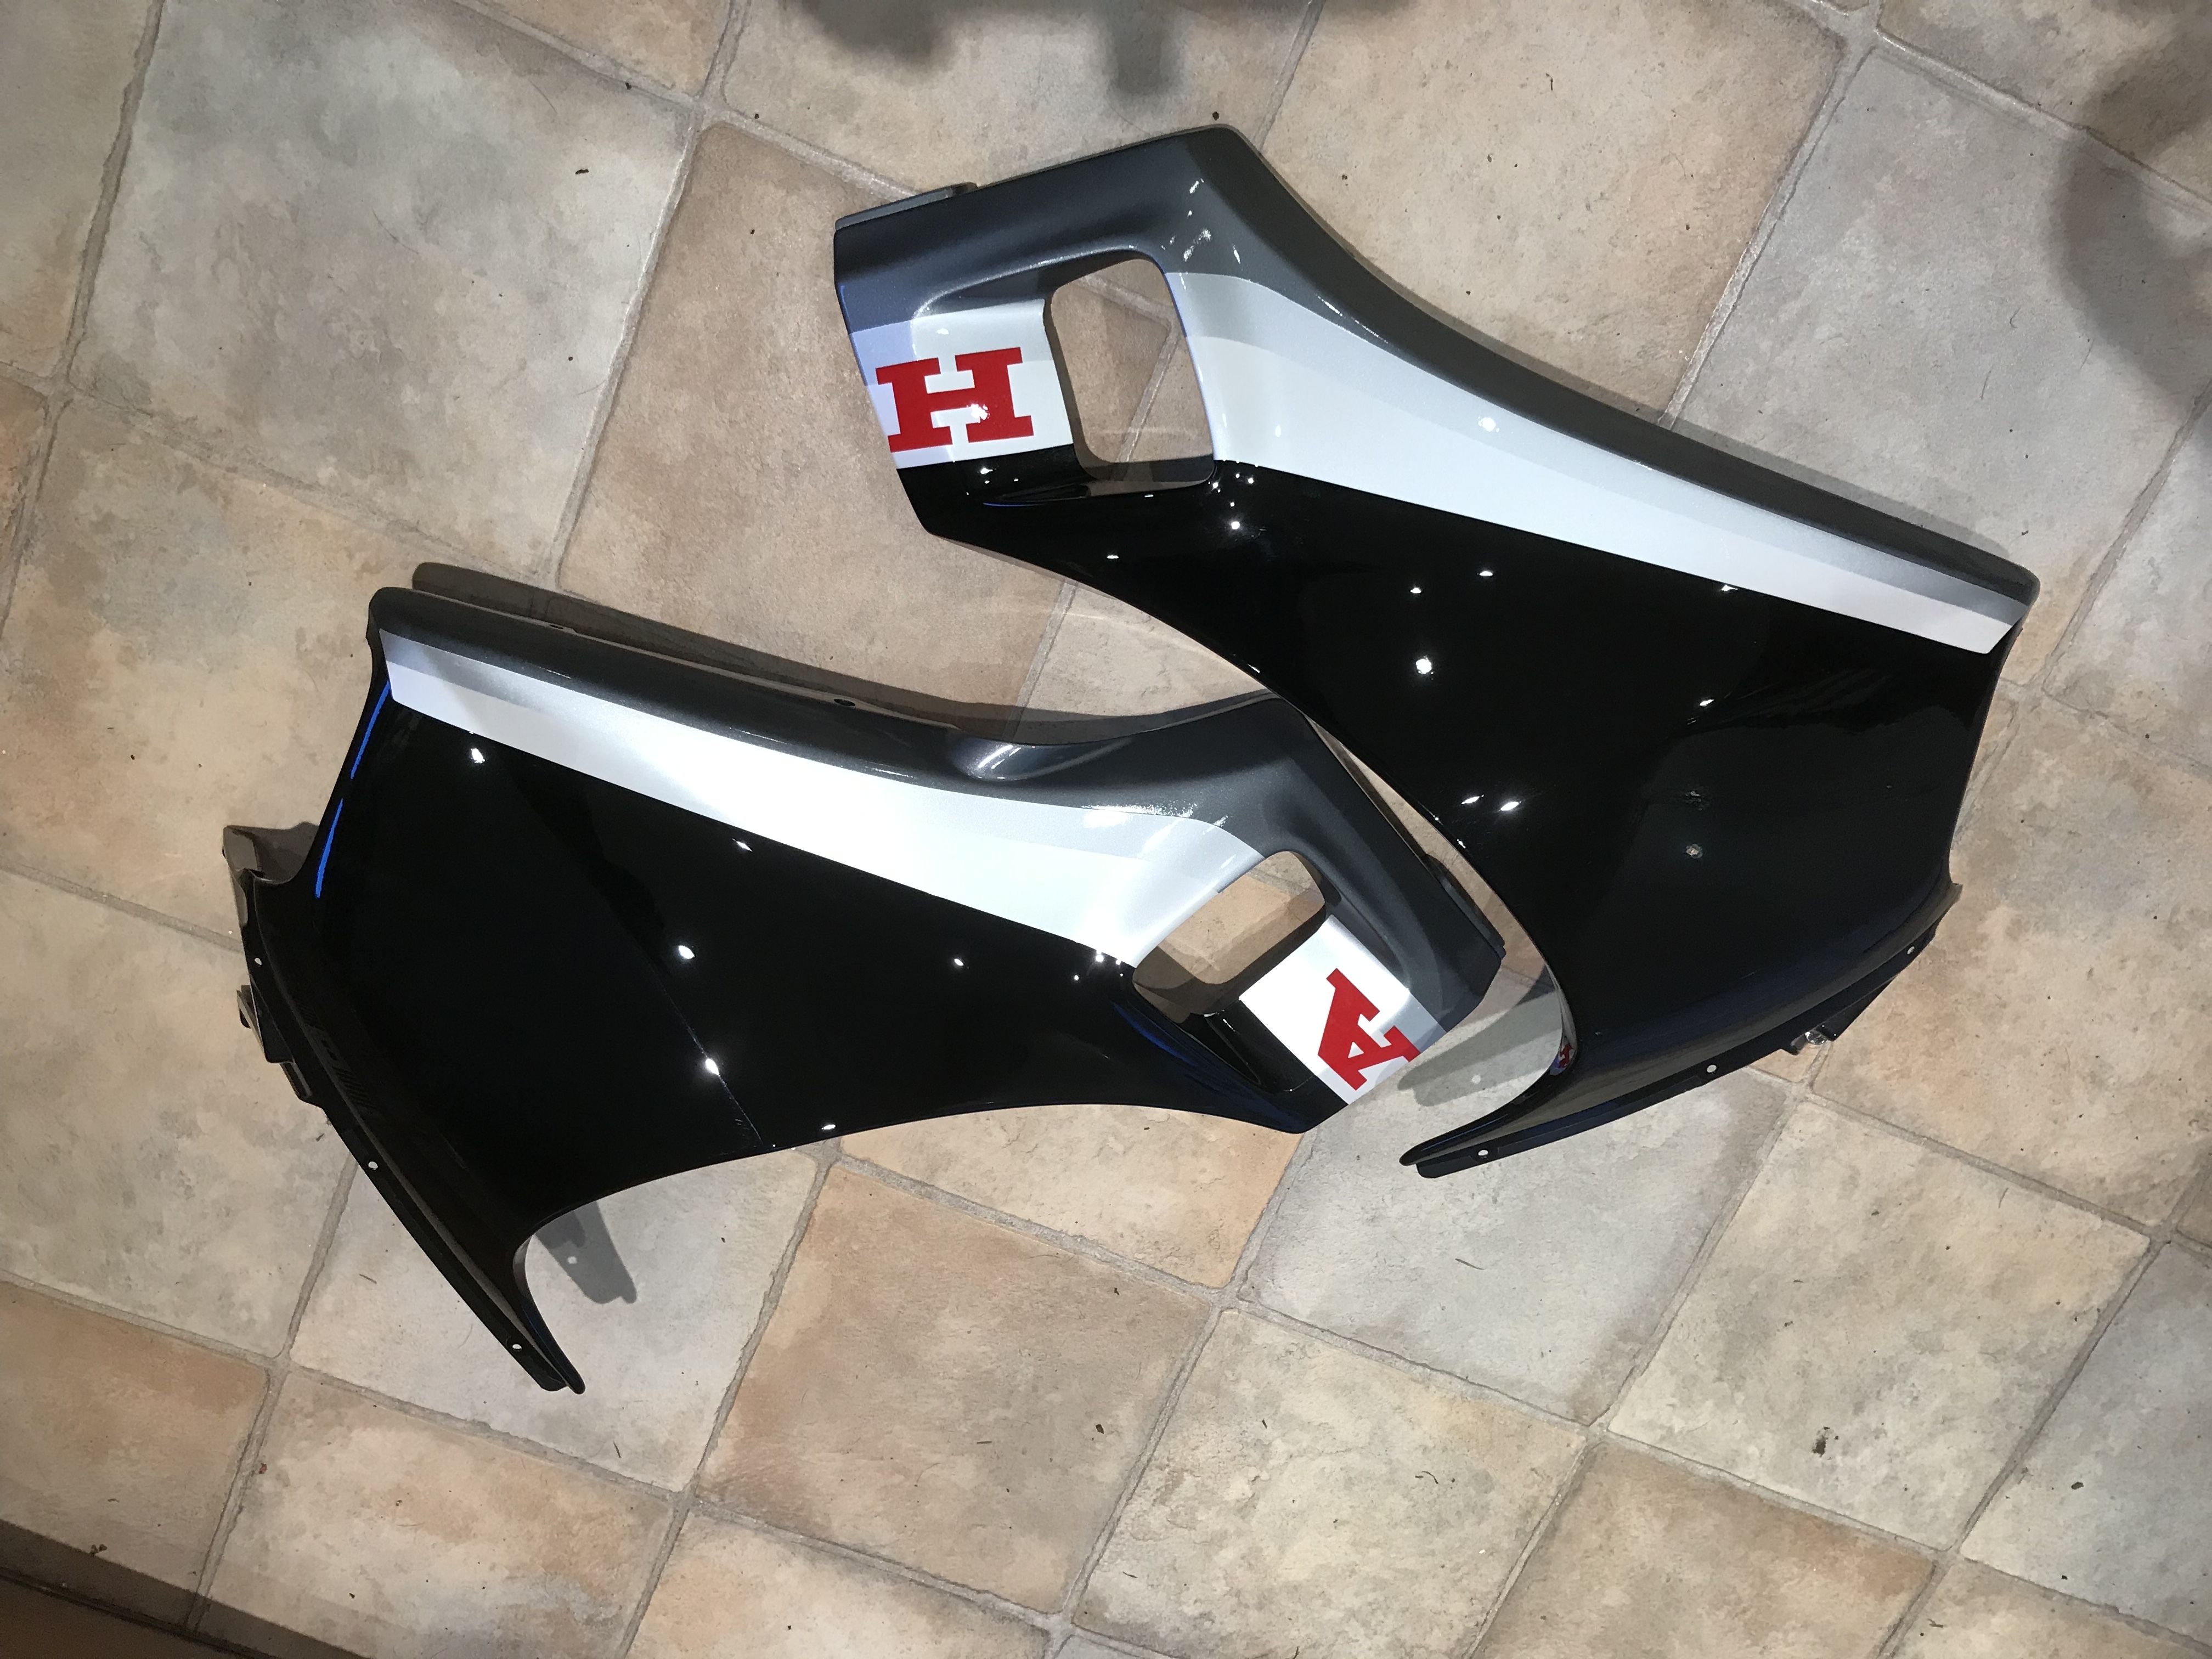
Fresh from the oven 30 mins at 180degrees
Mrs Bif can’t bake like this
Pete is way out in front as usual,but seeing his pics have given me a gee up to start on a build of my own
.
Fresh from the oven 30 mins at 180degrees
Mrs Bif can’t bake like this
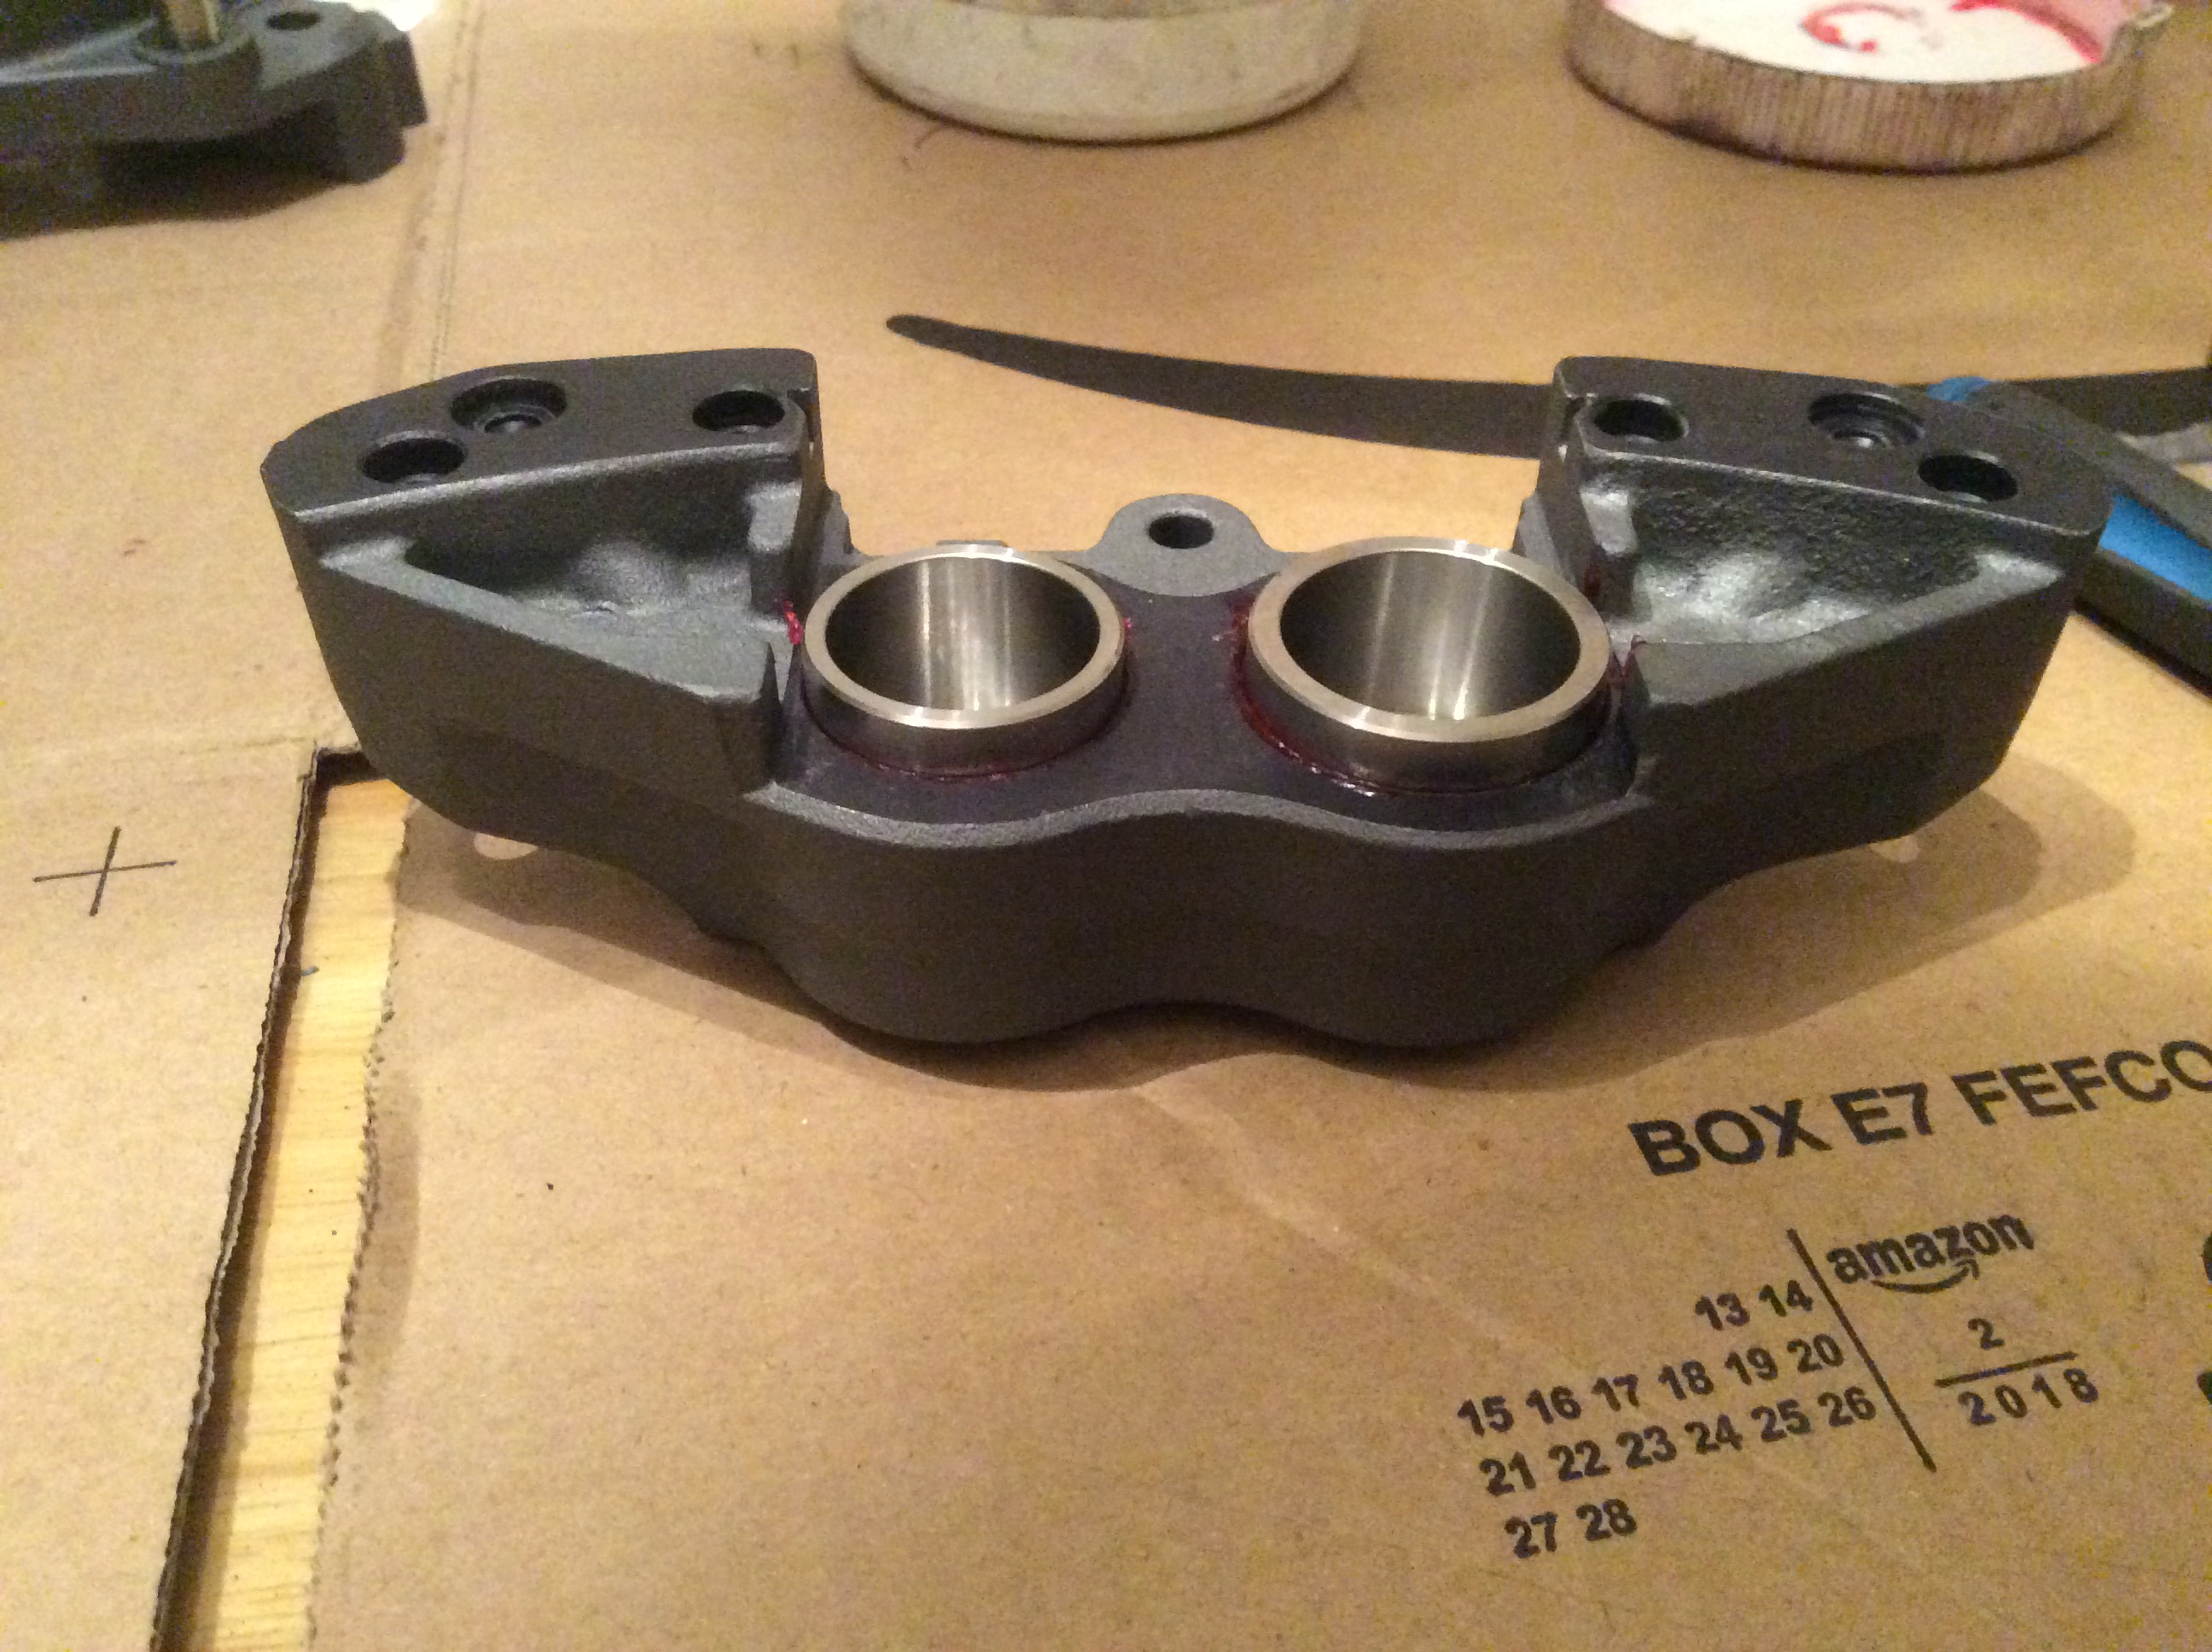
I am intrigued bif, vtr1000 calipers, what coating are you using on them, it certainly looks crisp ?
I’ve been using this XHT graphite paint
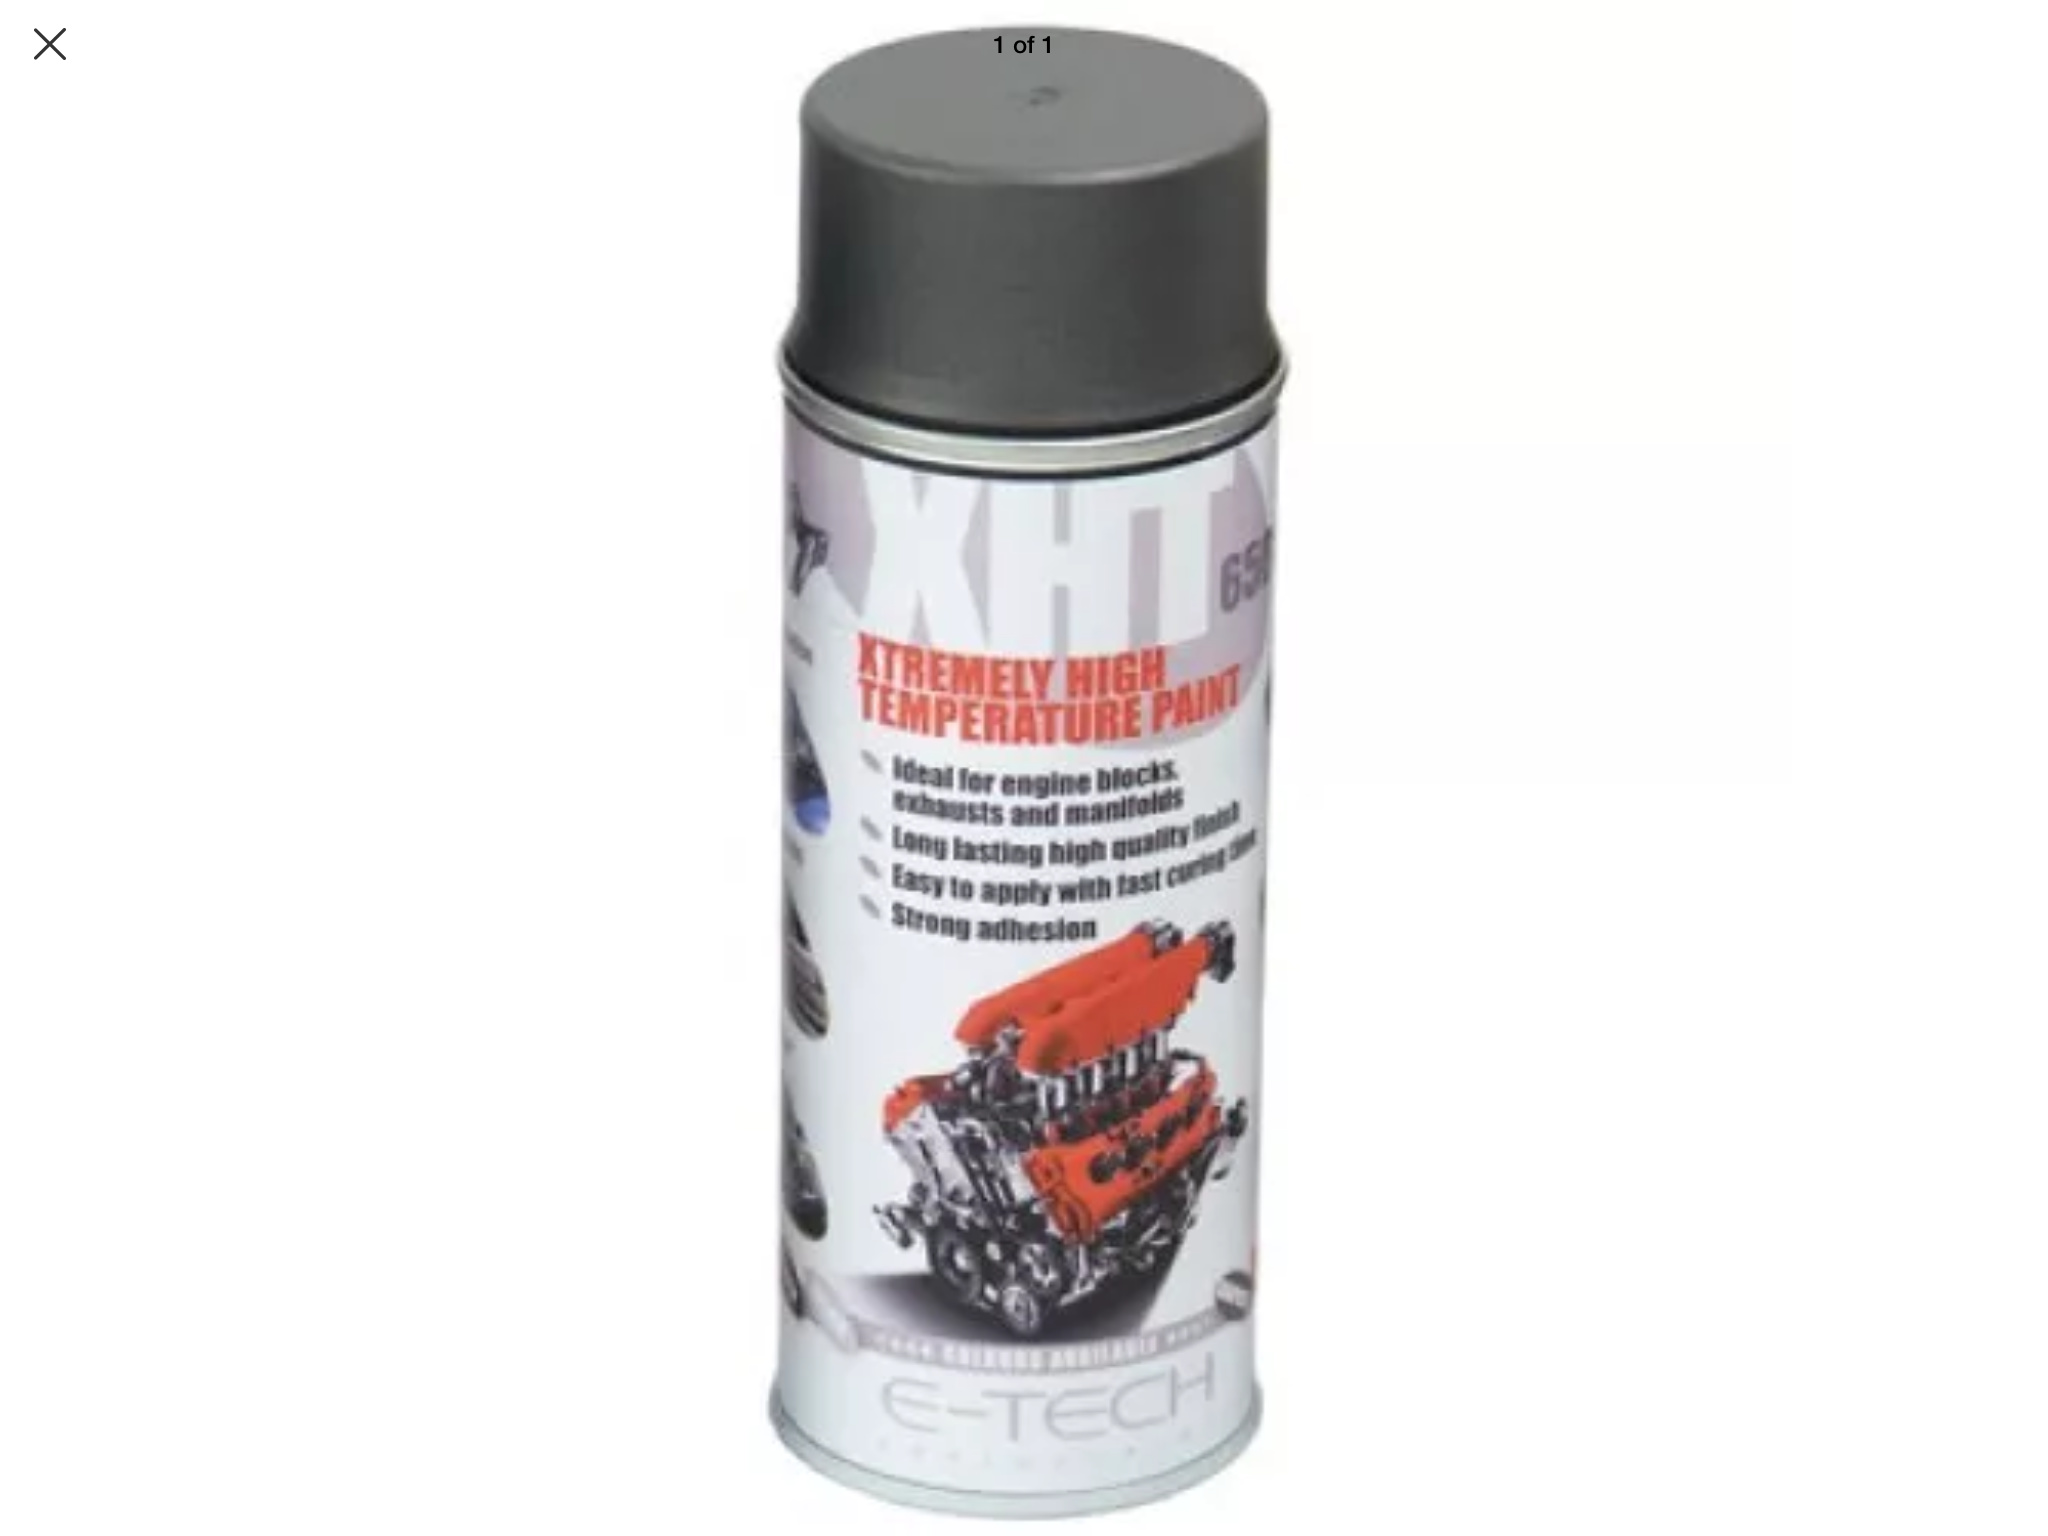
As prep is the key to a good finish,I had the calipers vapour blasted then 3 coats of this paint.It is applied to bare metal and once dried baked off in the oven for a rock hard finish.
I have used this on my R calipers too and the finish is lasting well.
Regards Bif
So now all the stainless parts have arrived it’s on with assembly
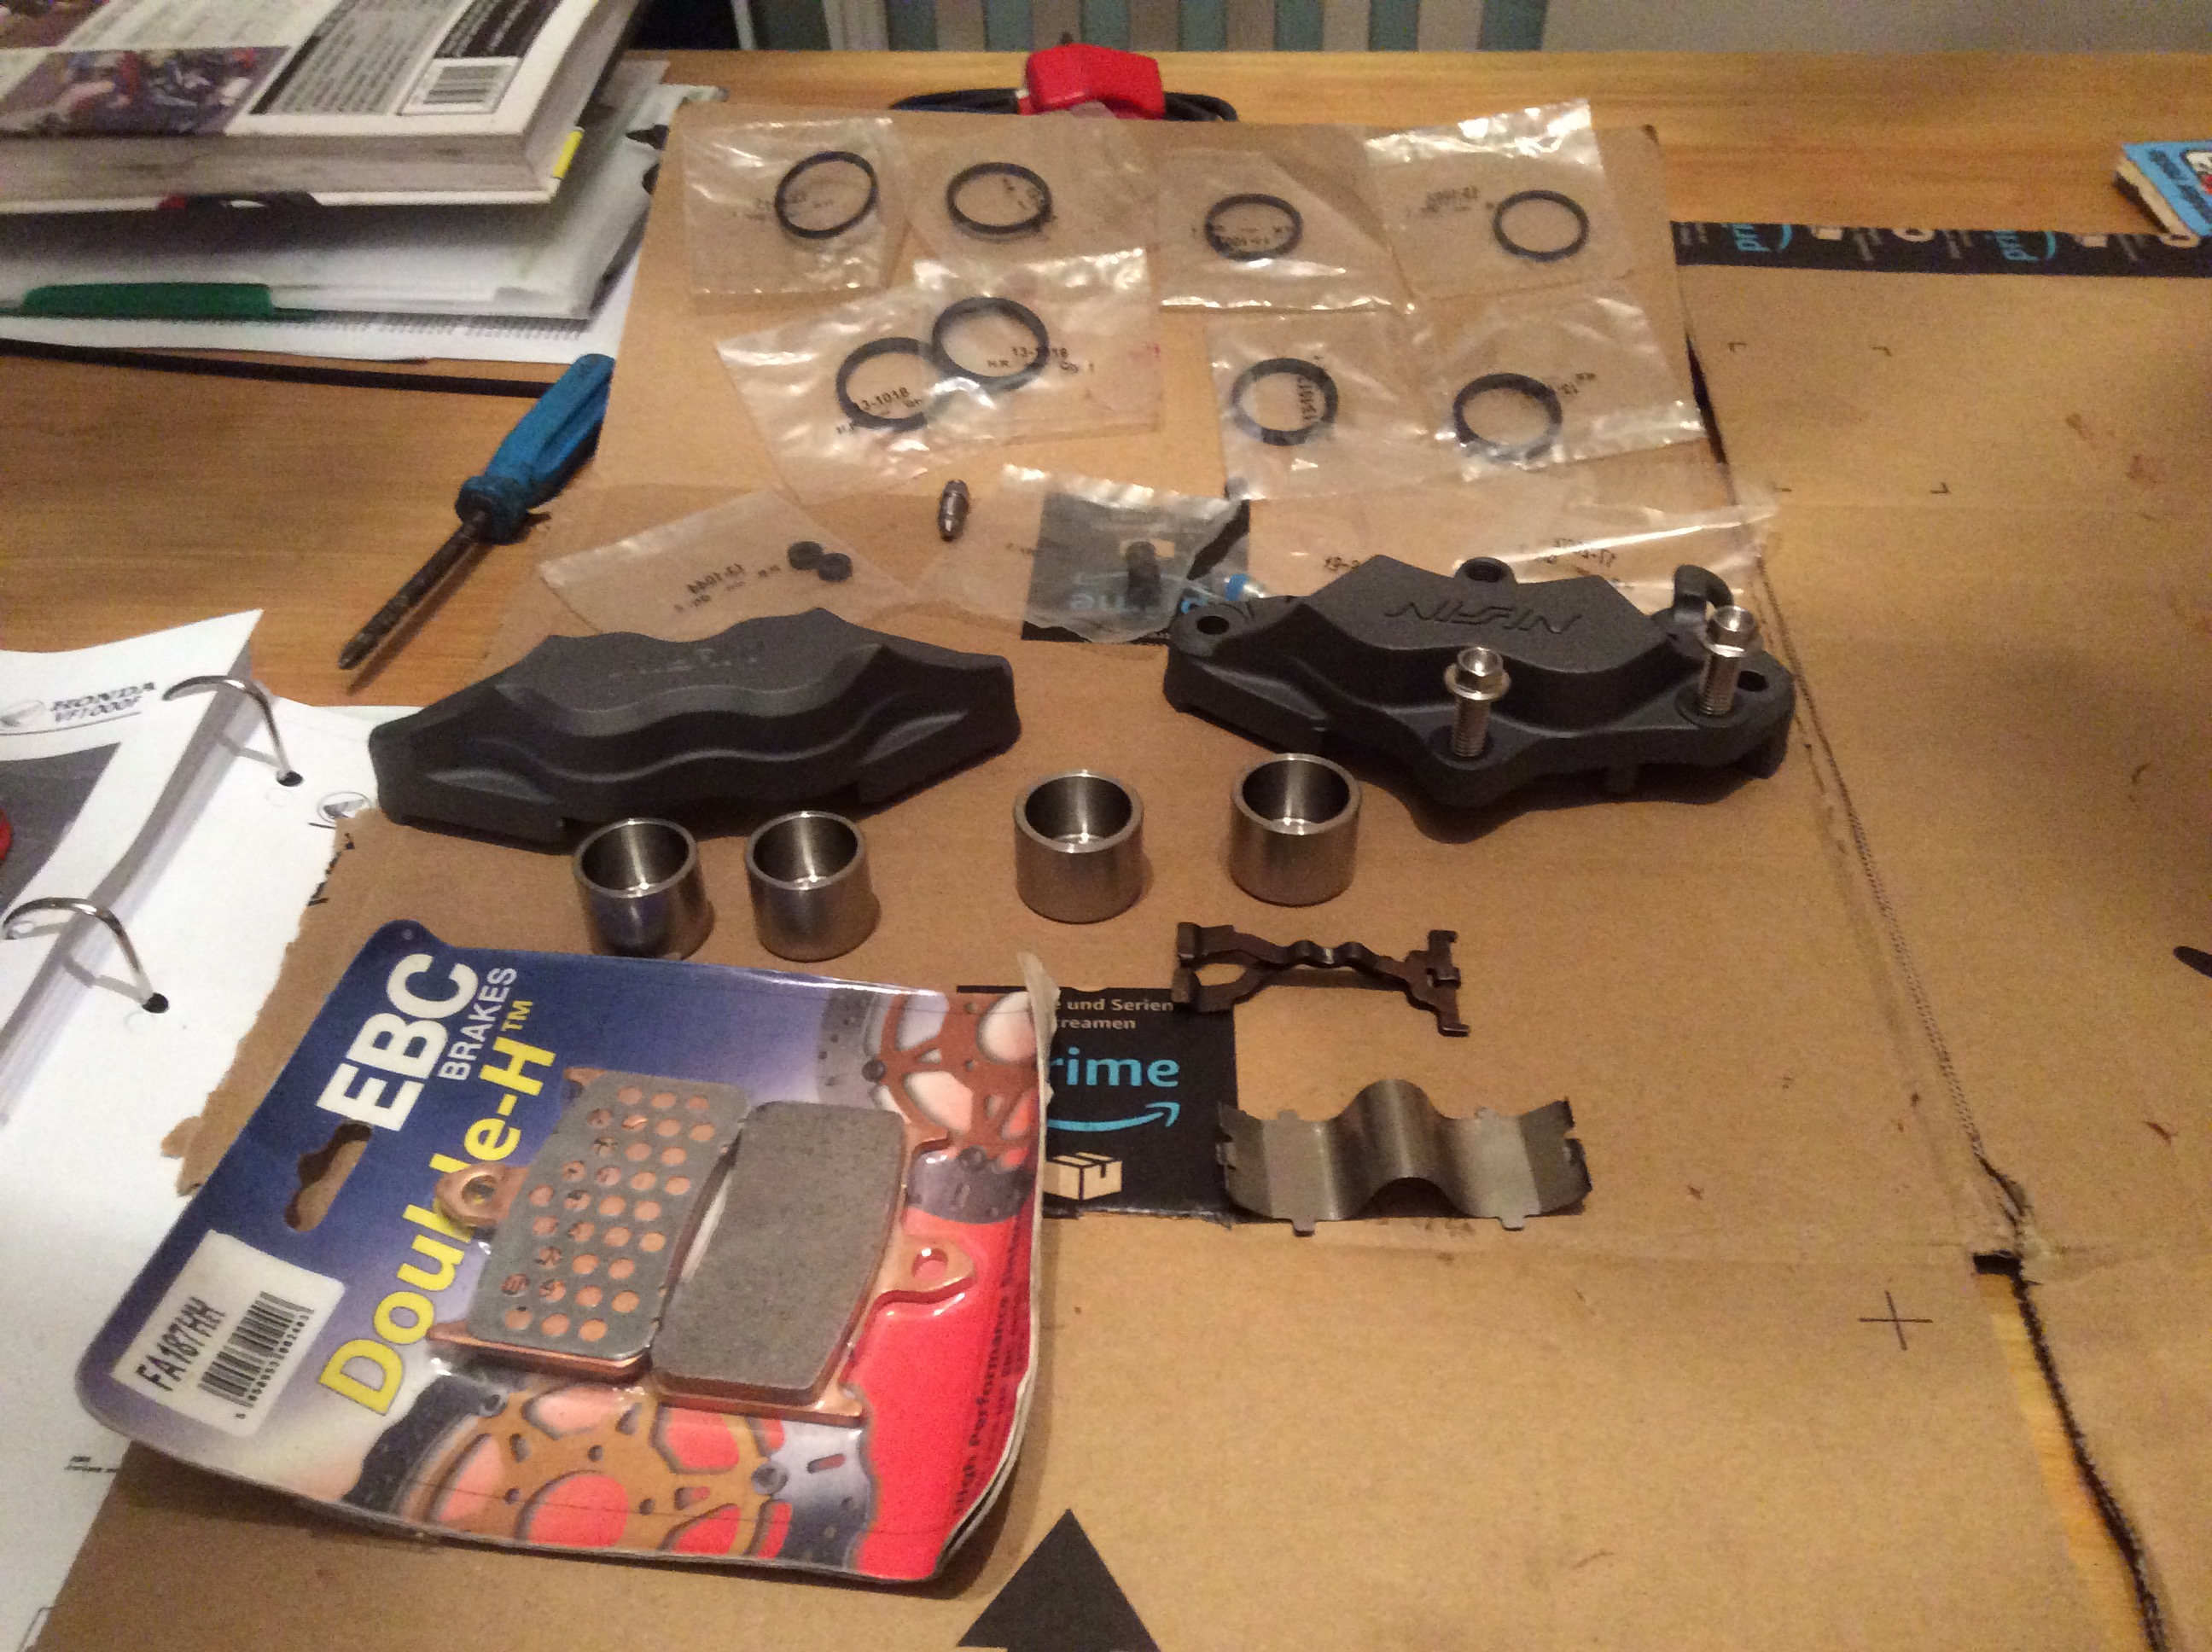
I’m using an all balls overhaul kit along with new pistons and lashings of
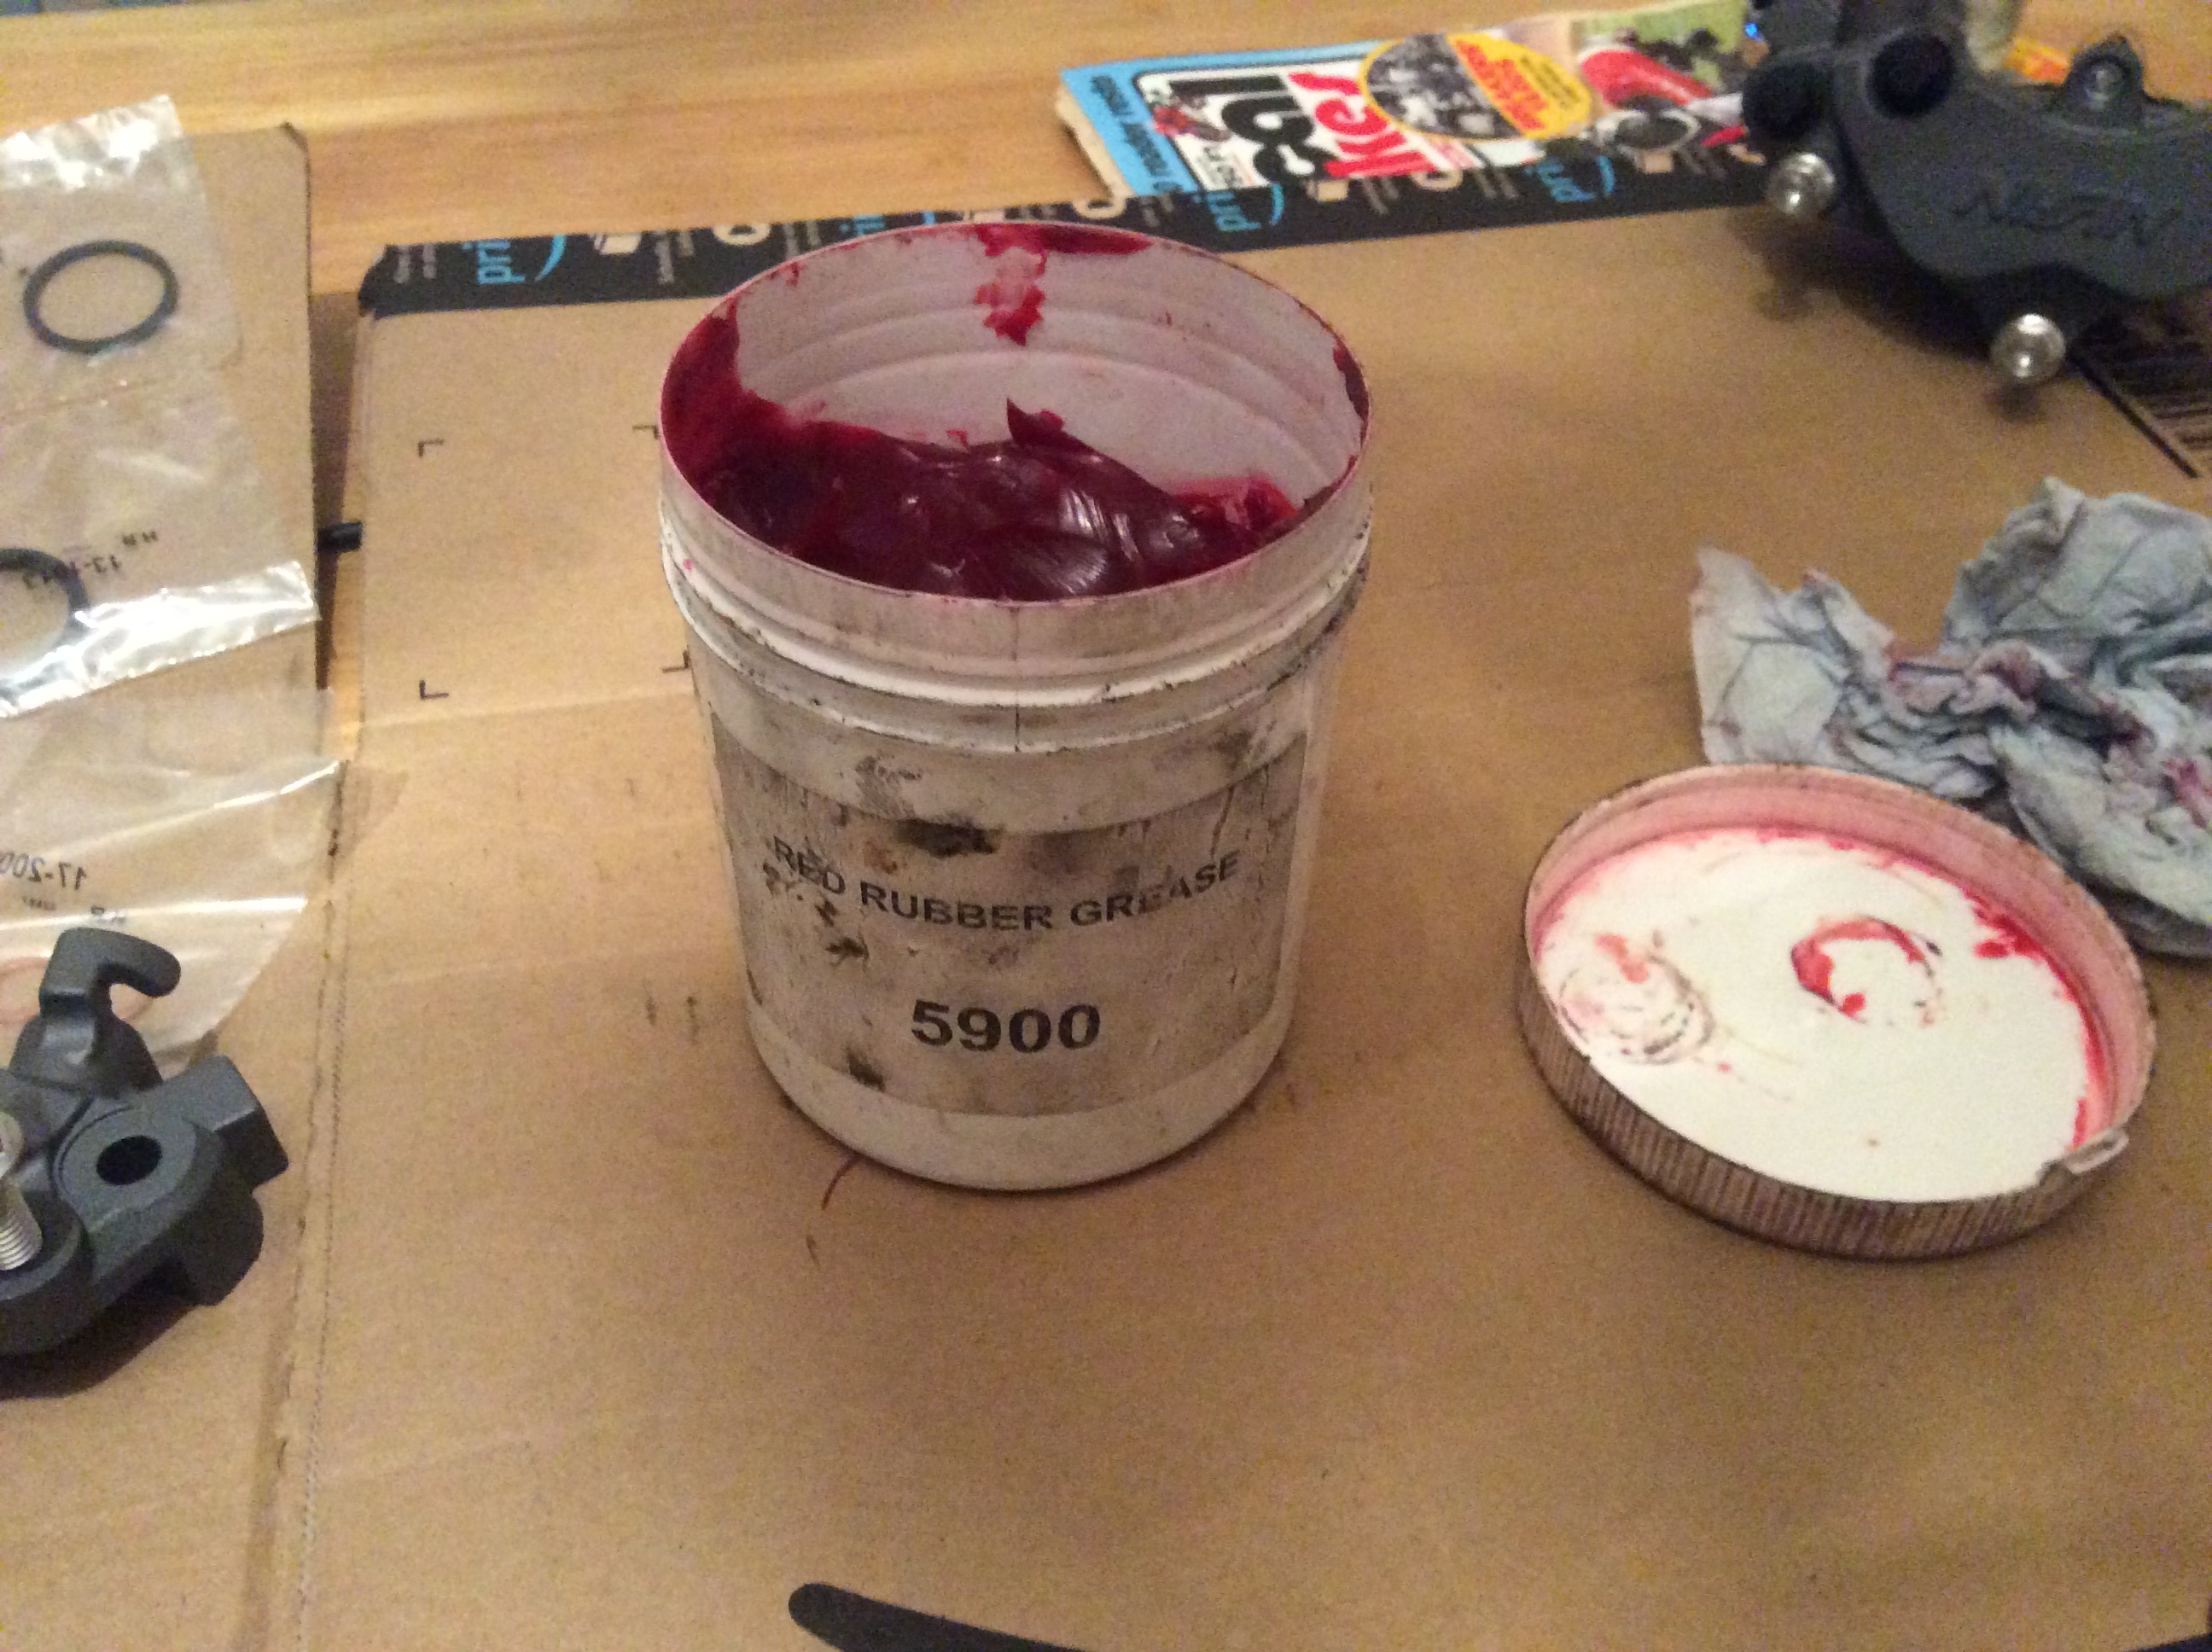
Which makes fitting the pistons a breeze
Bolt the two halves together then in with some HH EBC pads and voila
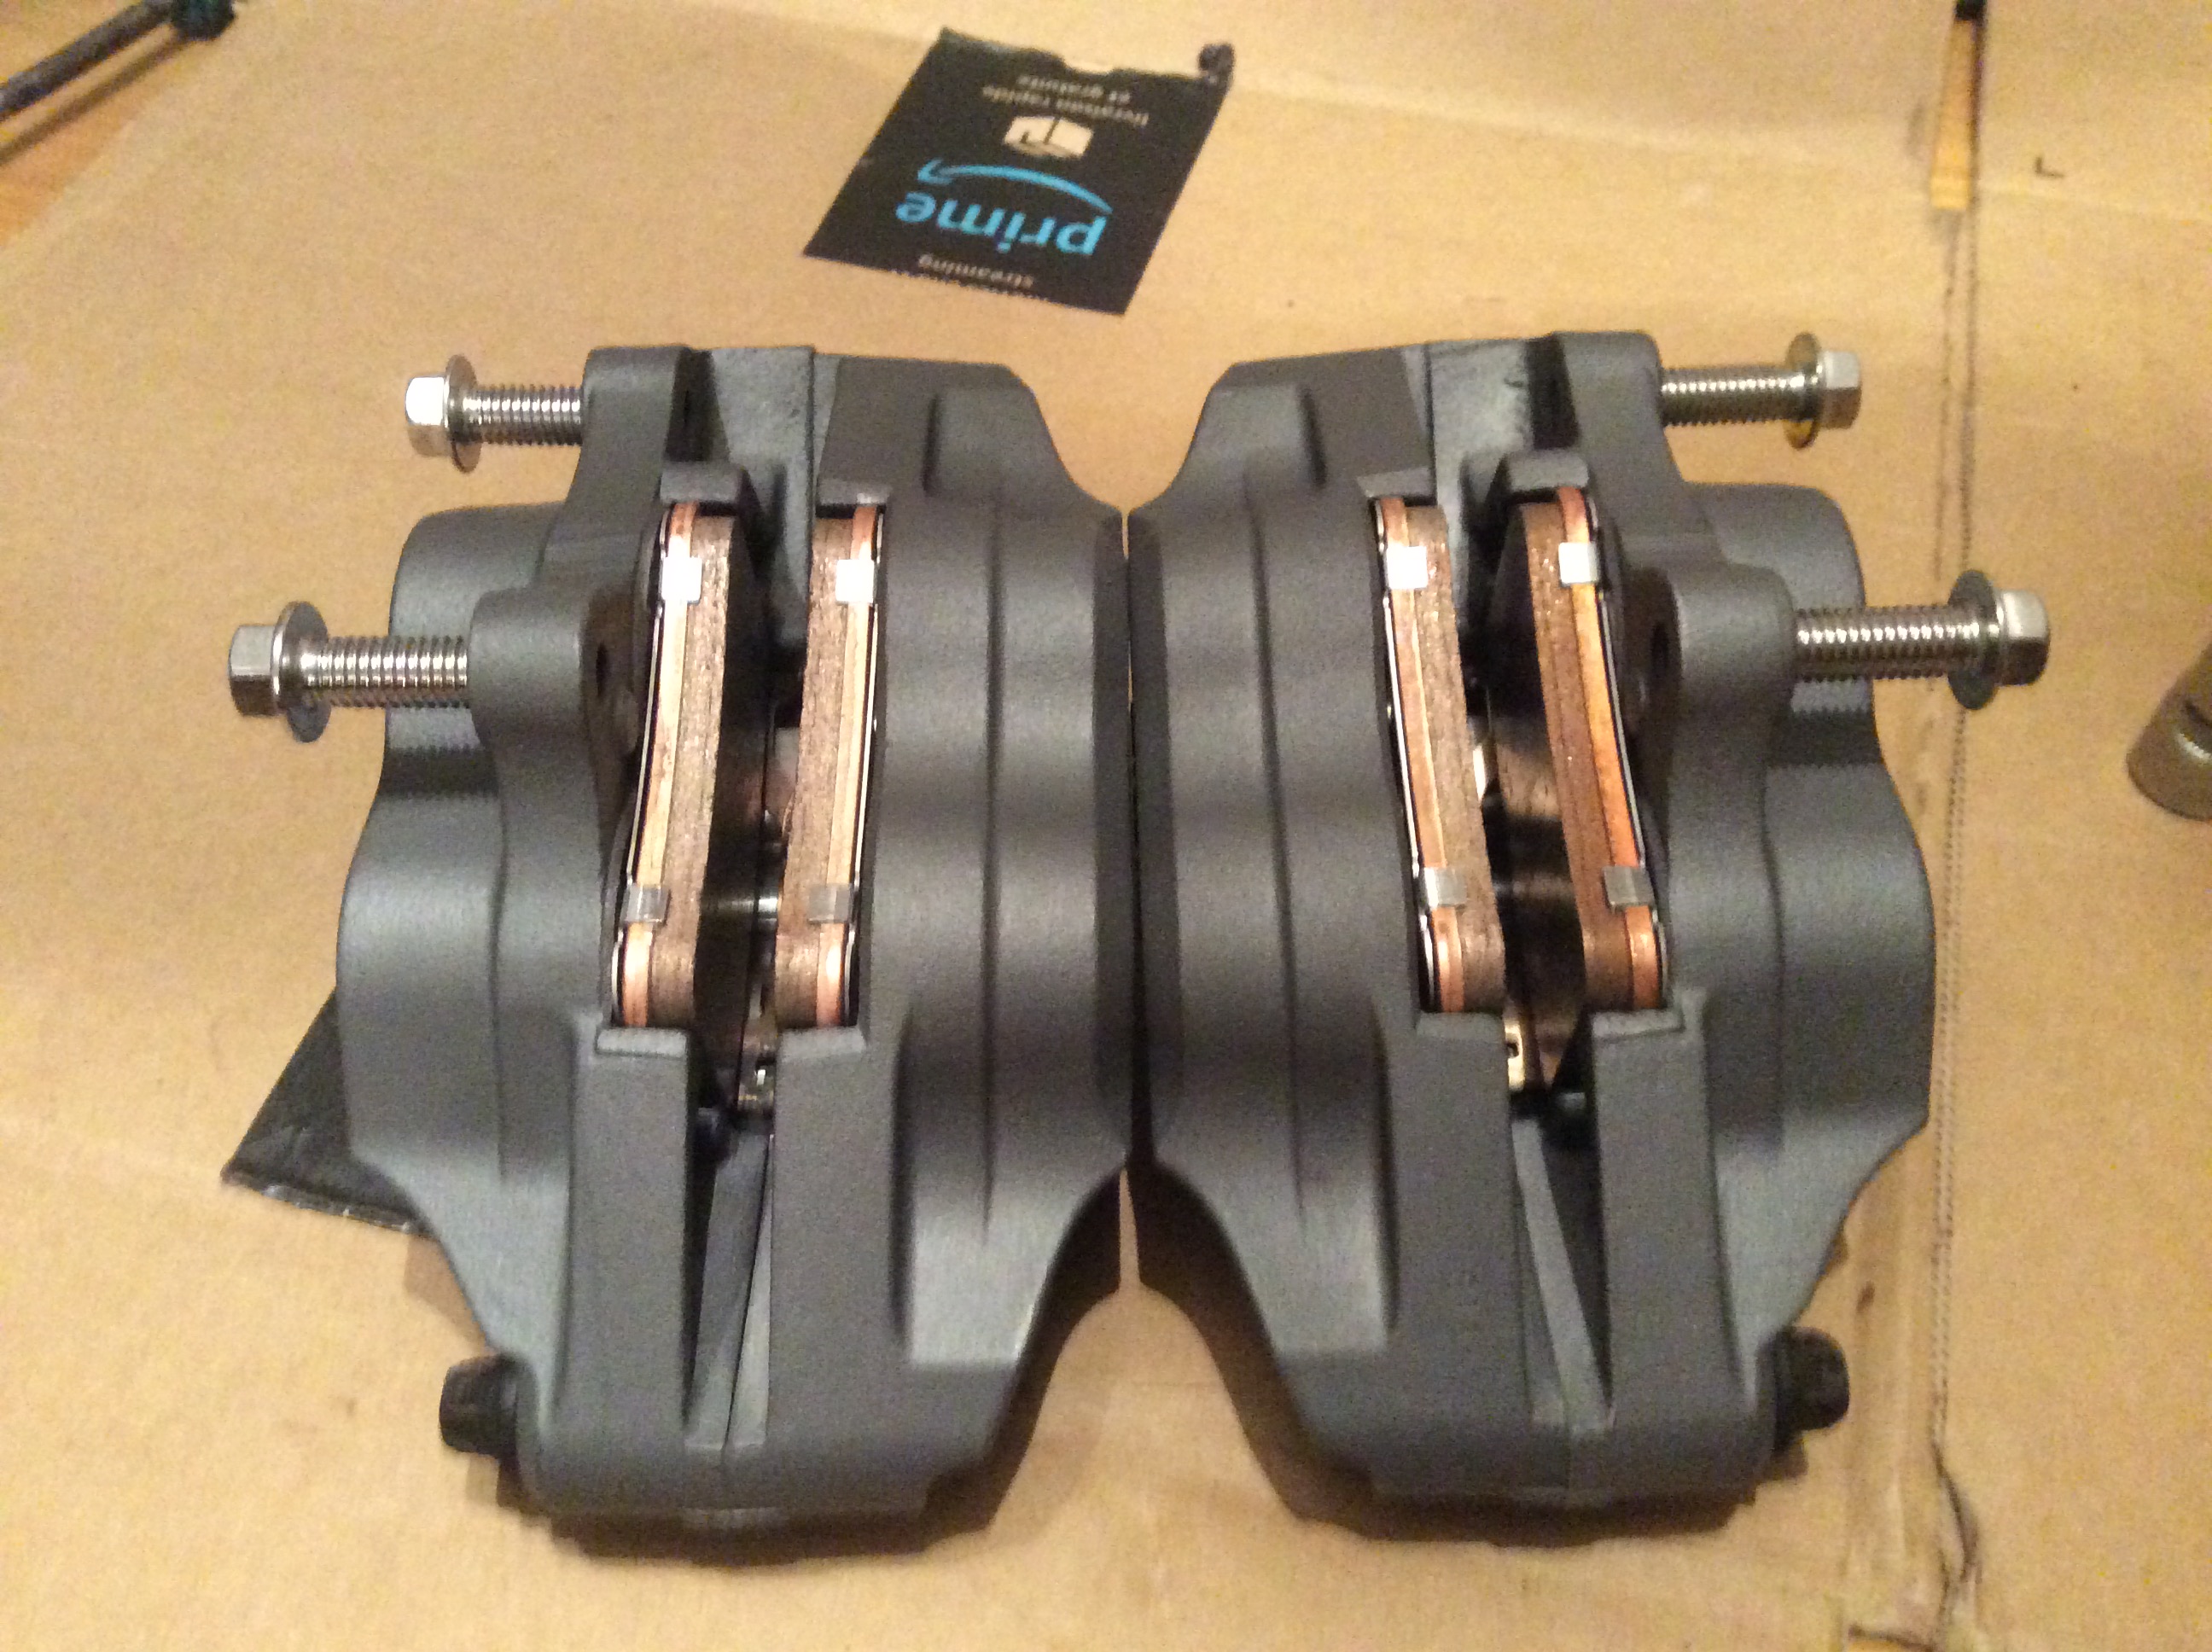
The forks for this bike are ready too fitted with valve emulators and preload adjusters on the top,can’t wait for the frame to come back so I can start hanging bits onto it.
Regards Bif
looking good bif.
Top notch mate, looking extremely tasty…
You are some time ahead. I just made an investigations what parts fit into my VFR and started ordering. Some parts already arrived:
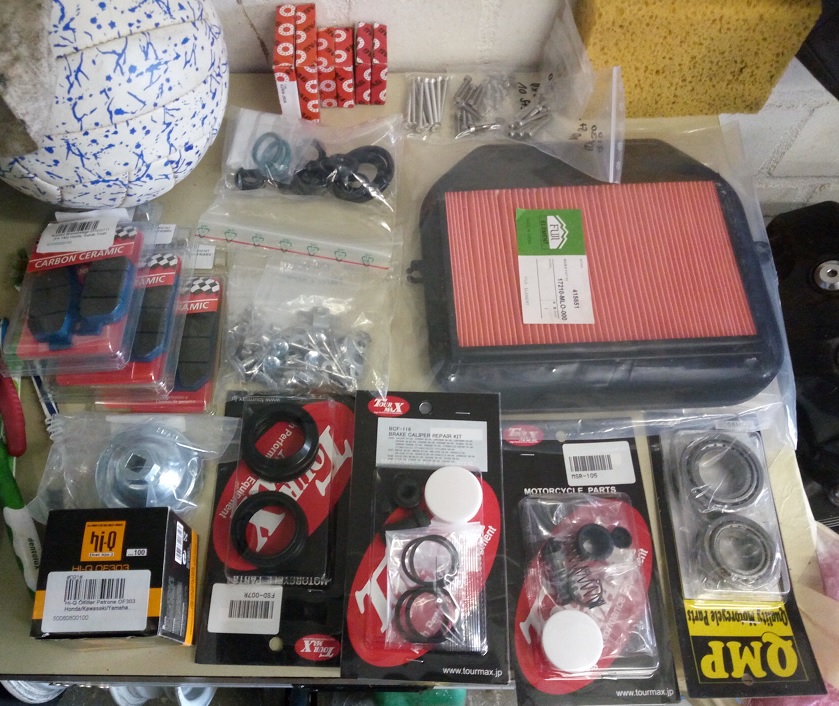
What would you suggest: painting or powdercoating for calipers and fork?
I would go with powder coating on the forks but stick with paint on the calipers,powder coat is a lot thicker than paint and can cause issues with clearance on sliding parts also lifts off if in contact with brake fluid.
Just my personal findings Faxe.
Regards Bif
Hi Faxe, Powder coating can and does give great finish to parts, but as Bif has said, you must also consider the use of the part you have powder coated! Powder coating has the advantage of being tough, but its thickness can be a problem with clearance crictical items! Aluminuim Anodising can also give a great finish, but it really is down to how you wanrt to use your bike, No matter what finish you use , at some time some damage will occurr. The best is to just use the motorcycle, and accept that the some chipping of small damages will occur. Whilst we all get great pleasure from restoring these old bikes, the best pleasures come from riding and using them!! We just have to accept the odd chip or bleamish as a result!!!
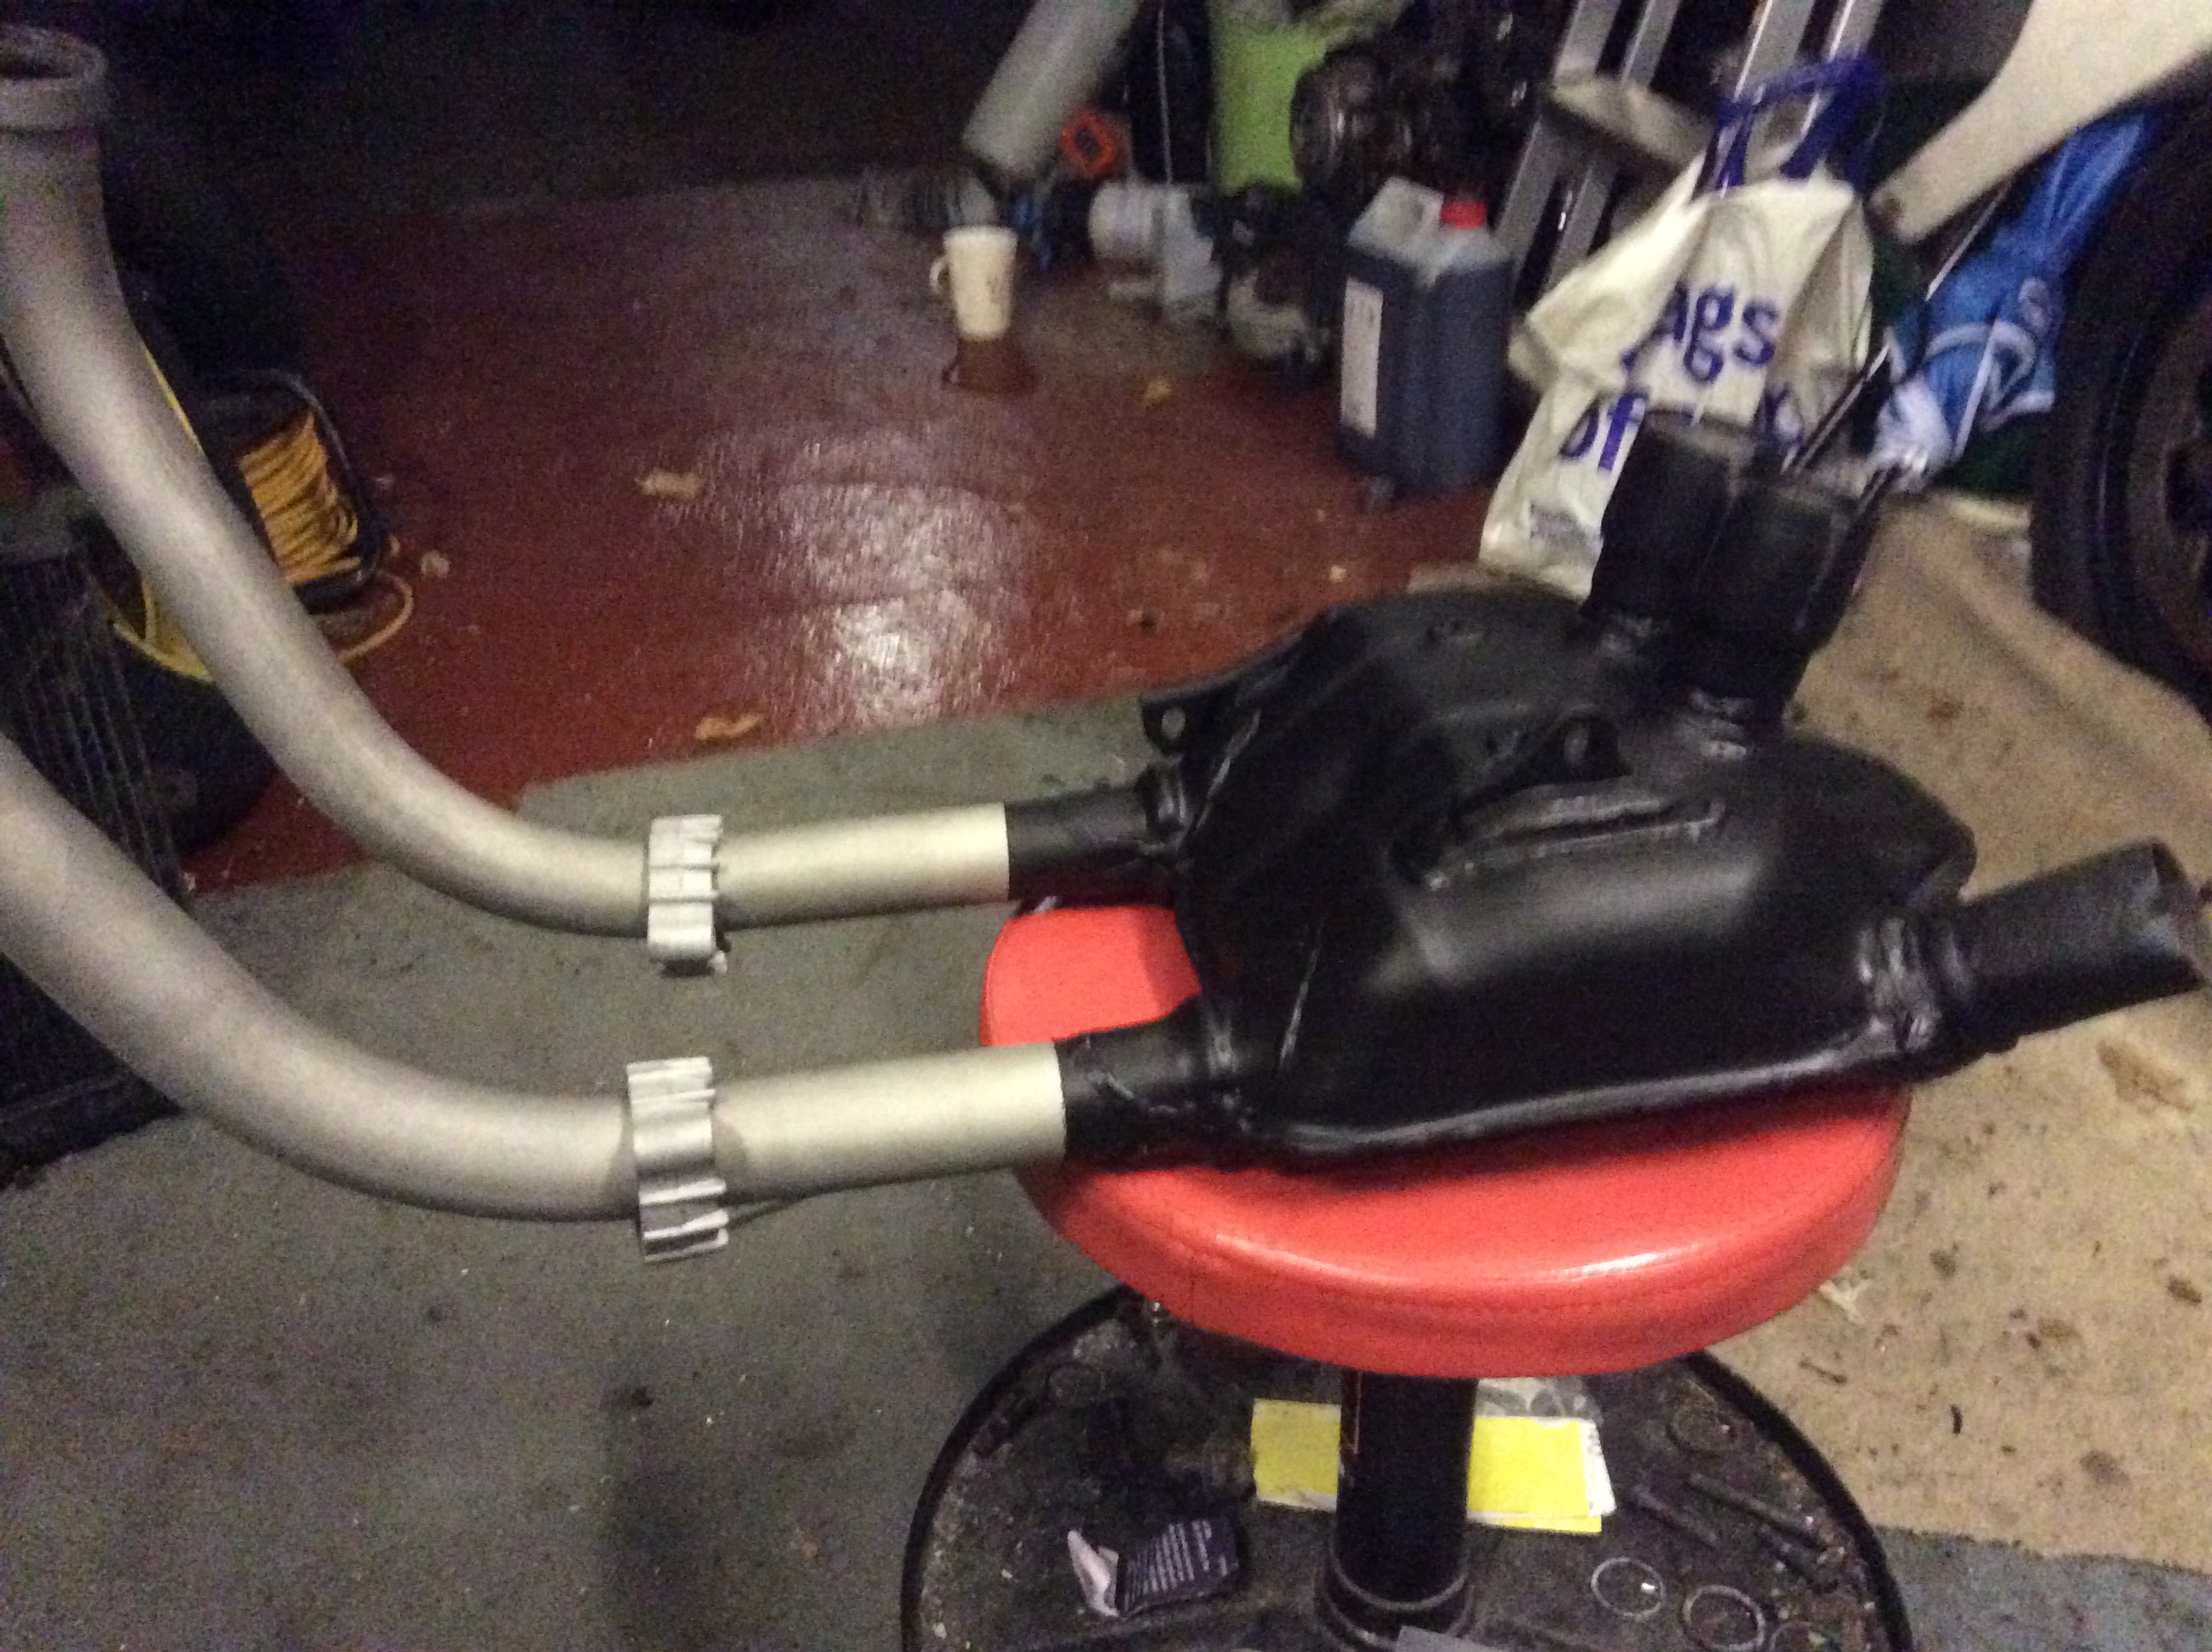
While waiting on a few bits to finish the rear wheel conversion on the R I’ve been getting another collector tidied up,a bit of blasting to make sure it’s all solid
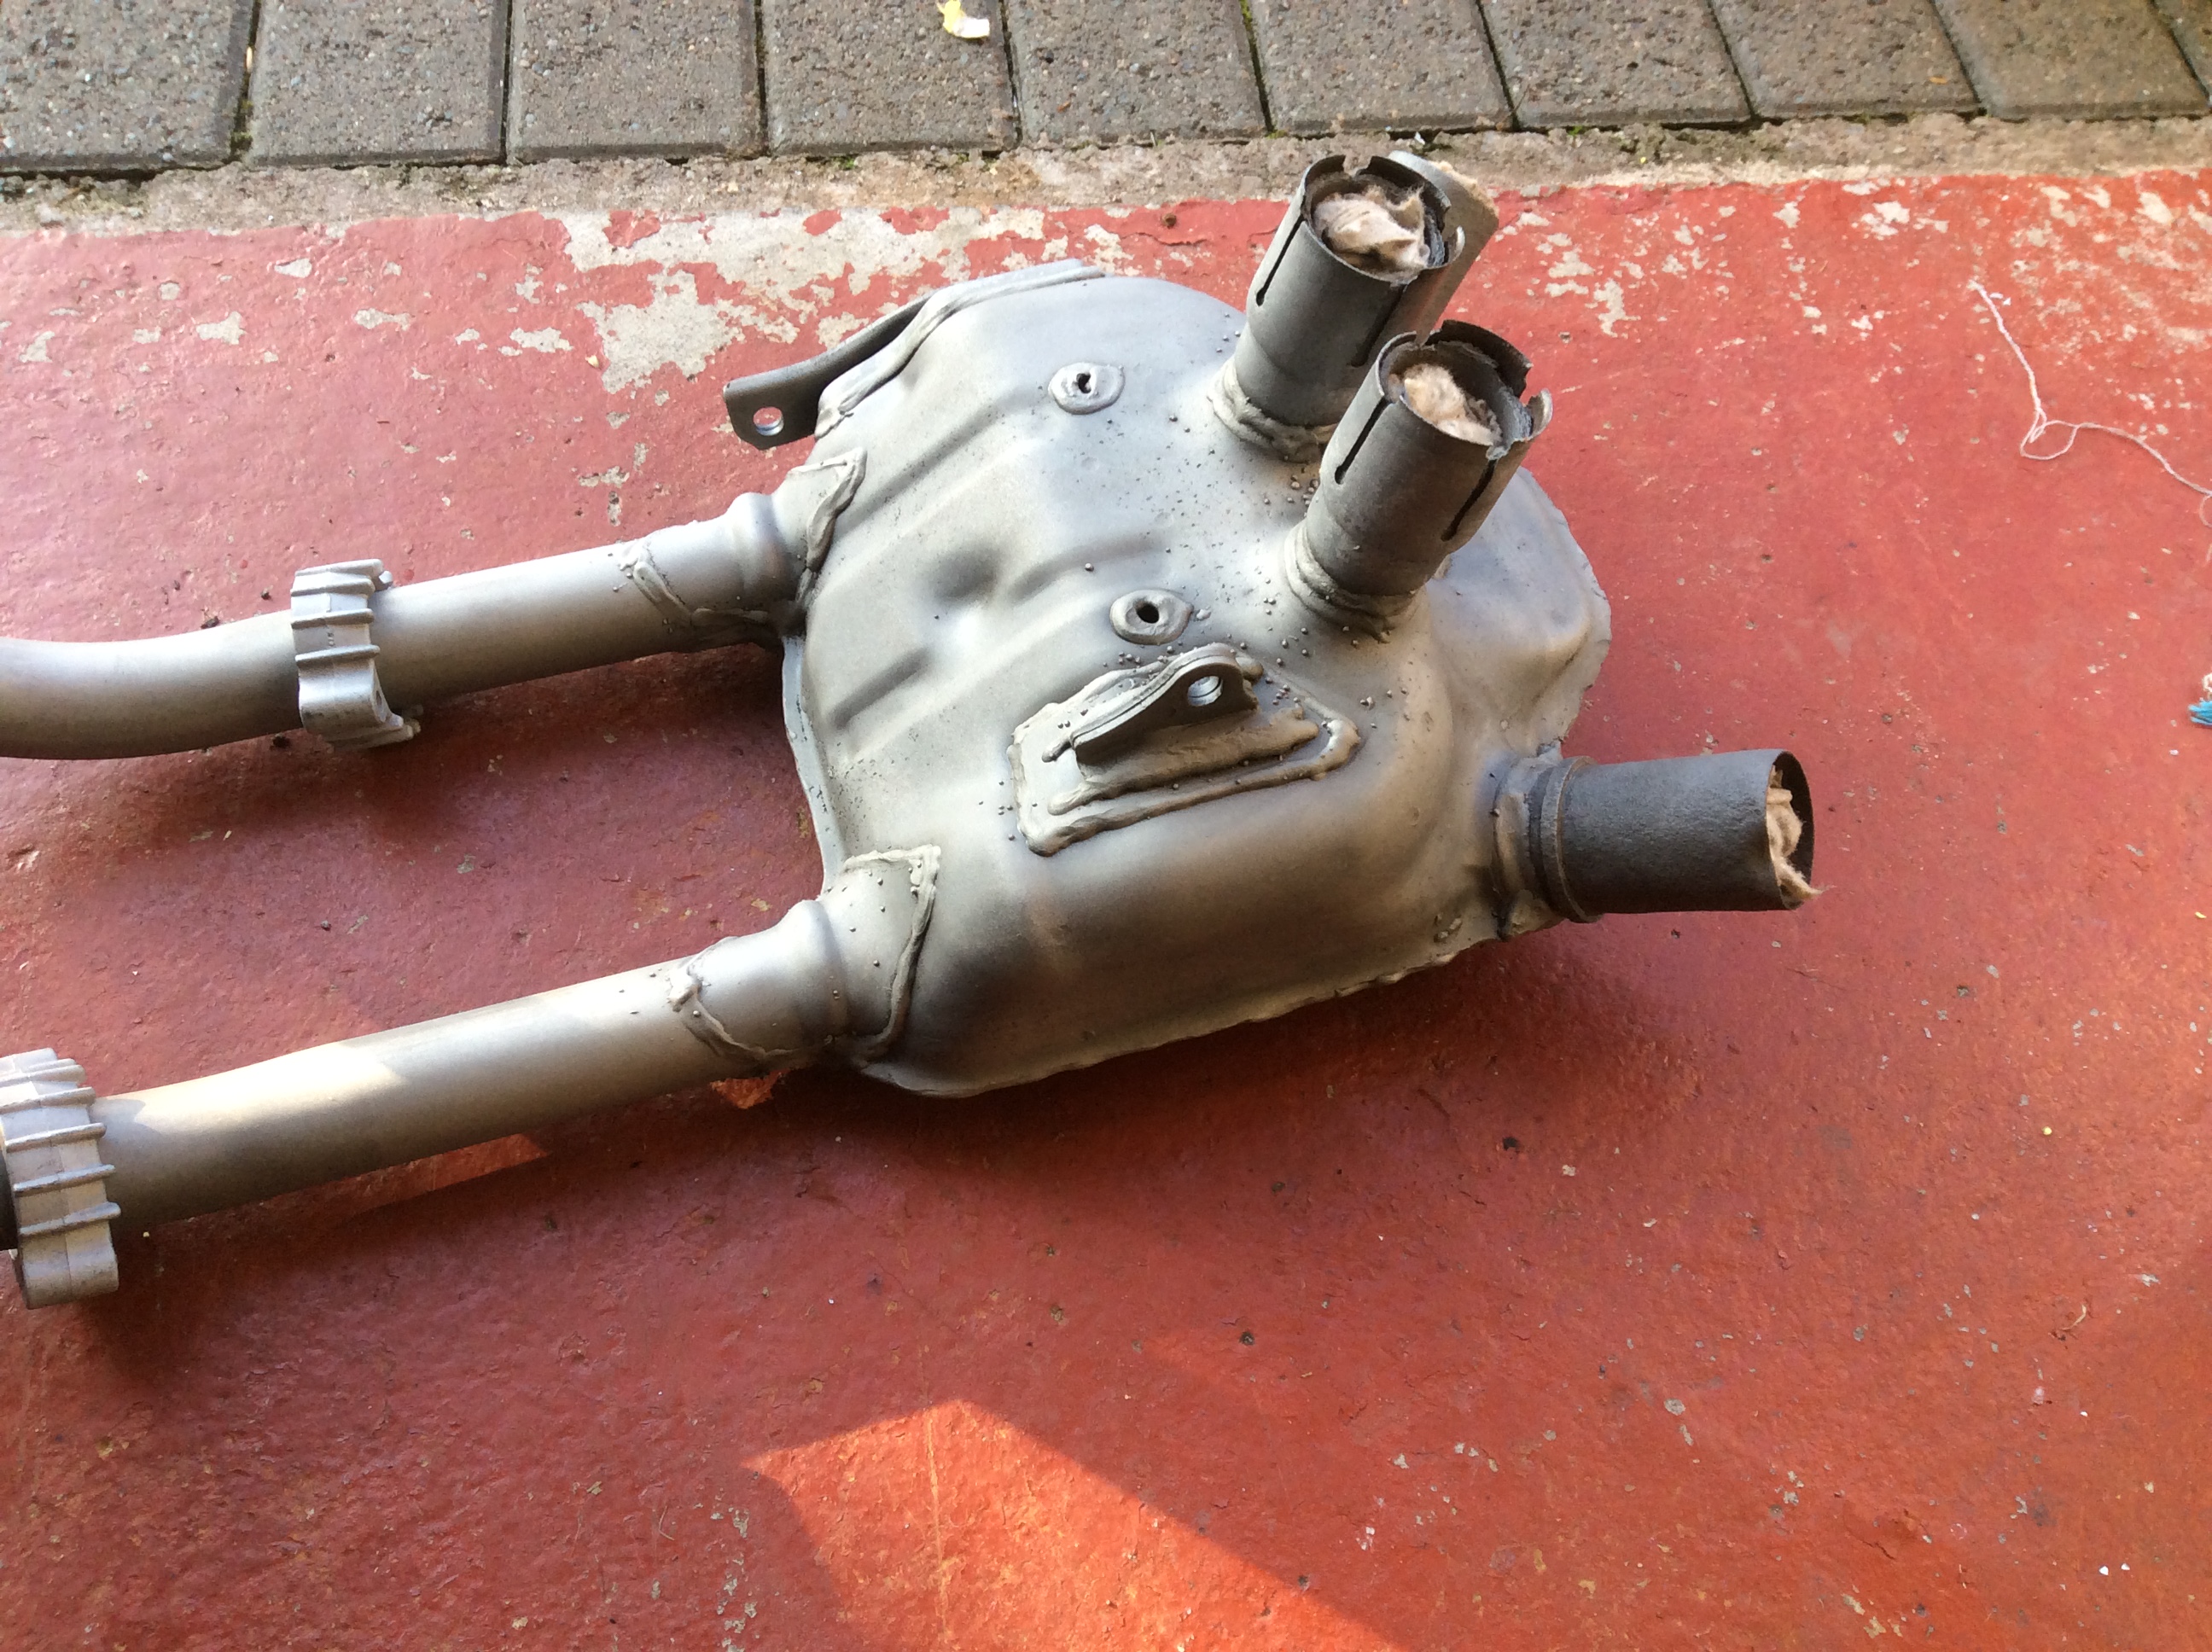
Then a few coats of hint temp black to finish
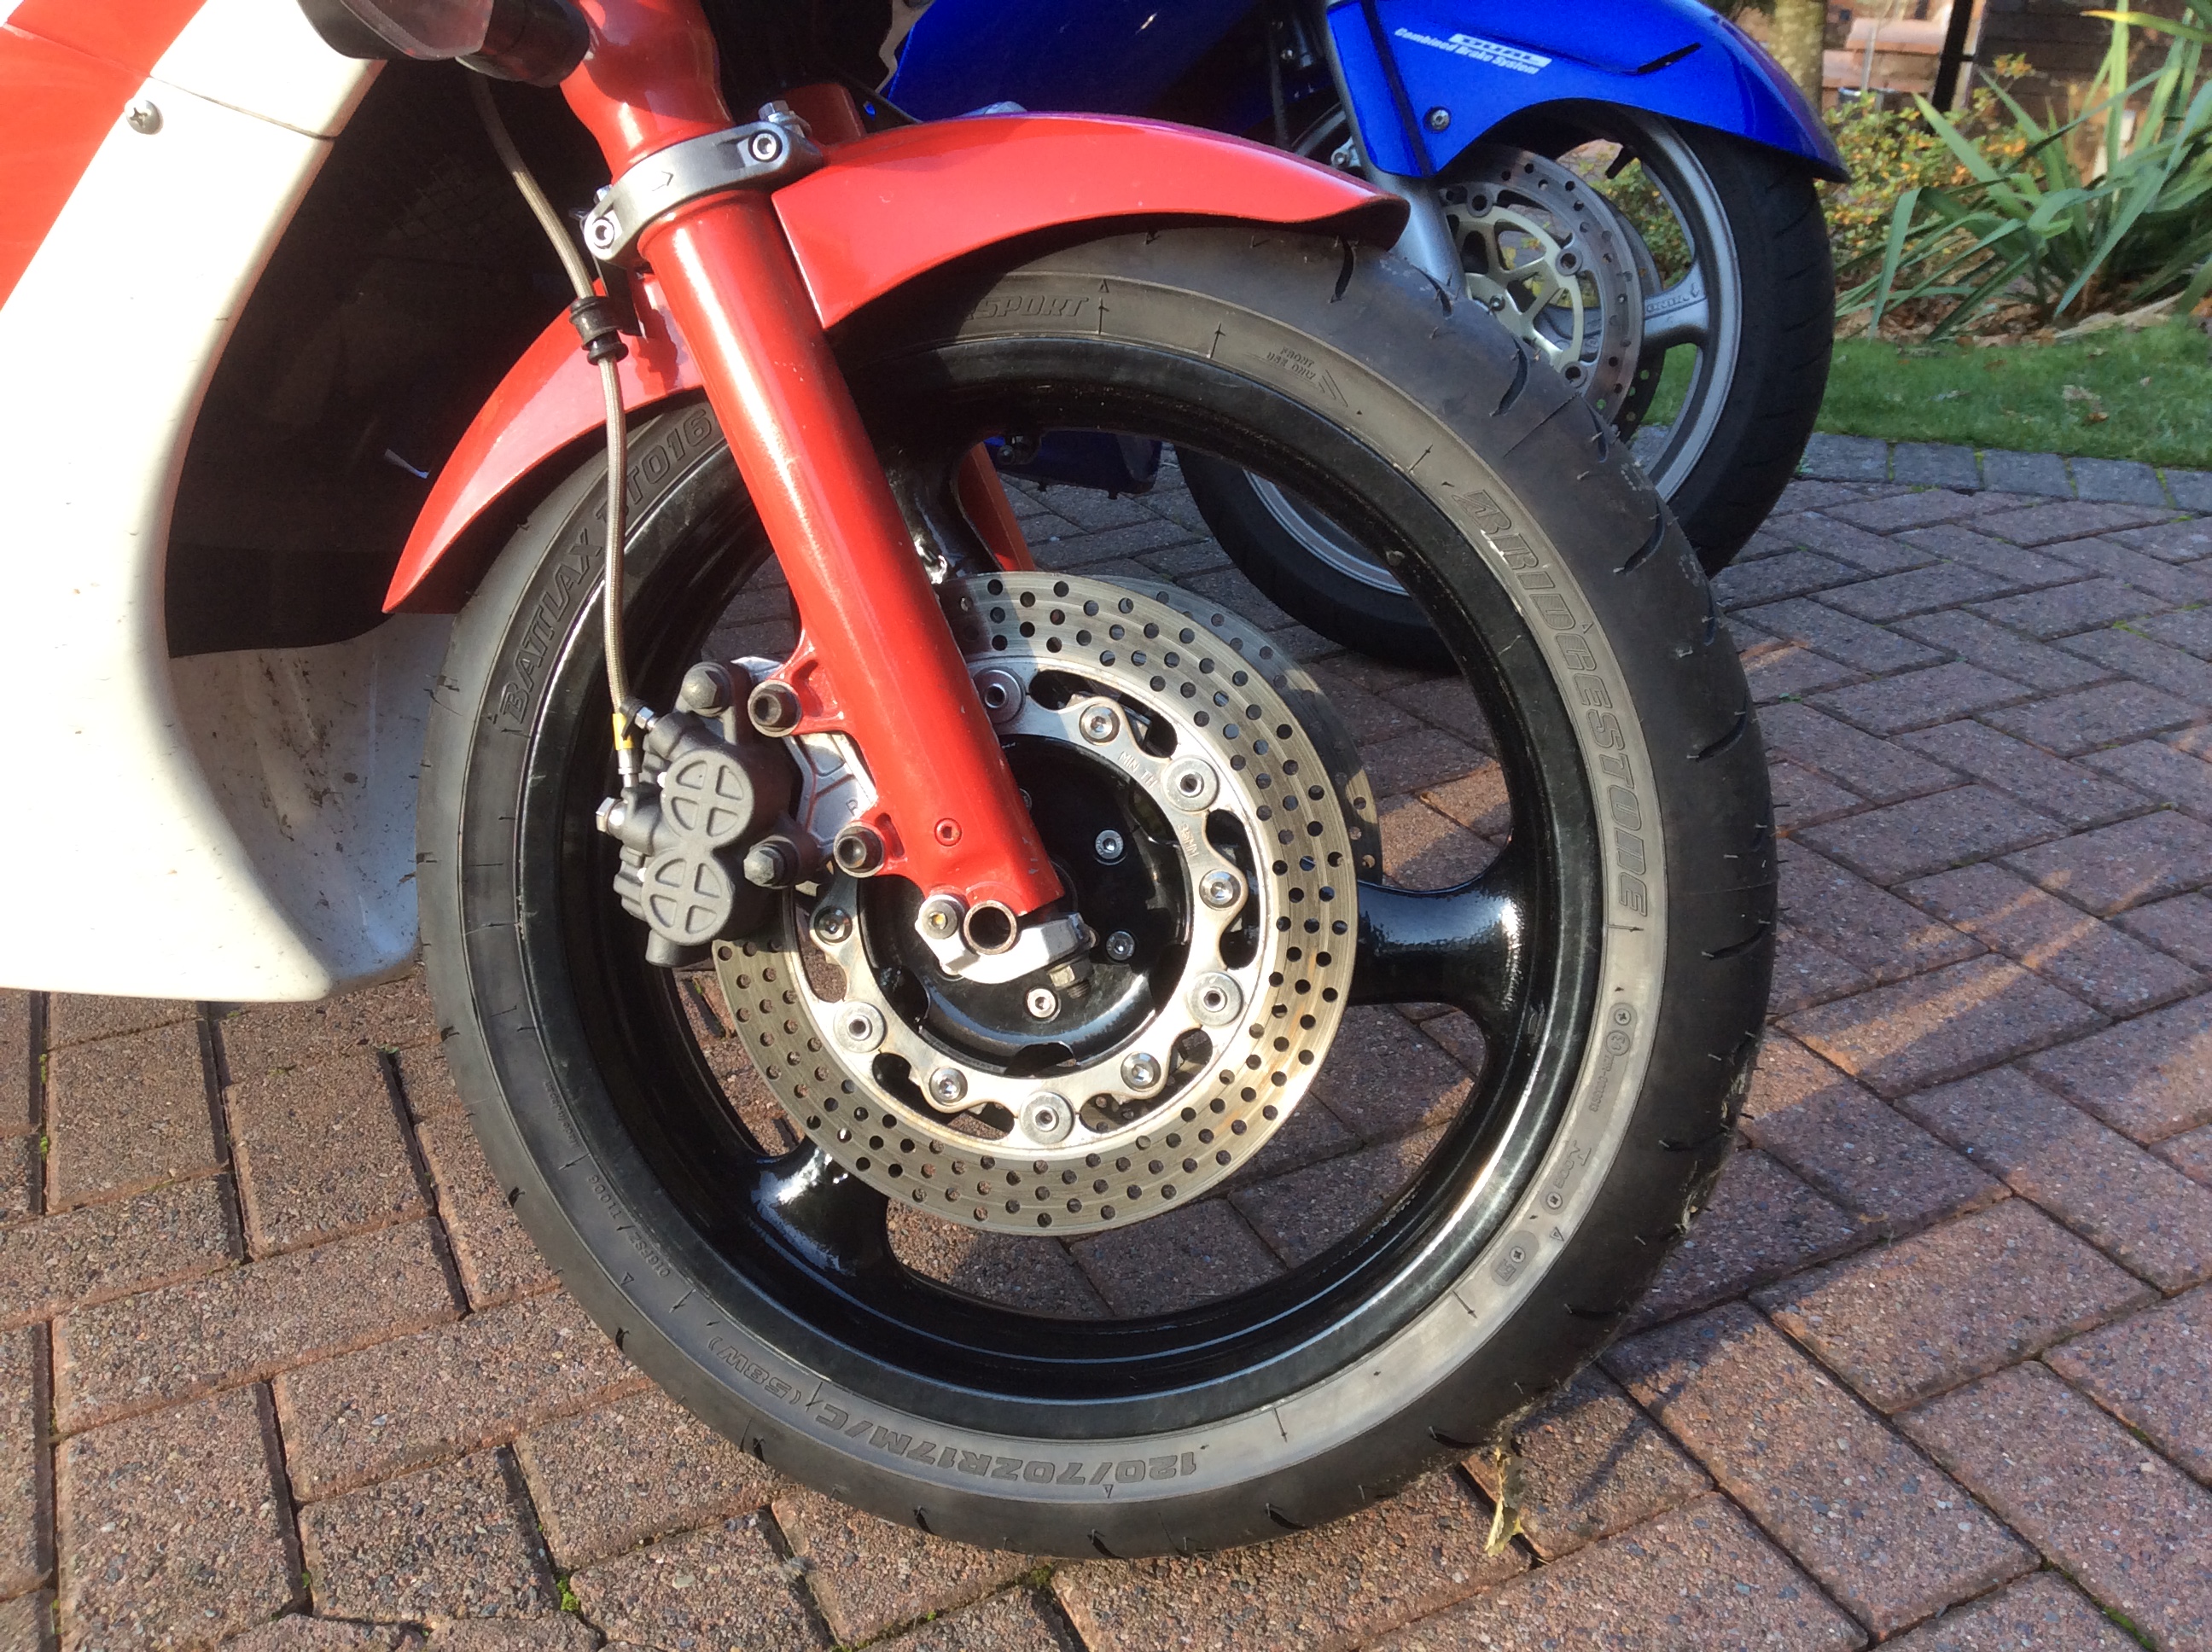
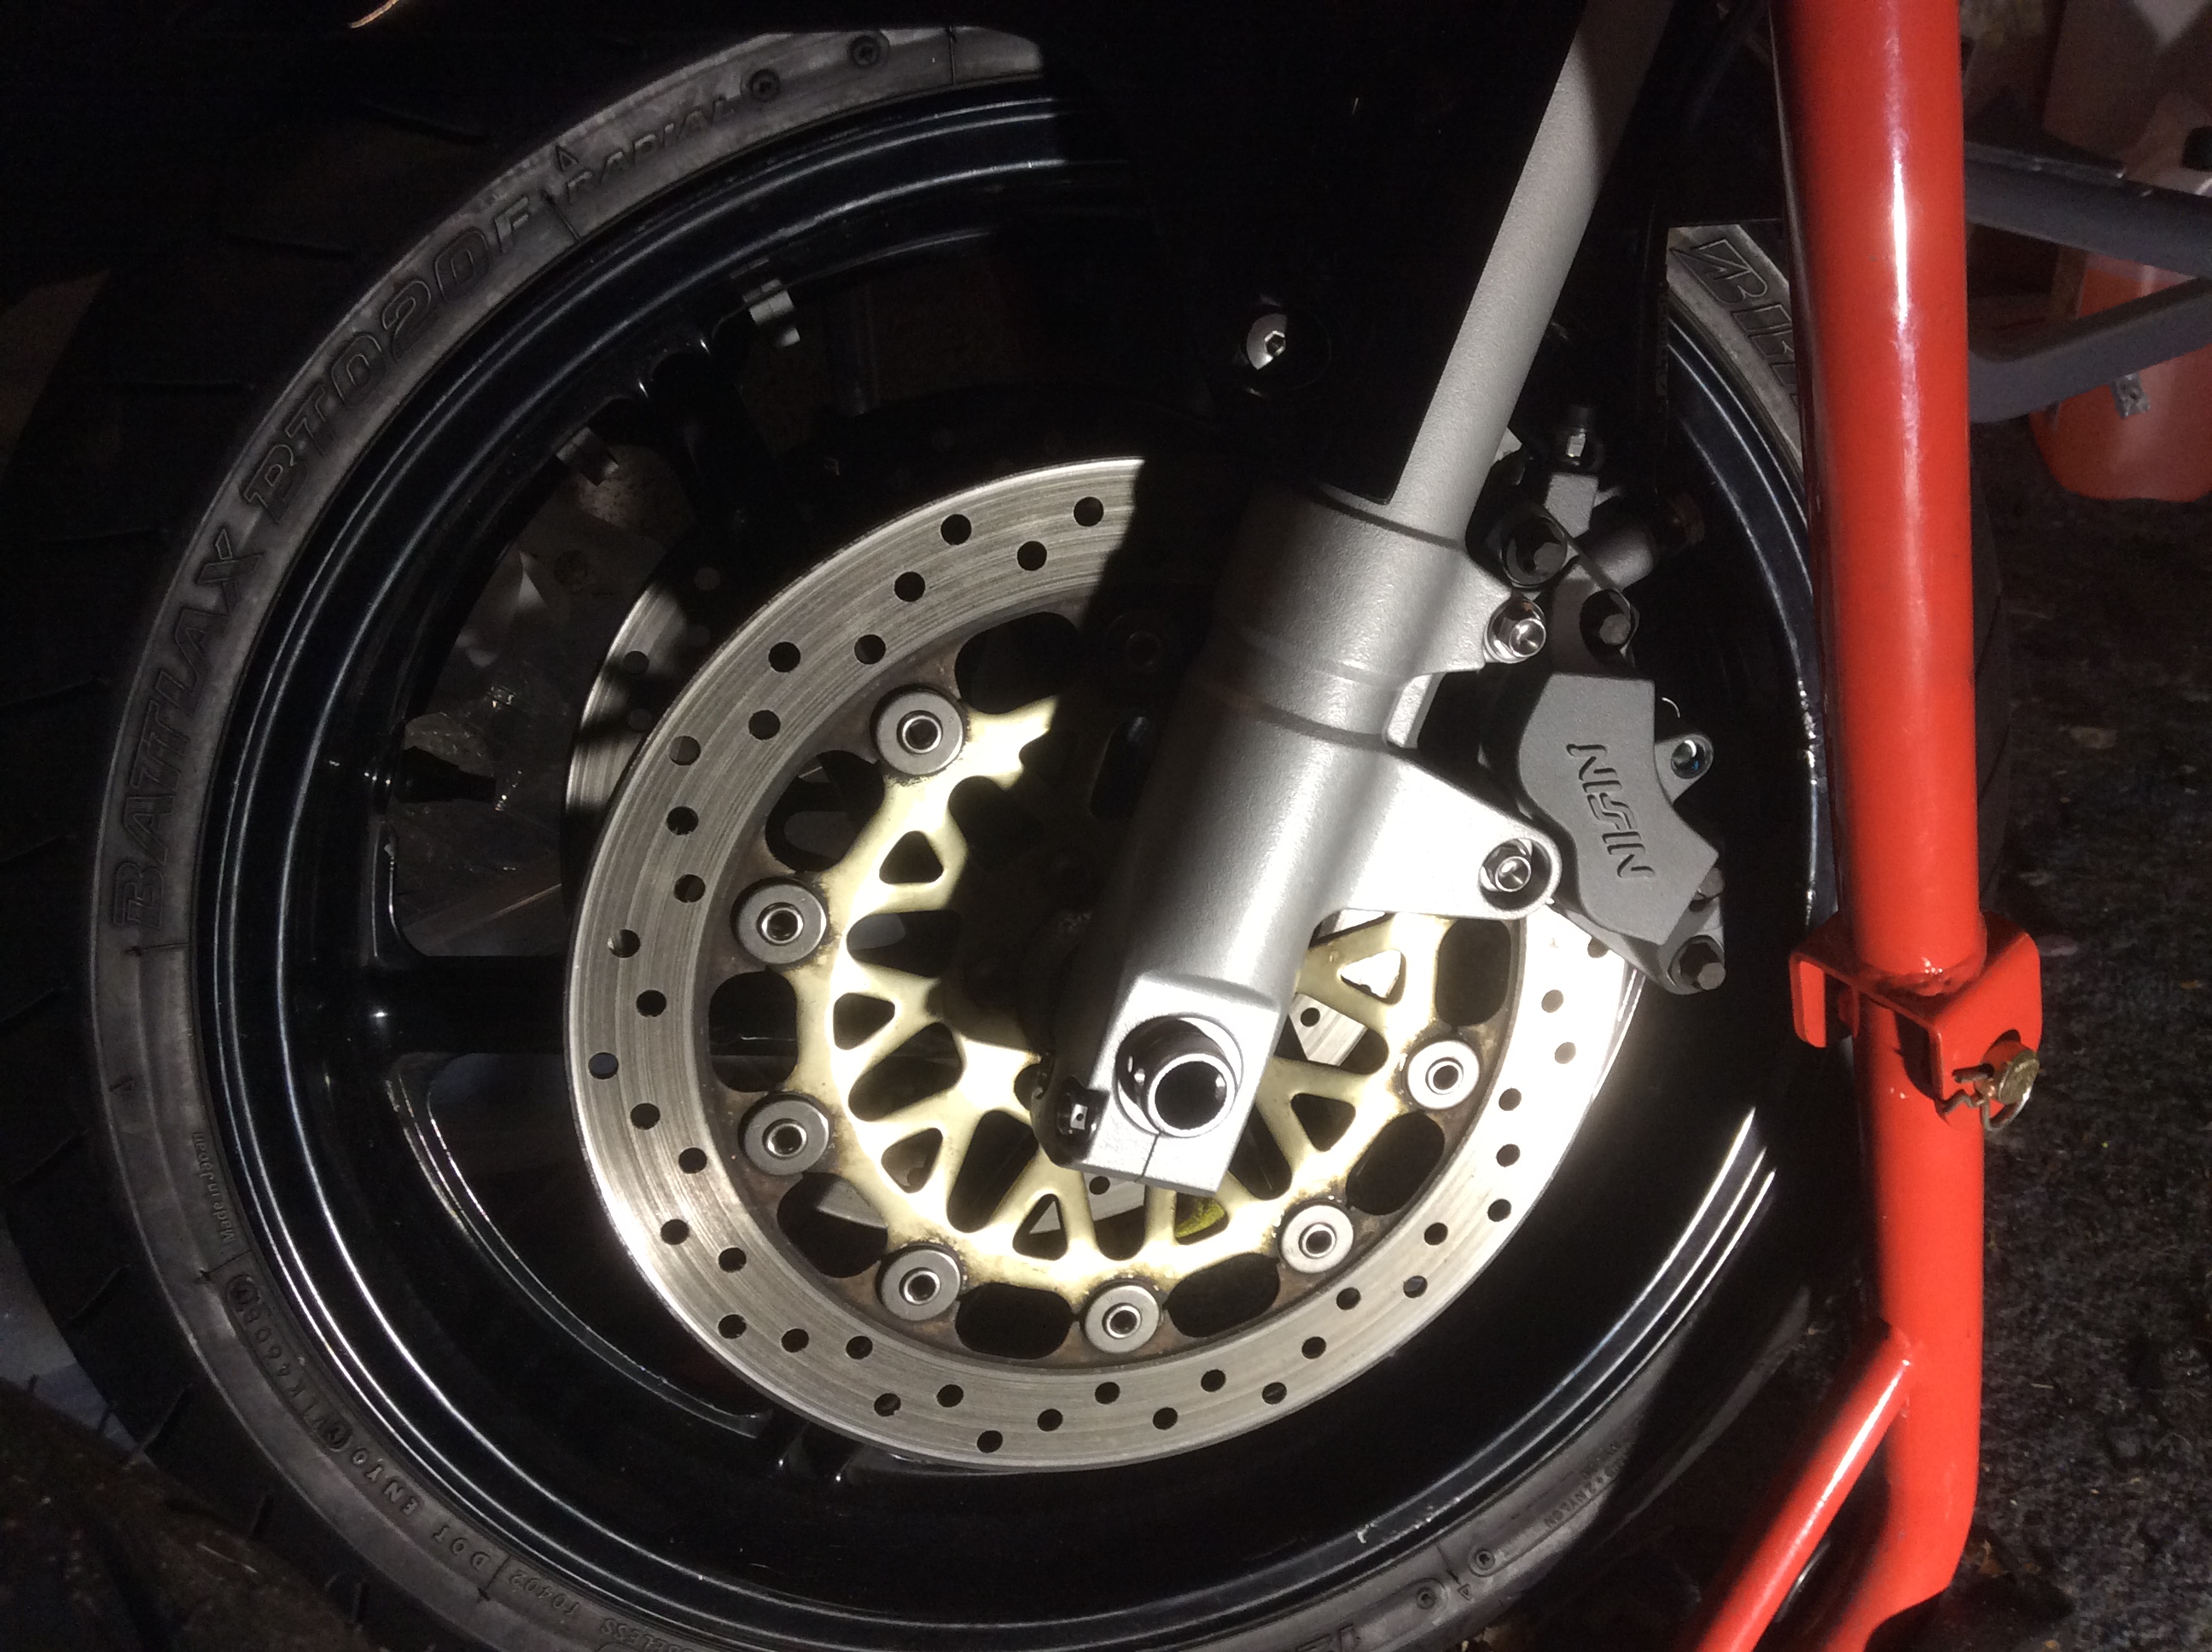
The front end went together fine but there was very little clearance on the floating disc rivets
Total saving on unsprung weight is 5.5kgs,I will update once the rear is fitted and I can work out what the weight saving means in terms of handling.
Regards Bif
Hi Bif, I cannot help thinking that if Honda had continued with this model a while longer, then this is just the kind of changes they would have probobly made to subsequent models! You have taken a very inovative approach to updating your current model year. 5.5 kgs less unsprung weight reduction should really help the braking and handling, especially on turn in and probobly double apex corners and s bends too, where a rapid change of direction is needed, without feeling like you are trying to lift a big sack of spuds with your fingers!!??
Rear wheel in and I’ve had a sedate trundle round just to check everything out,oooh yes it makes a difference.
I ran a set of cbr wheels this year which improved the bike no end,these are in another league
Bring on the good weather so I can test them out for real.
I have also dropped another tooth on the rear so running a 40 now,it doesn’t seem to phase the motor at all
Regards Bif
Bif wheels look lovely, what are they off and what mods where needed?
Garyb
Hi bif, nice job as usual, I’m considering the bt16 pros on my R, what is the actual width of the tyre, I’m currently on Avon ultra sports 160x60 zr 17, these tyres actually measured 164 on the 4.5 inch f2 wheels and 168mm on the 5.00 inch f3 wheels.
Gary the wheels were originally fitted to an early model VFR750 that was raced,although the listing was for a vf500!!!
Front was fairly simple,basically the same as the cbr mod but had to space the disc carriers out by 1mm a side.
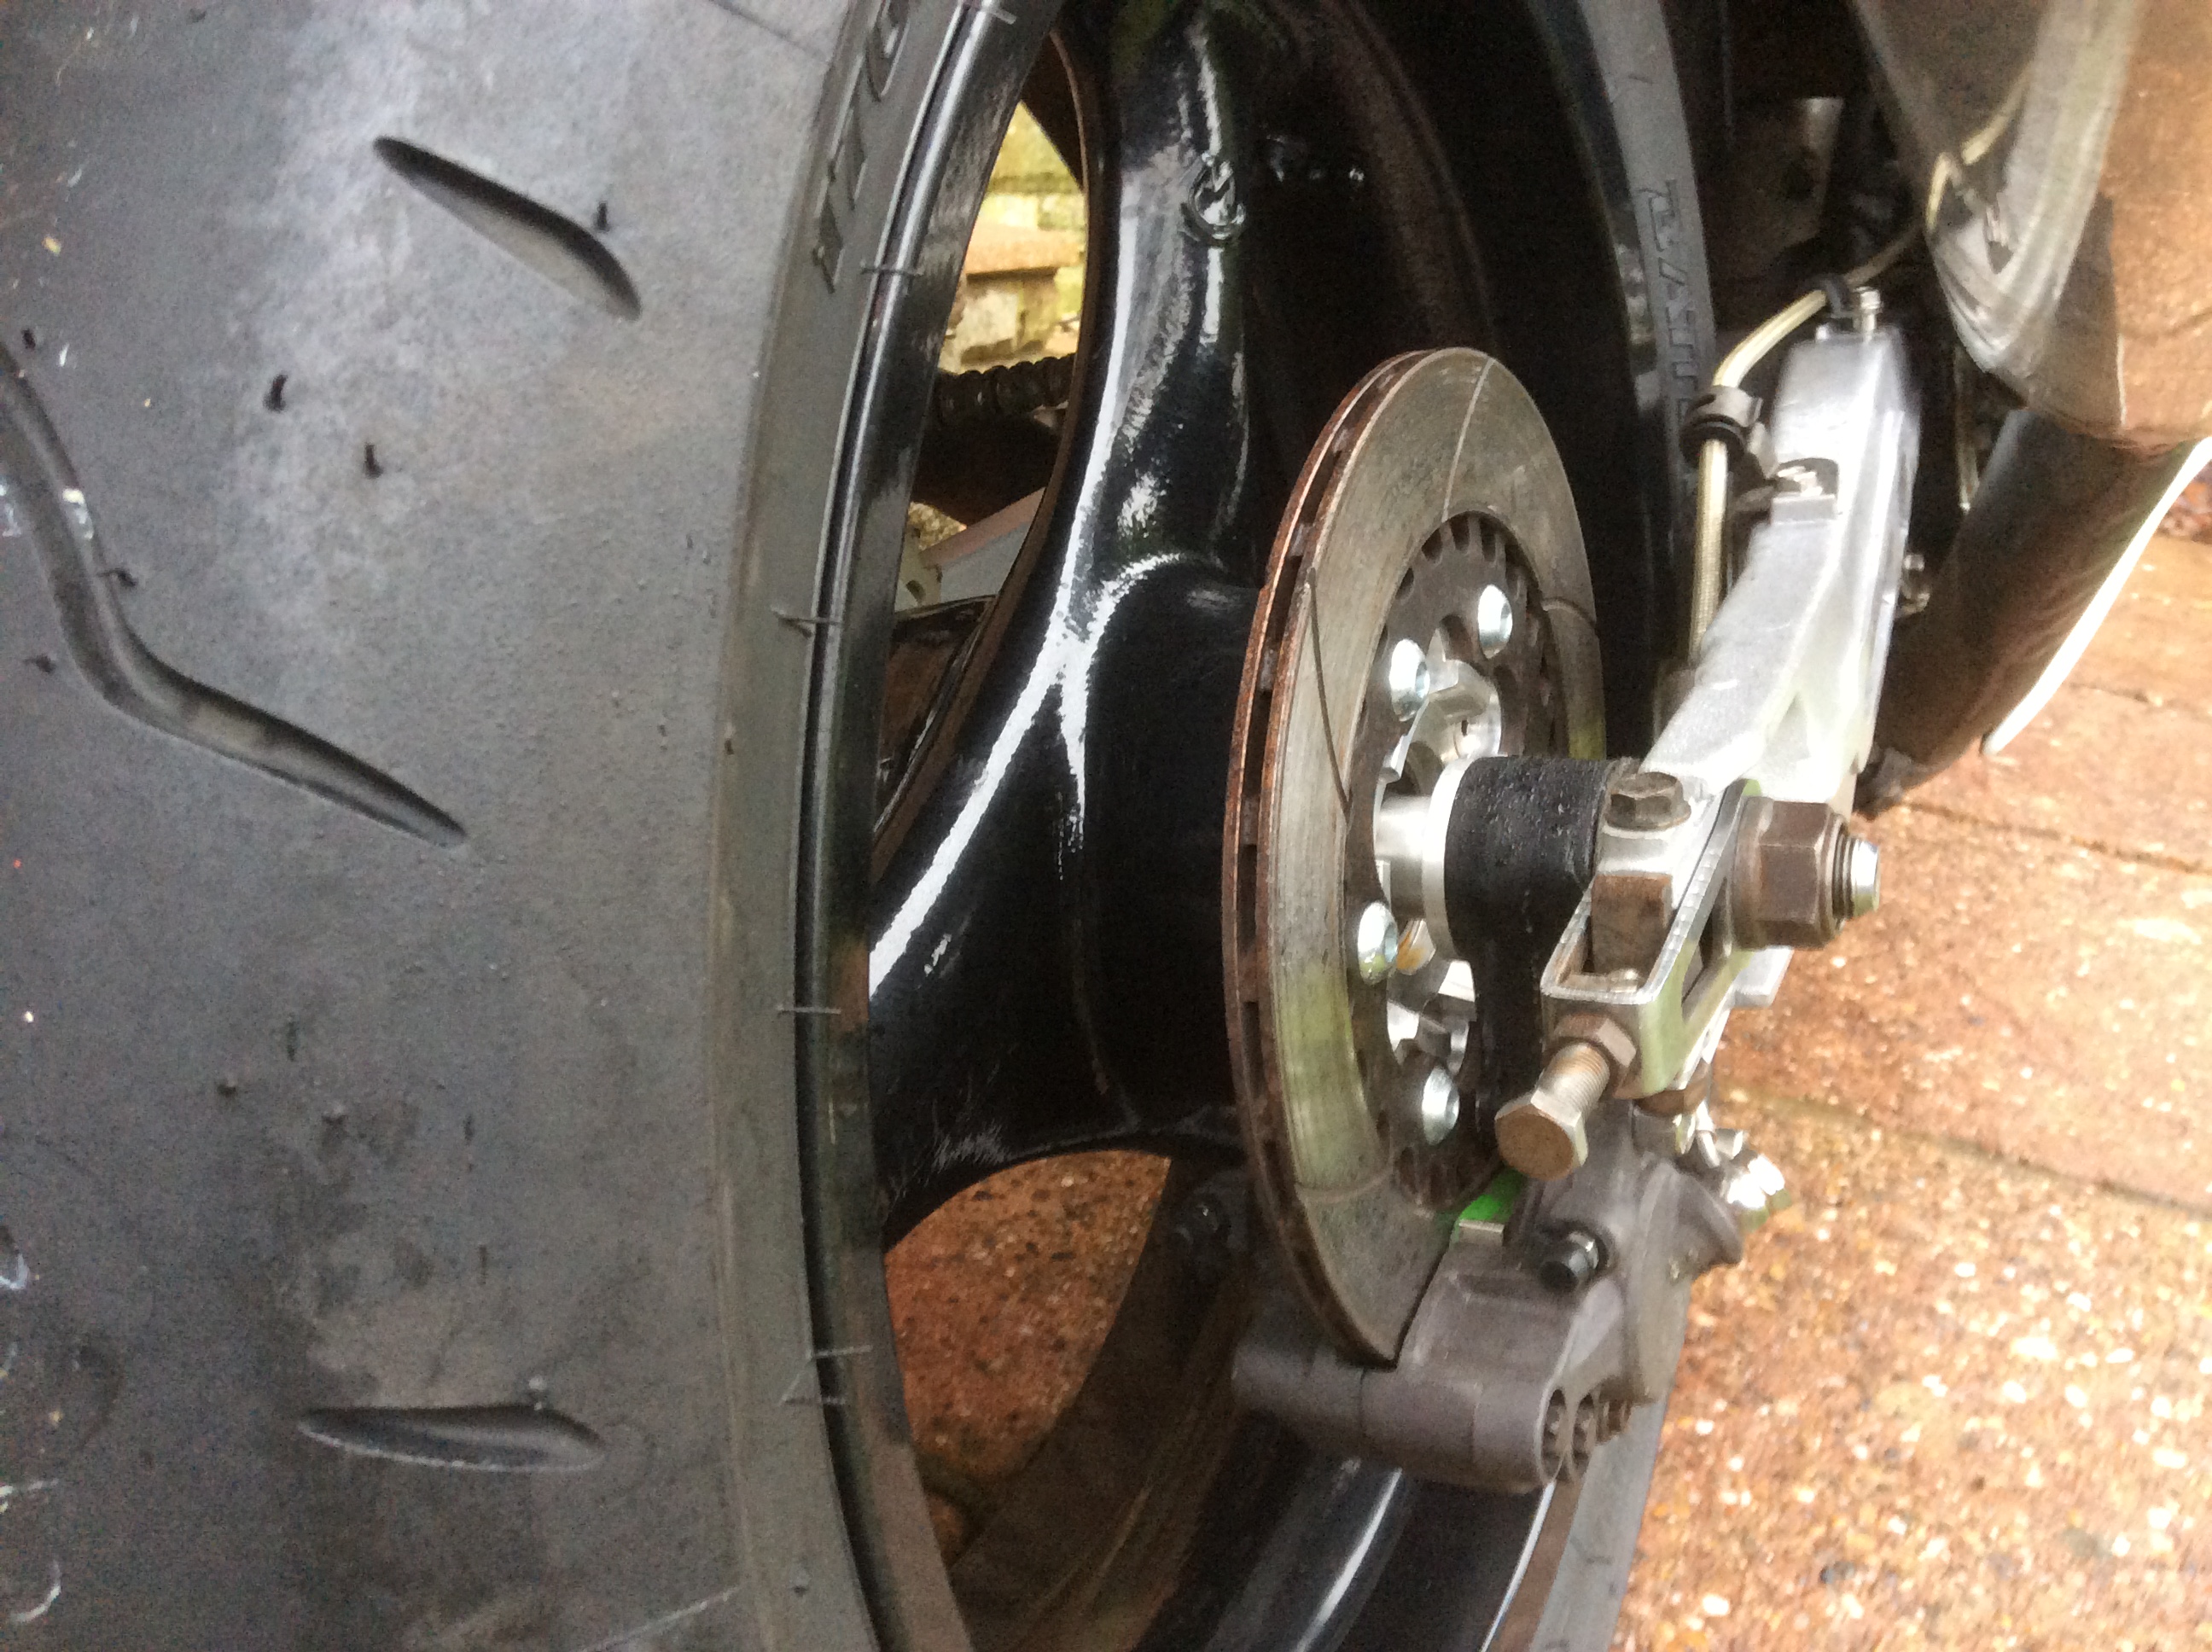
The rear was more involved including having a new disc and bearing carrier made.The drive side only needed a spacer to line the Cush drive up to the front sprocket.
Pete the tyre measures 175mm on the 5.5 rim.
I have offset the chain run to clear.
Part of the clearance was gained by changing to 520 pitch chain which is 3mm narrower than 530.
Using a cbr600 front sprocket,machined off the narrow shoulder and added a 2.5mm spacer onto the output shaft then fitted the sprocket shoulder first which brings the outer face flush with the end of the shaft.
520 chain has the same tensile strength as 530 but is more power efficient having 2/3 off the friction of the larger chain.
Regards Bif
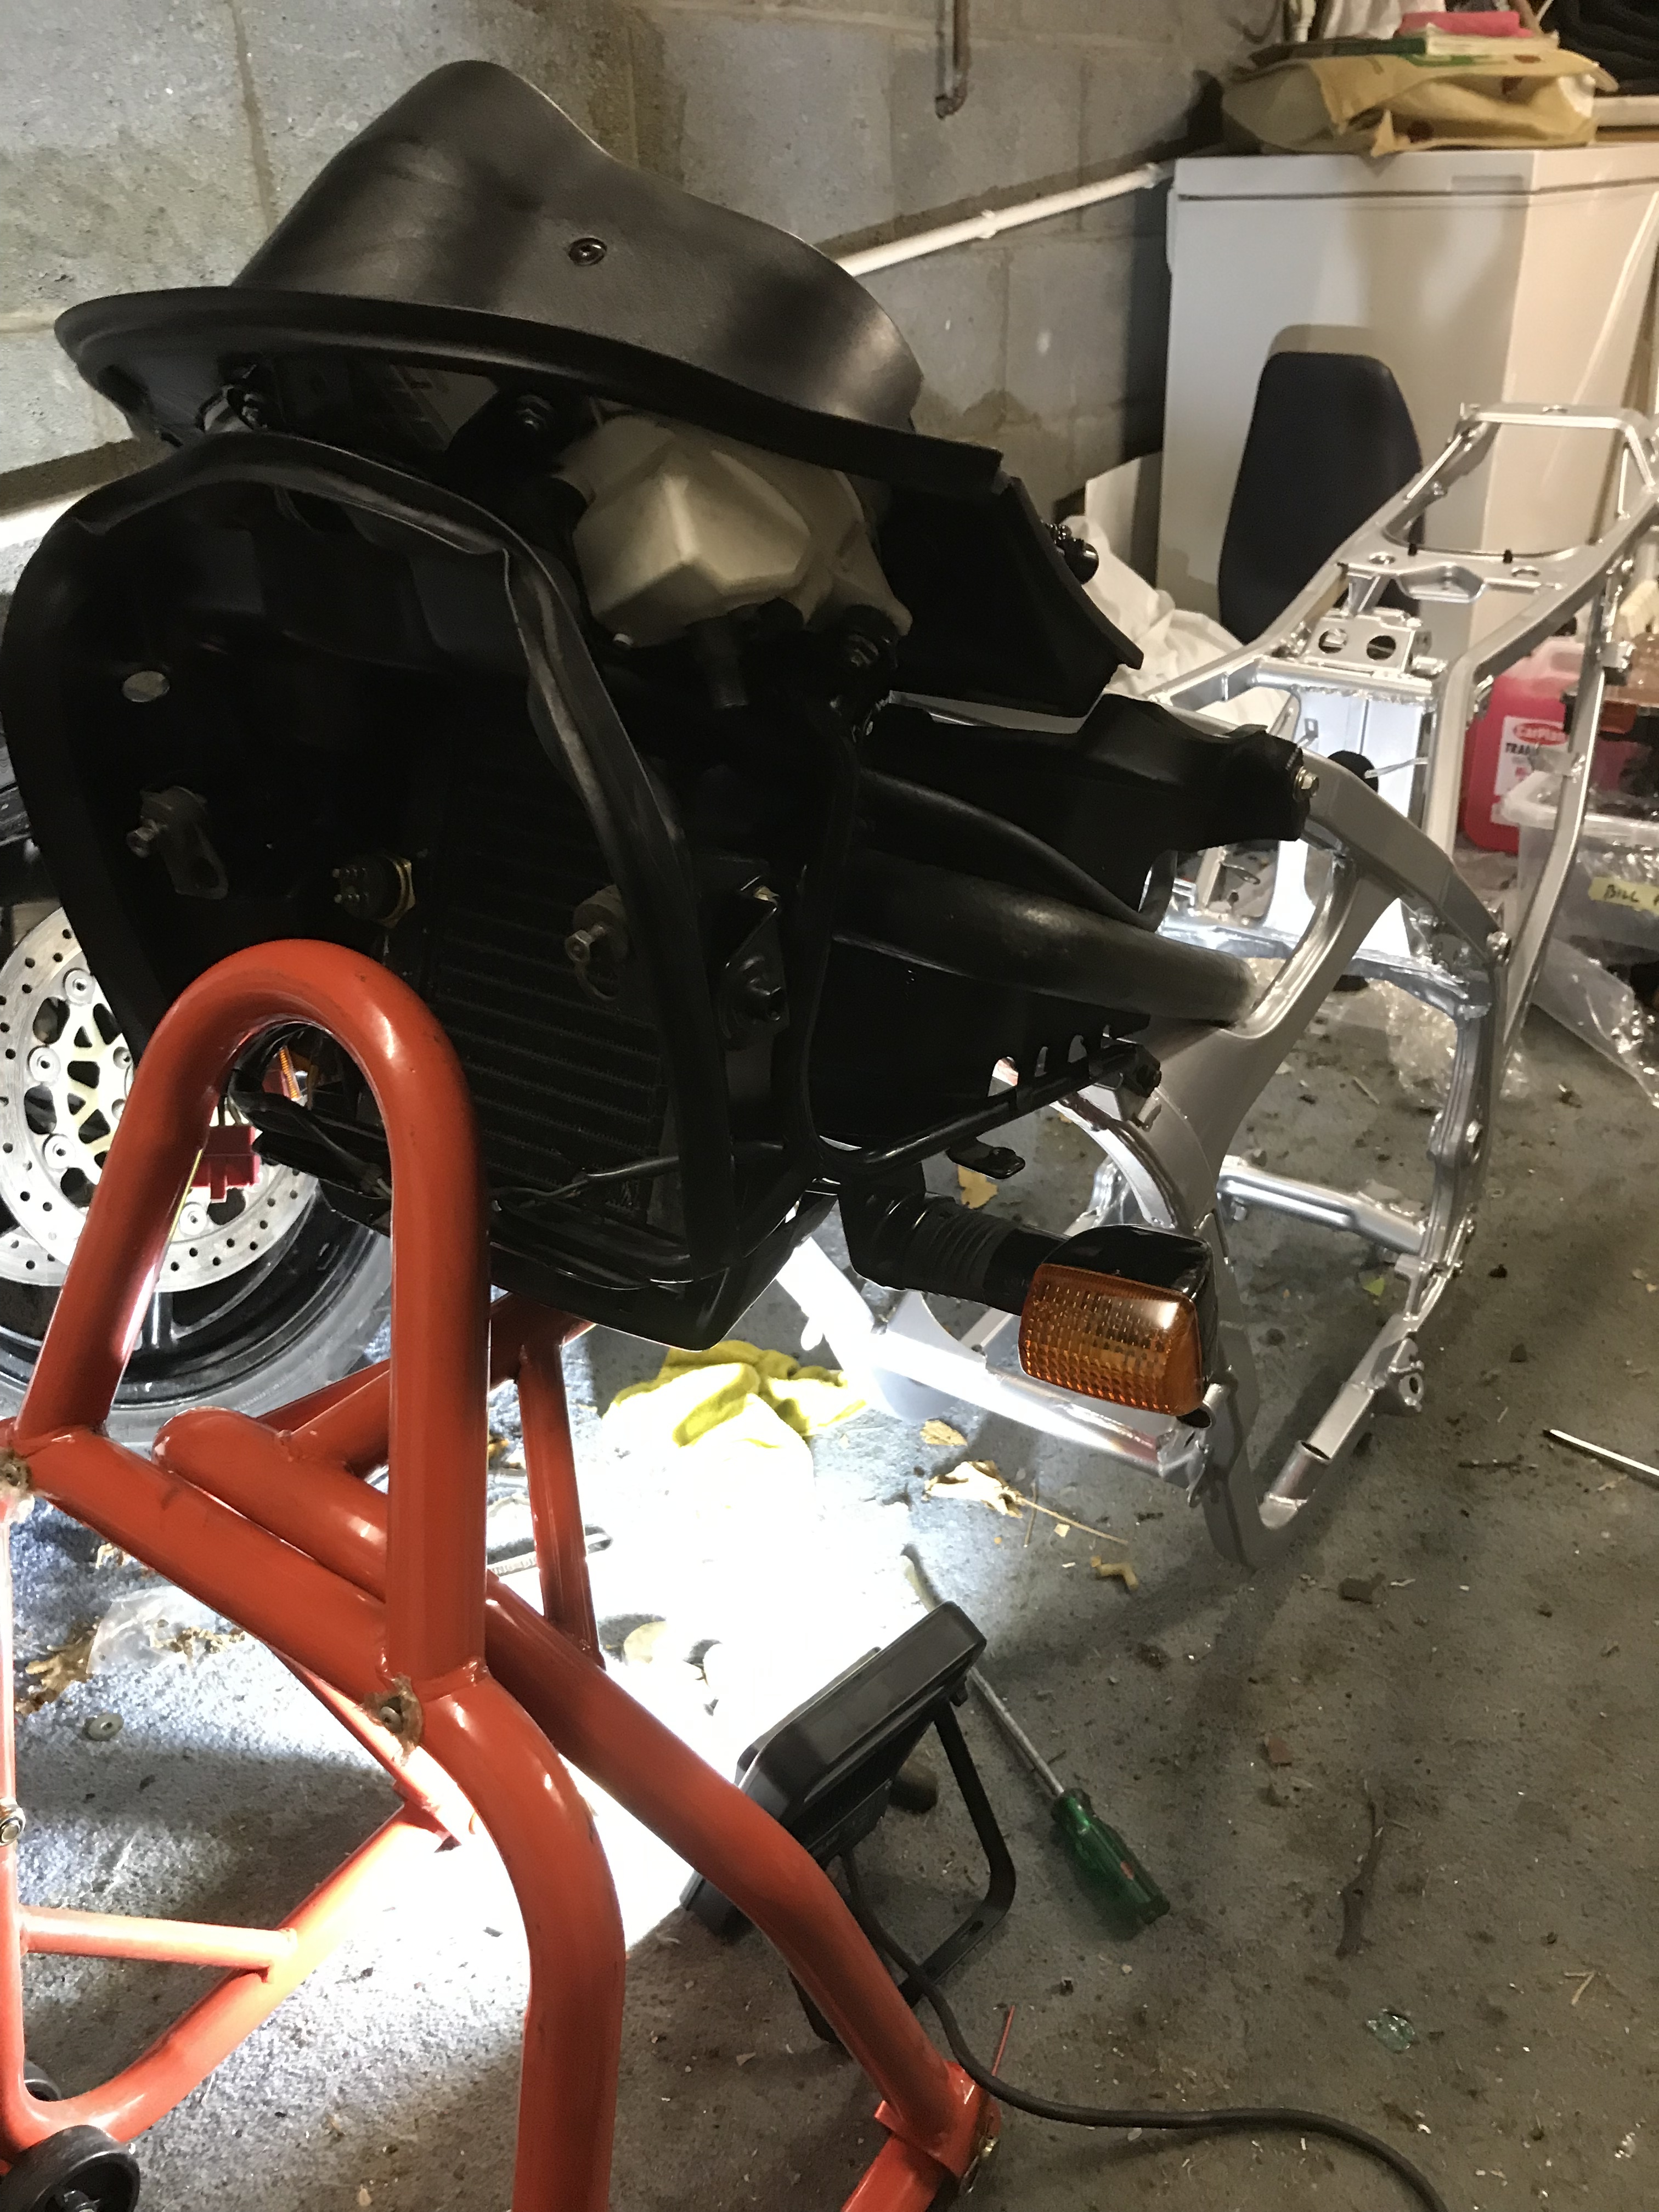
So now these babies have arrived
It’s time to get on with the build,some sub assemblies are already complete so it’s putting the bigger bits together to start with.
That’s after making enough room to work that is
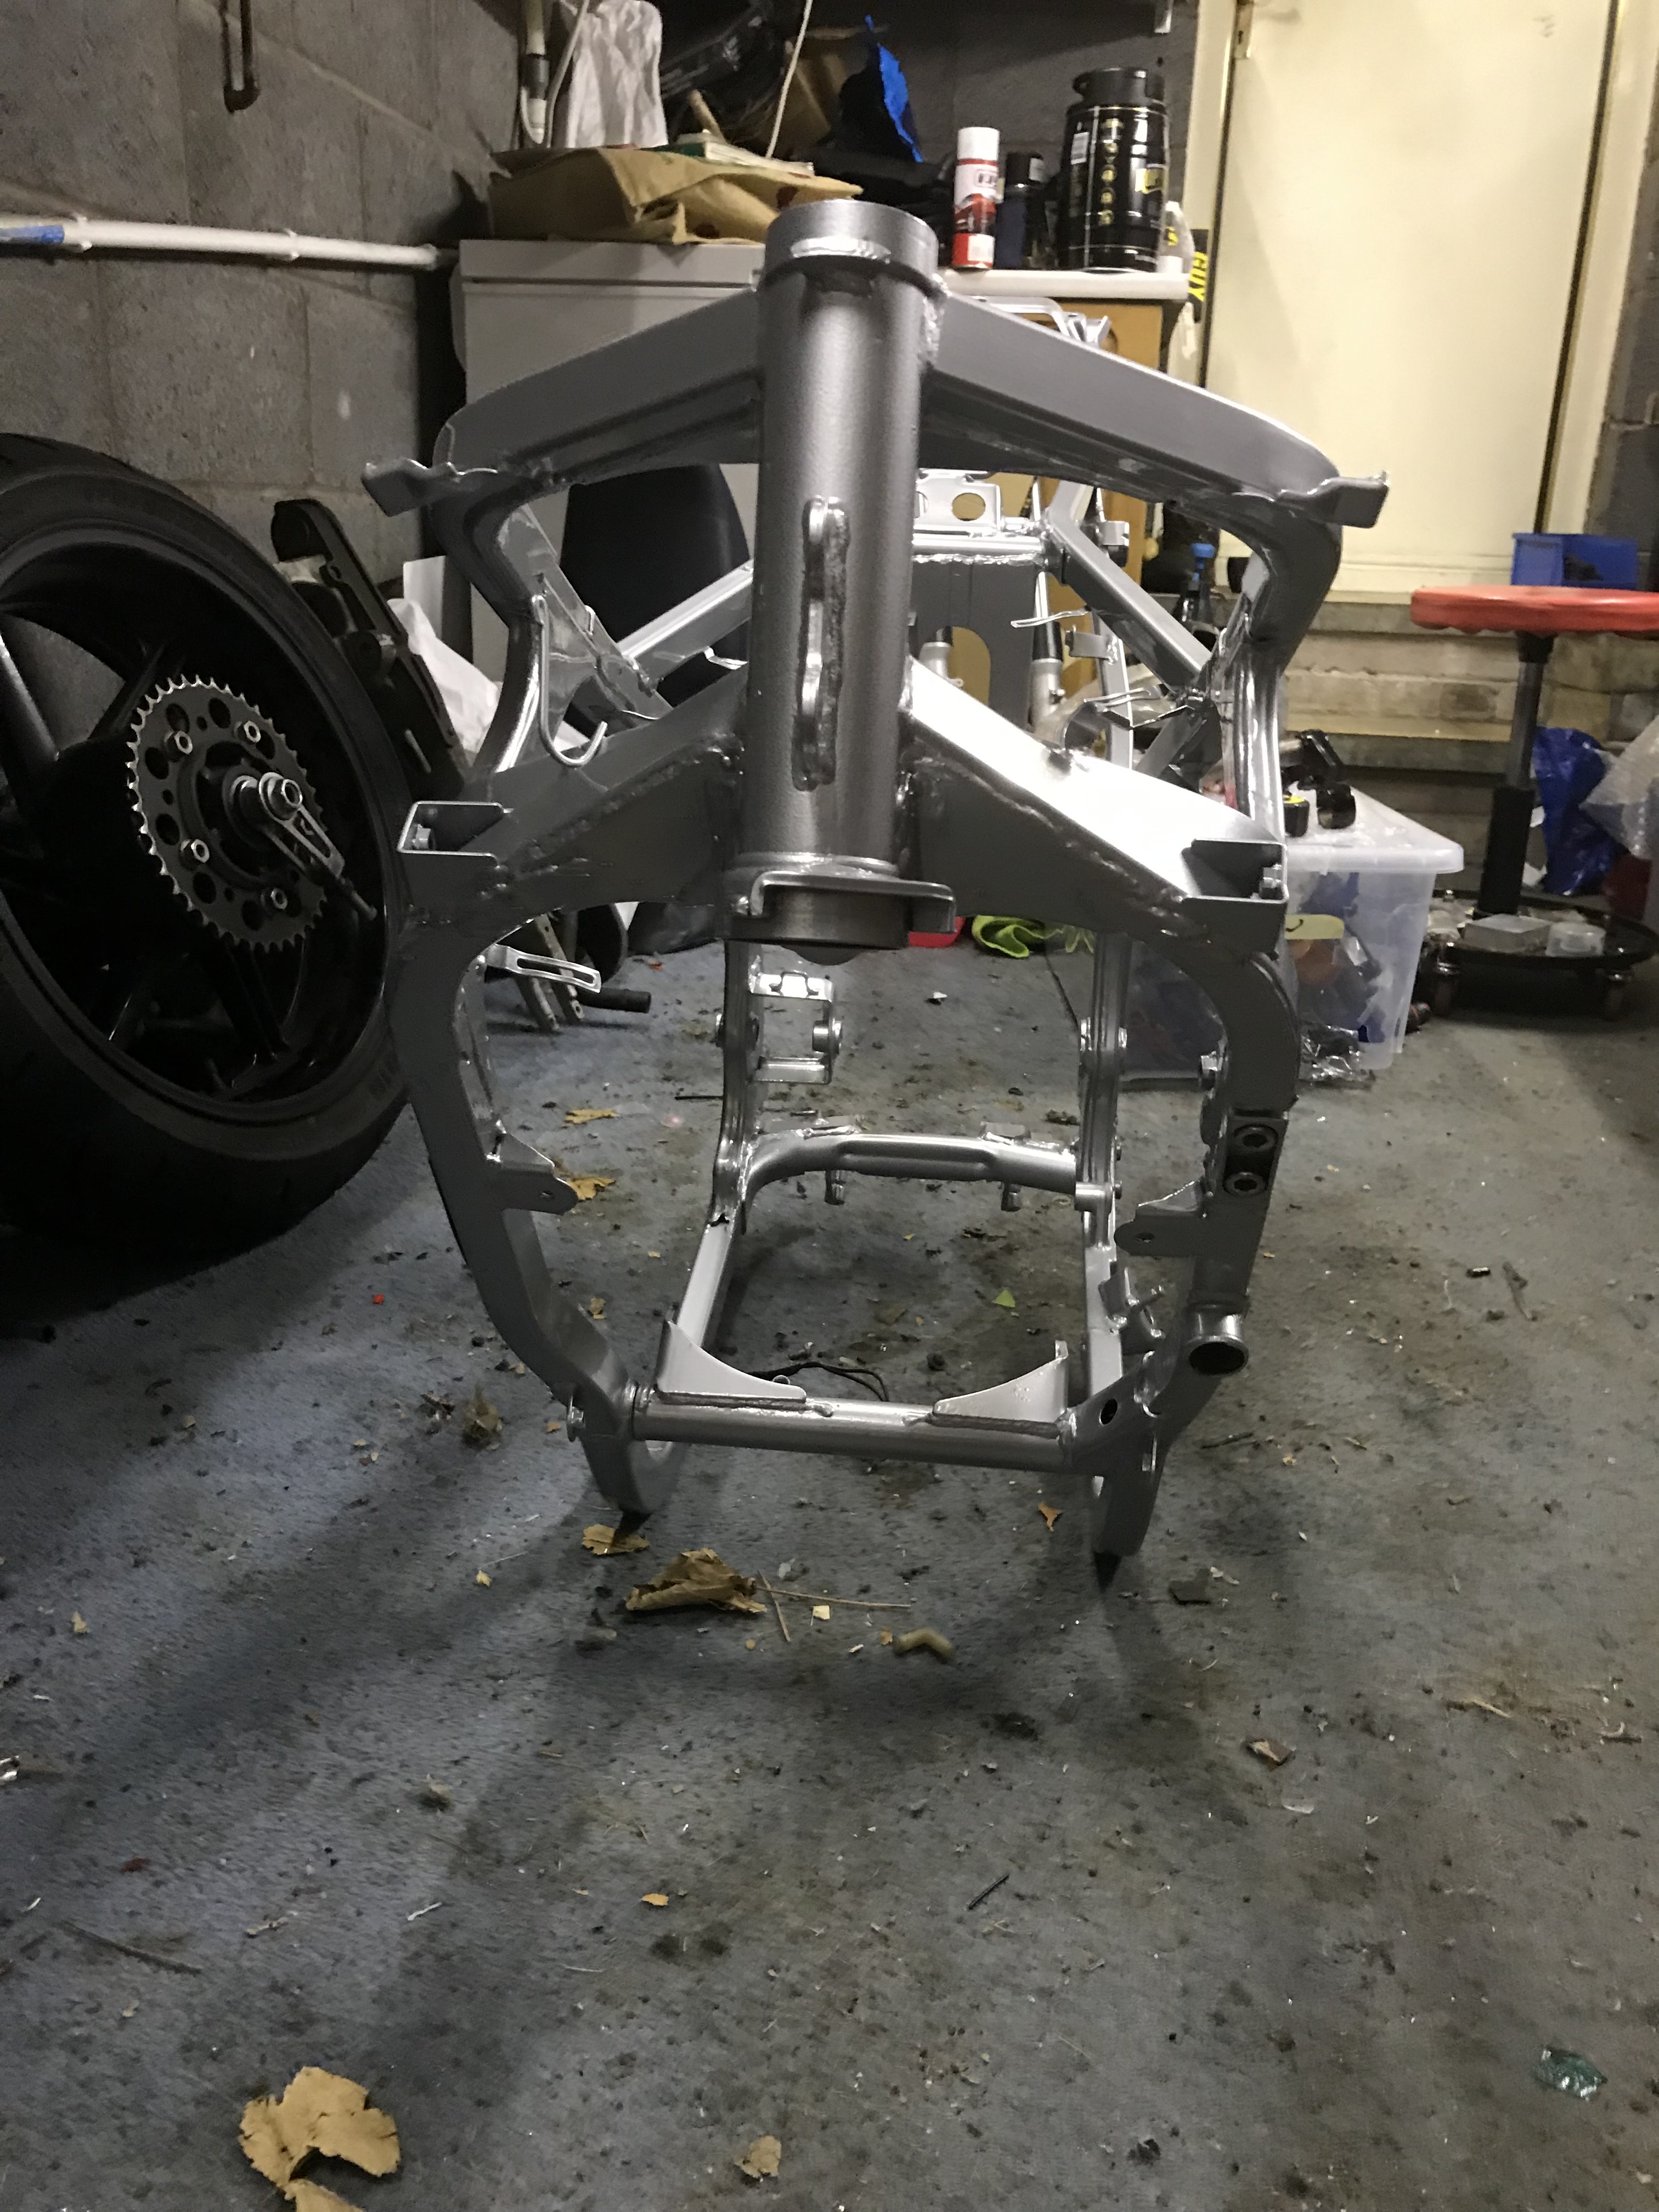
Can’t believe Roy@White trash autos only powdercoats as a hobby he does first class work.
In with some new headstock bearings and on with the yokes
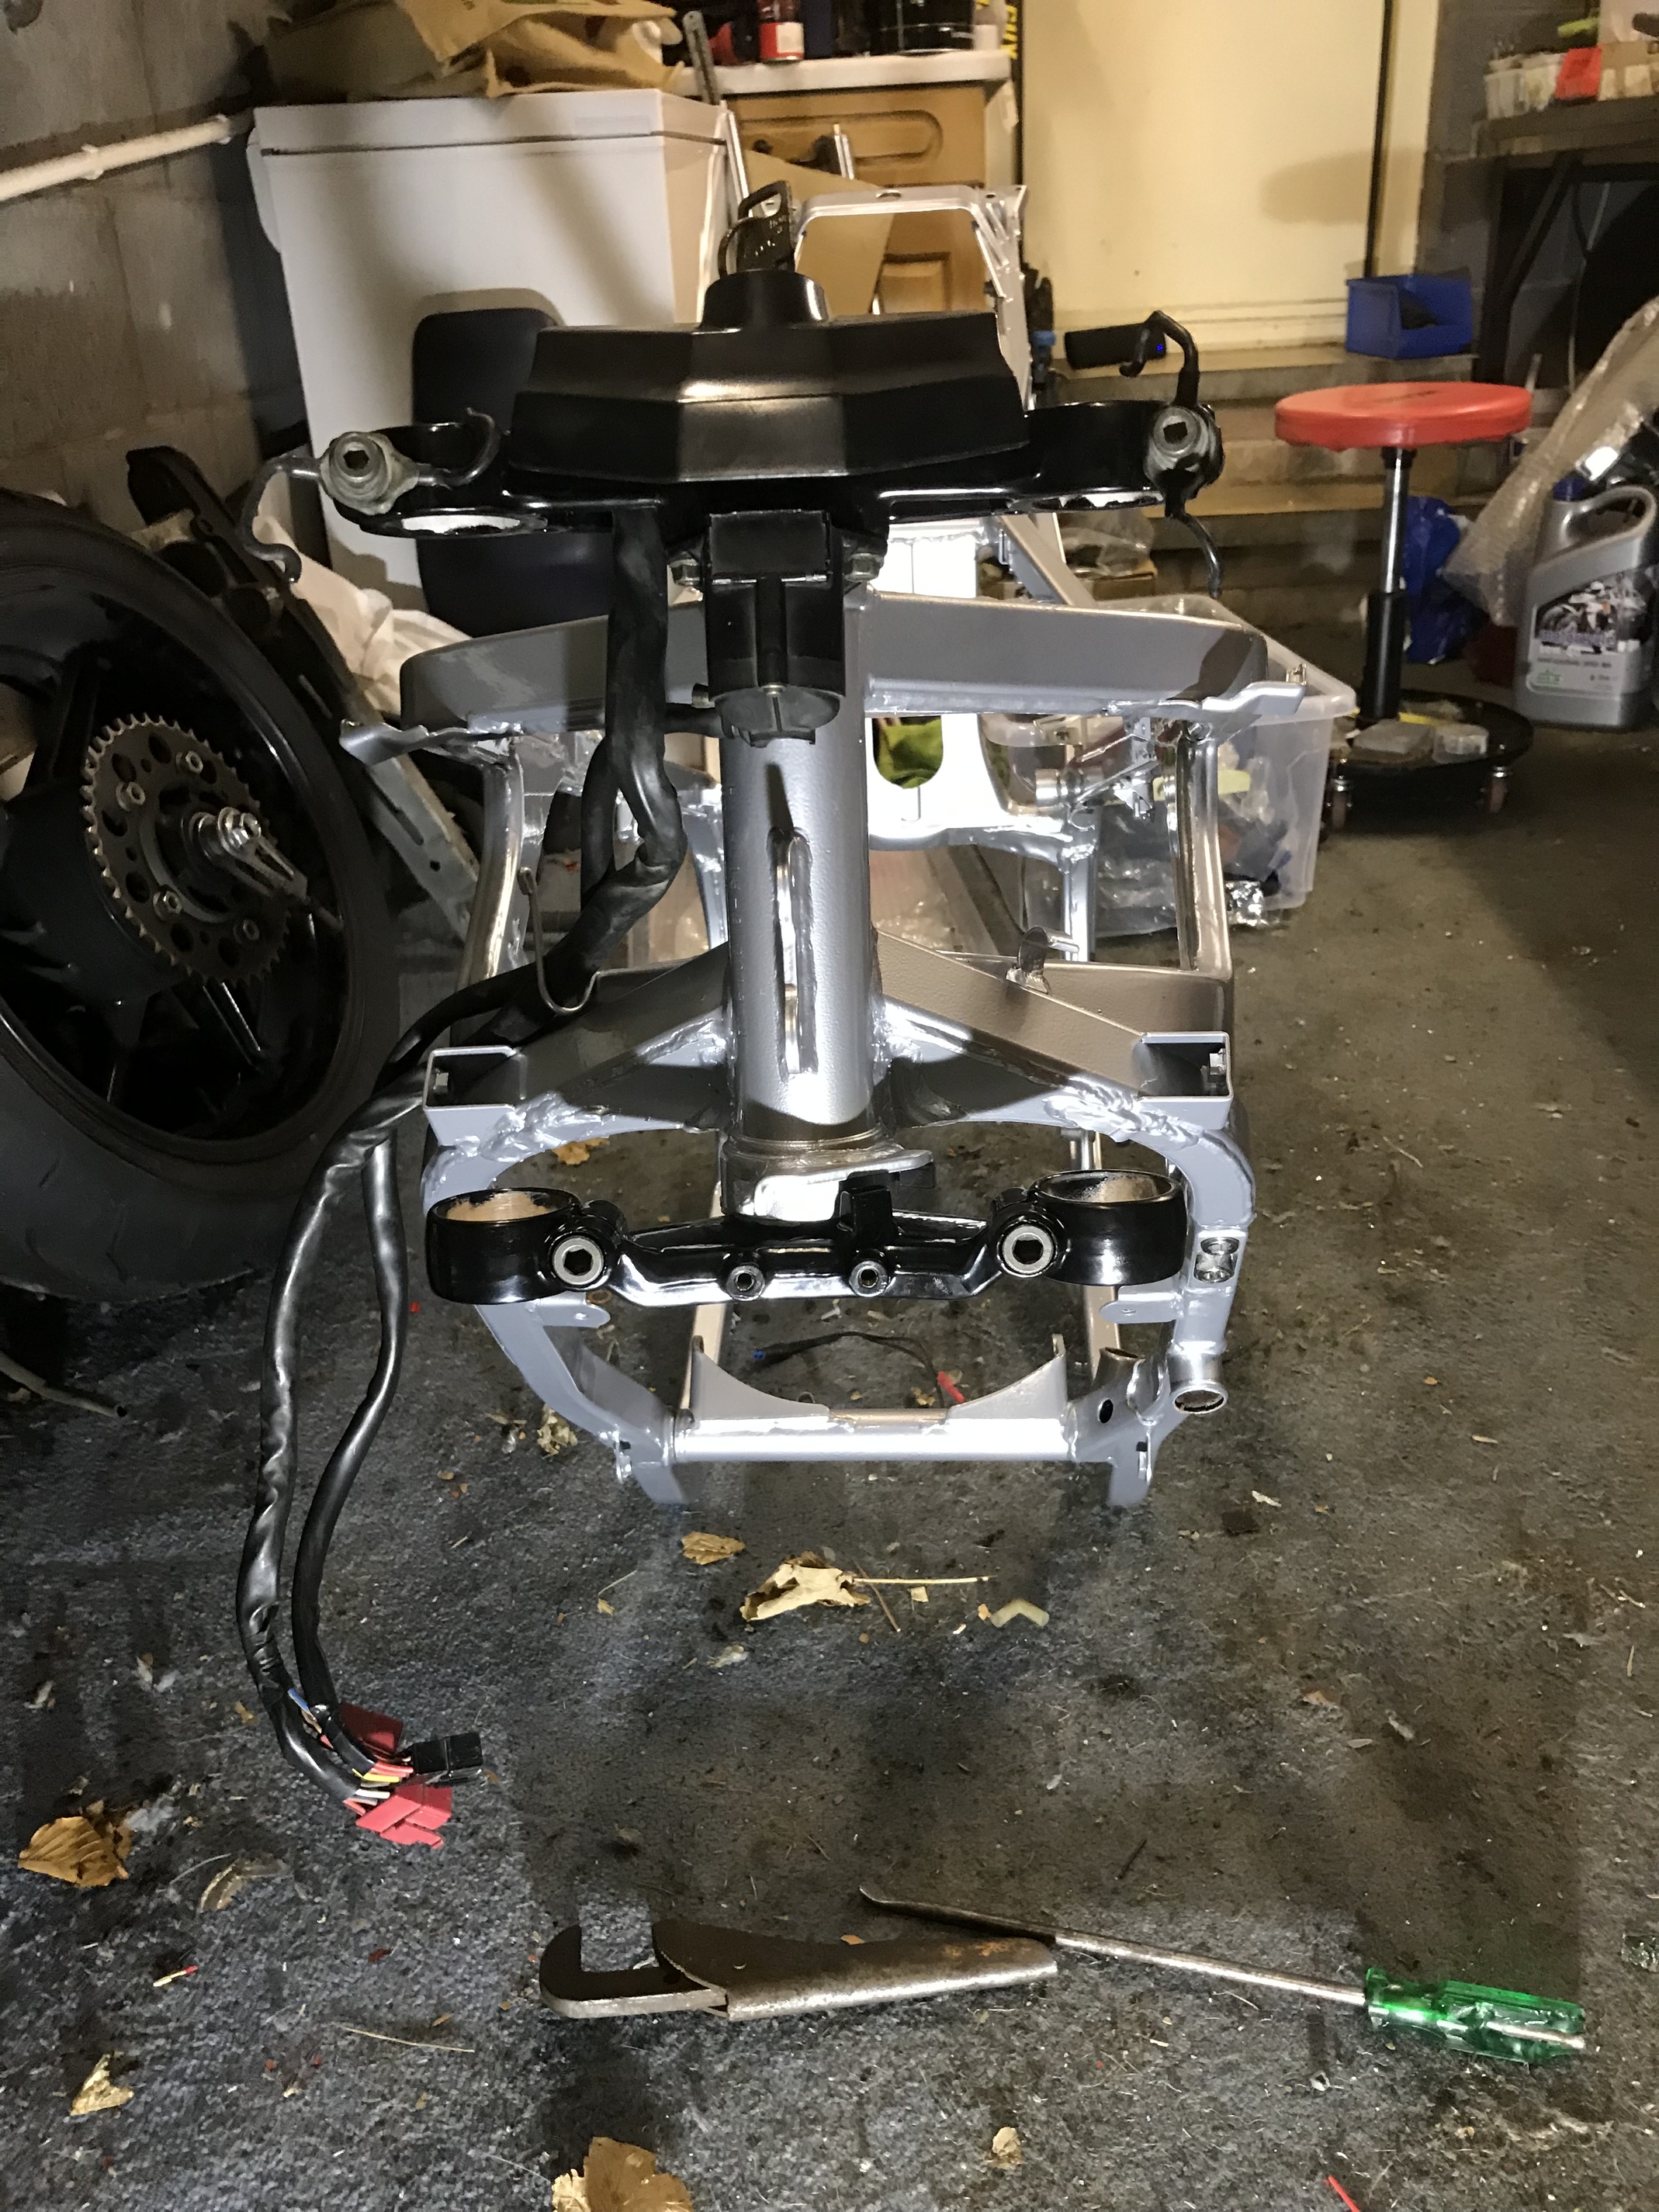
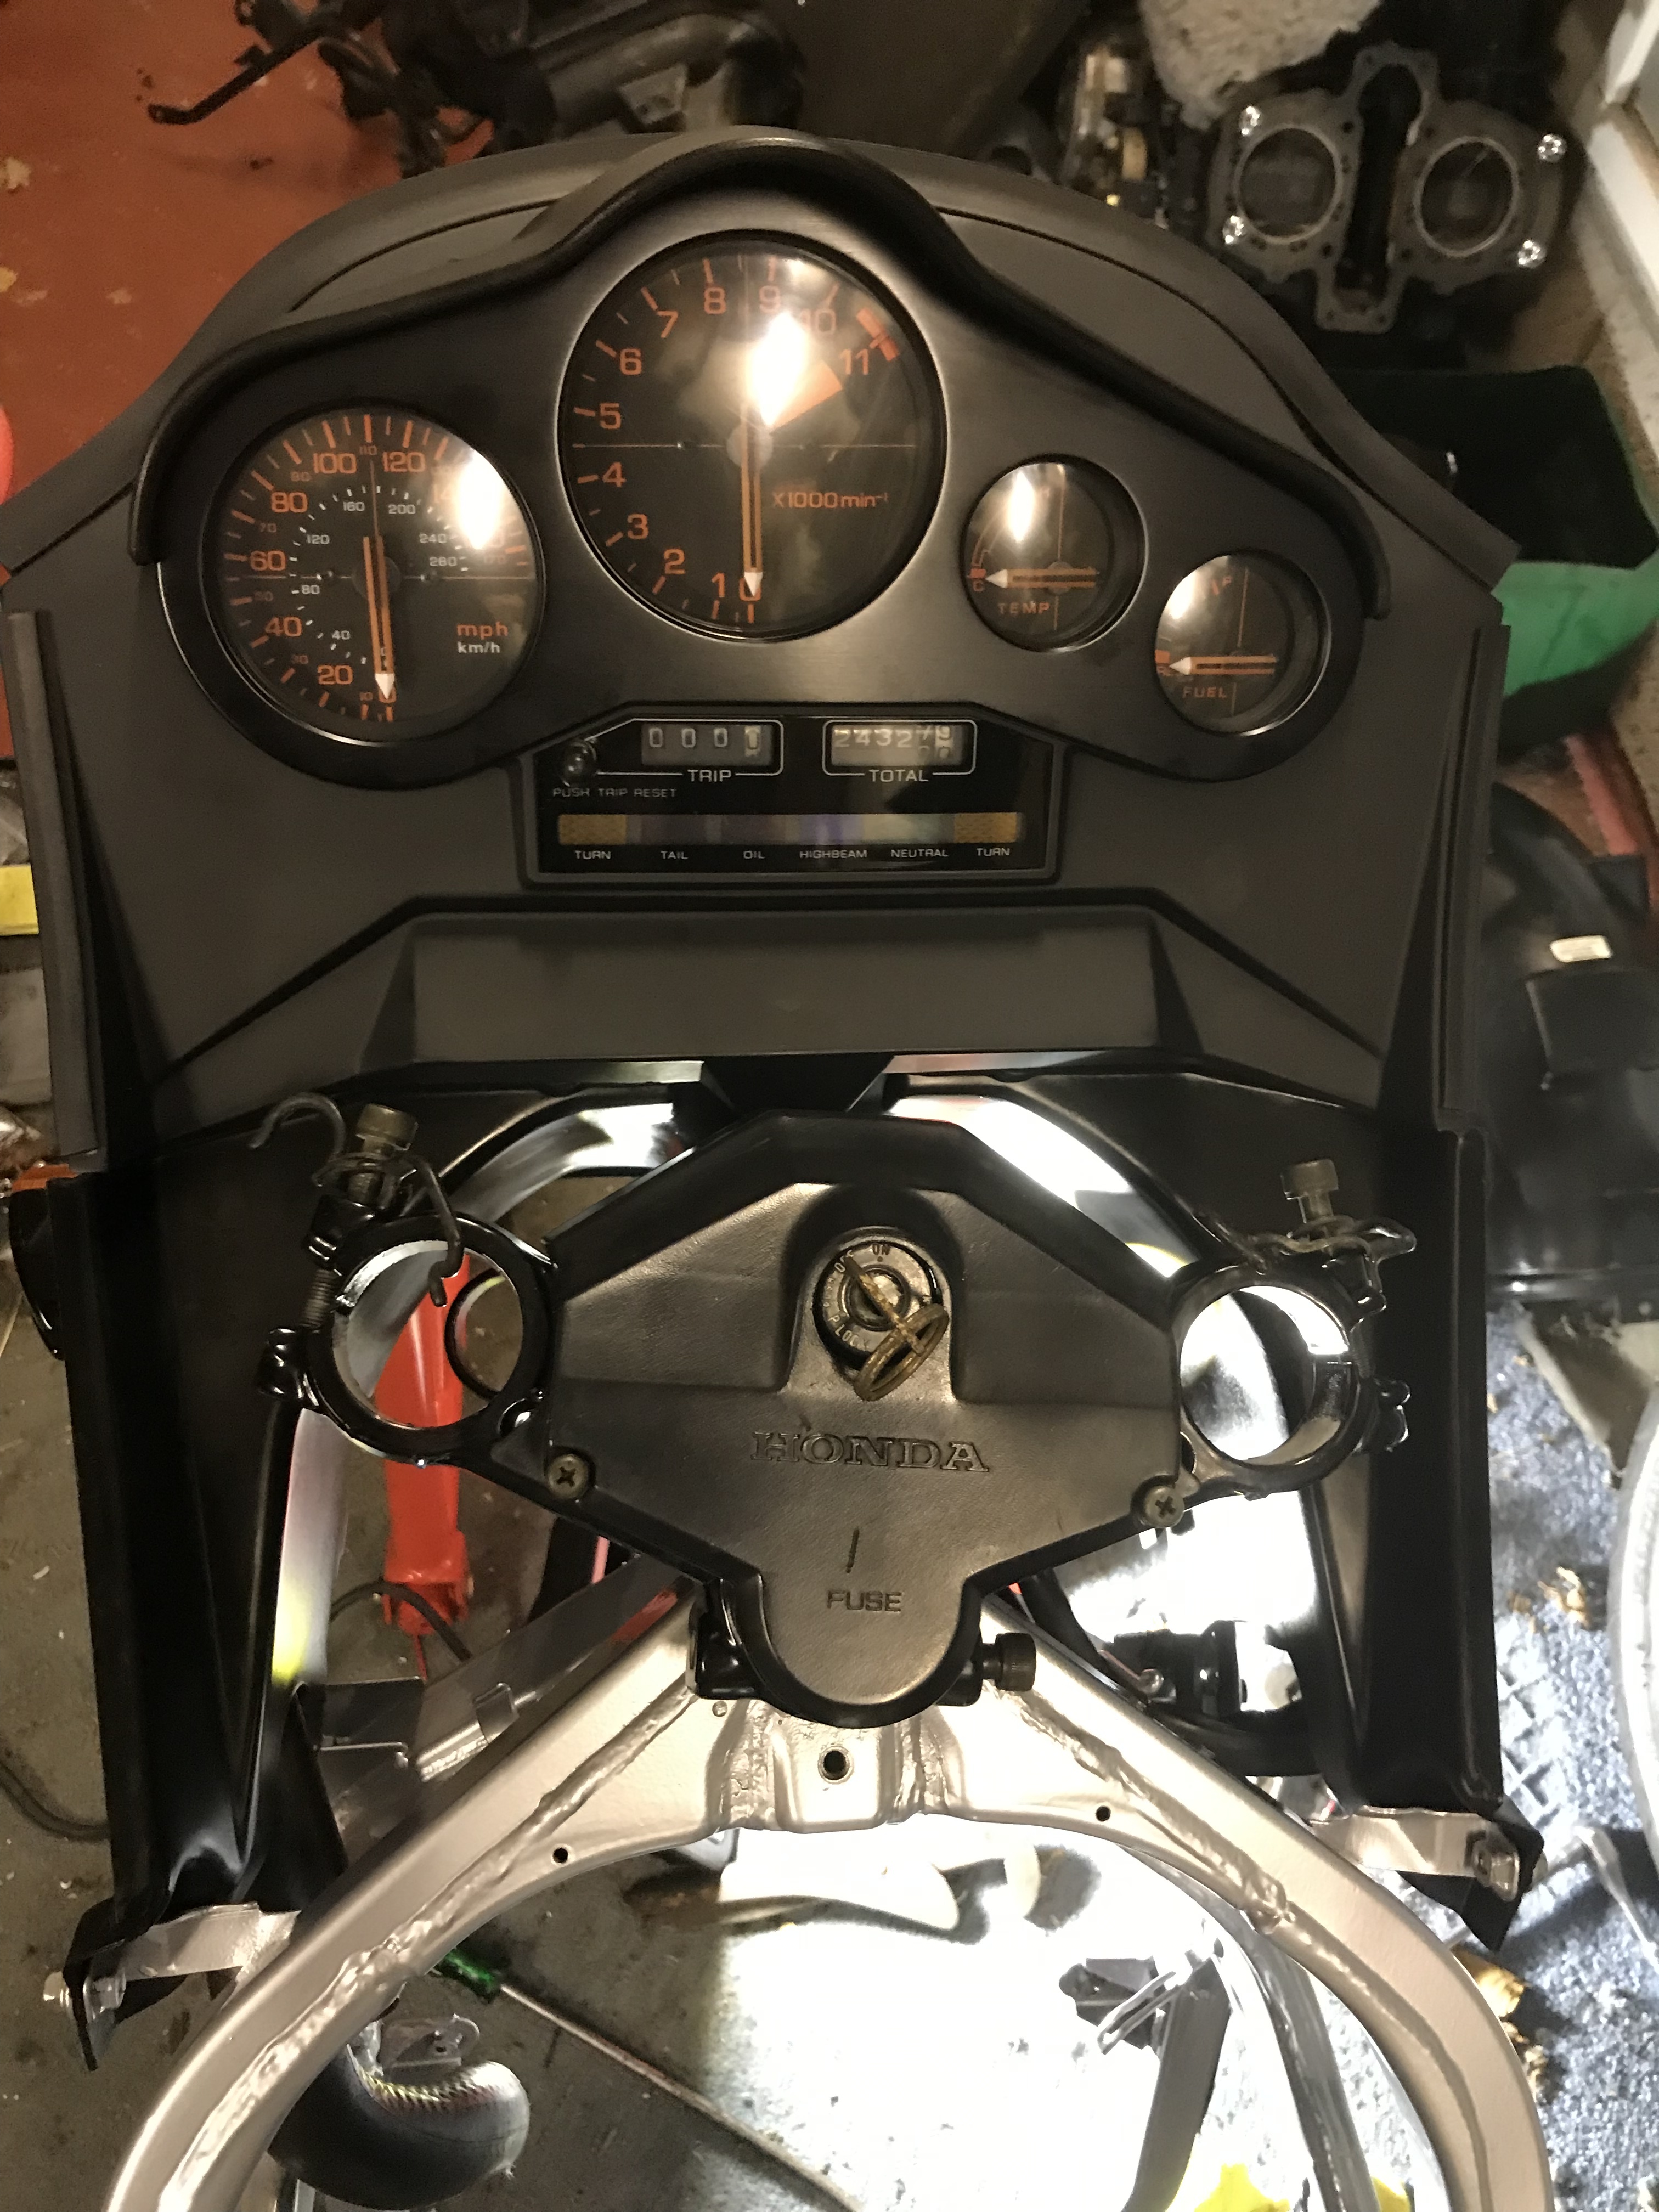
Now the fairing mount rad and clocks
And the pilots eye view
Not a huge leap for mankind but trying for the work/life not getting a divorce balance does slow process somewhat.
regards Bif
nice work bif, I see the cbr wheels lurking in the back ground, are you intending to fit them and the R swingarm to the fe ?
Well spotted Pete,the rear setup for sure,just doing the maths on the front as I have a VFR750 wheel with firestorm discs but would need to do the sprocket driven speedo mod,or use my F2 front wheel and buy a pair of floating ST1100 discs and retain the speedo drive
So progress to date looks a bit like this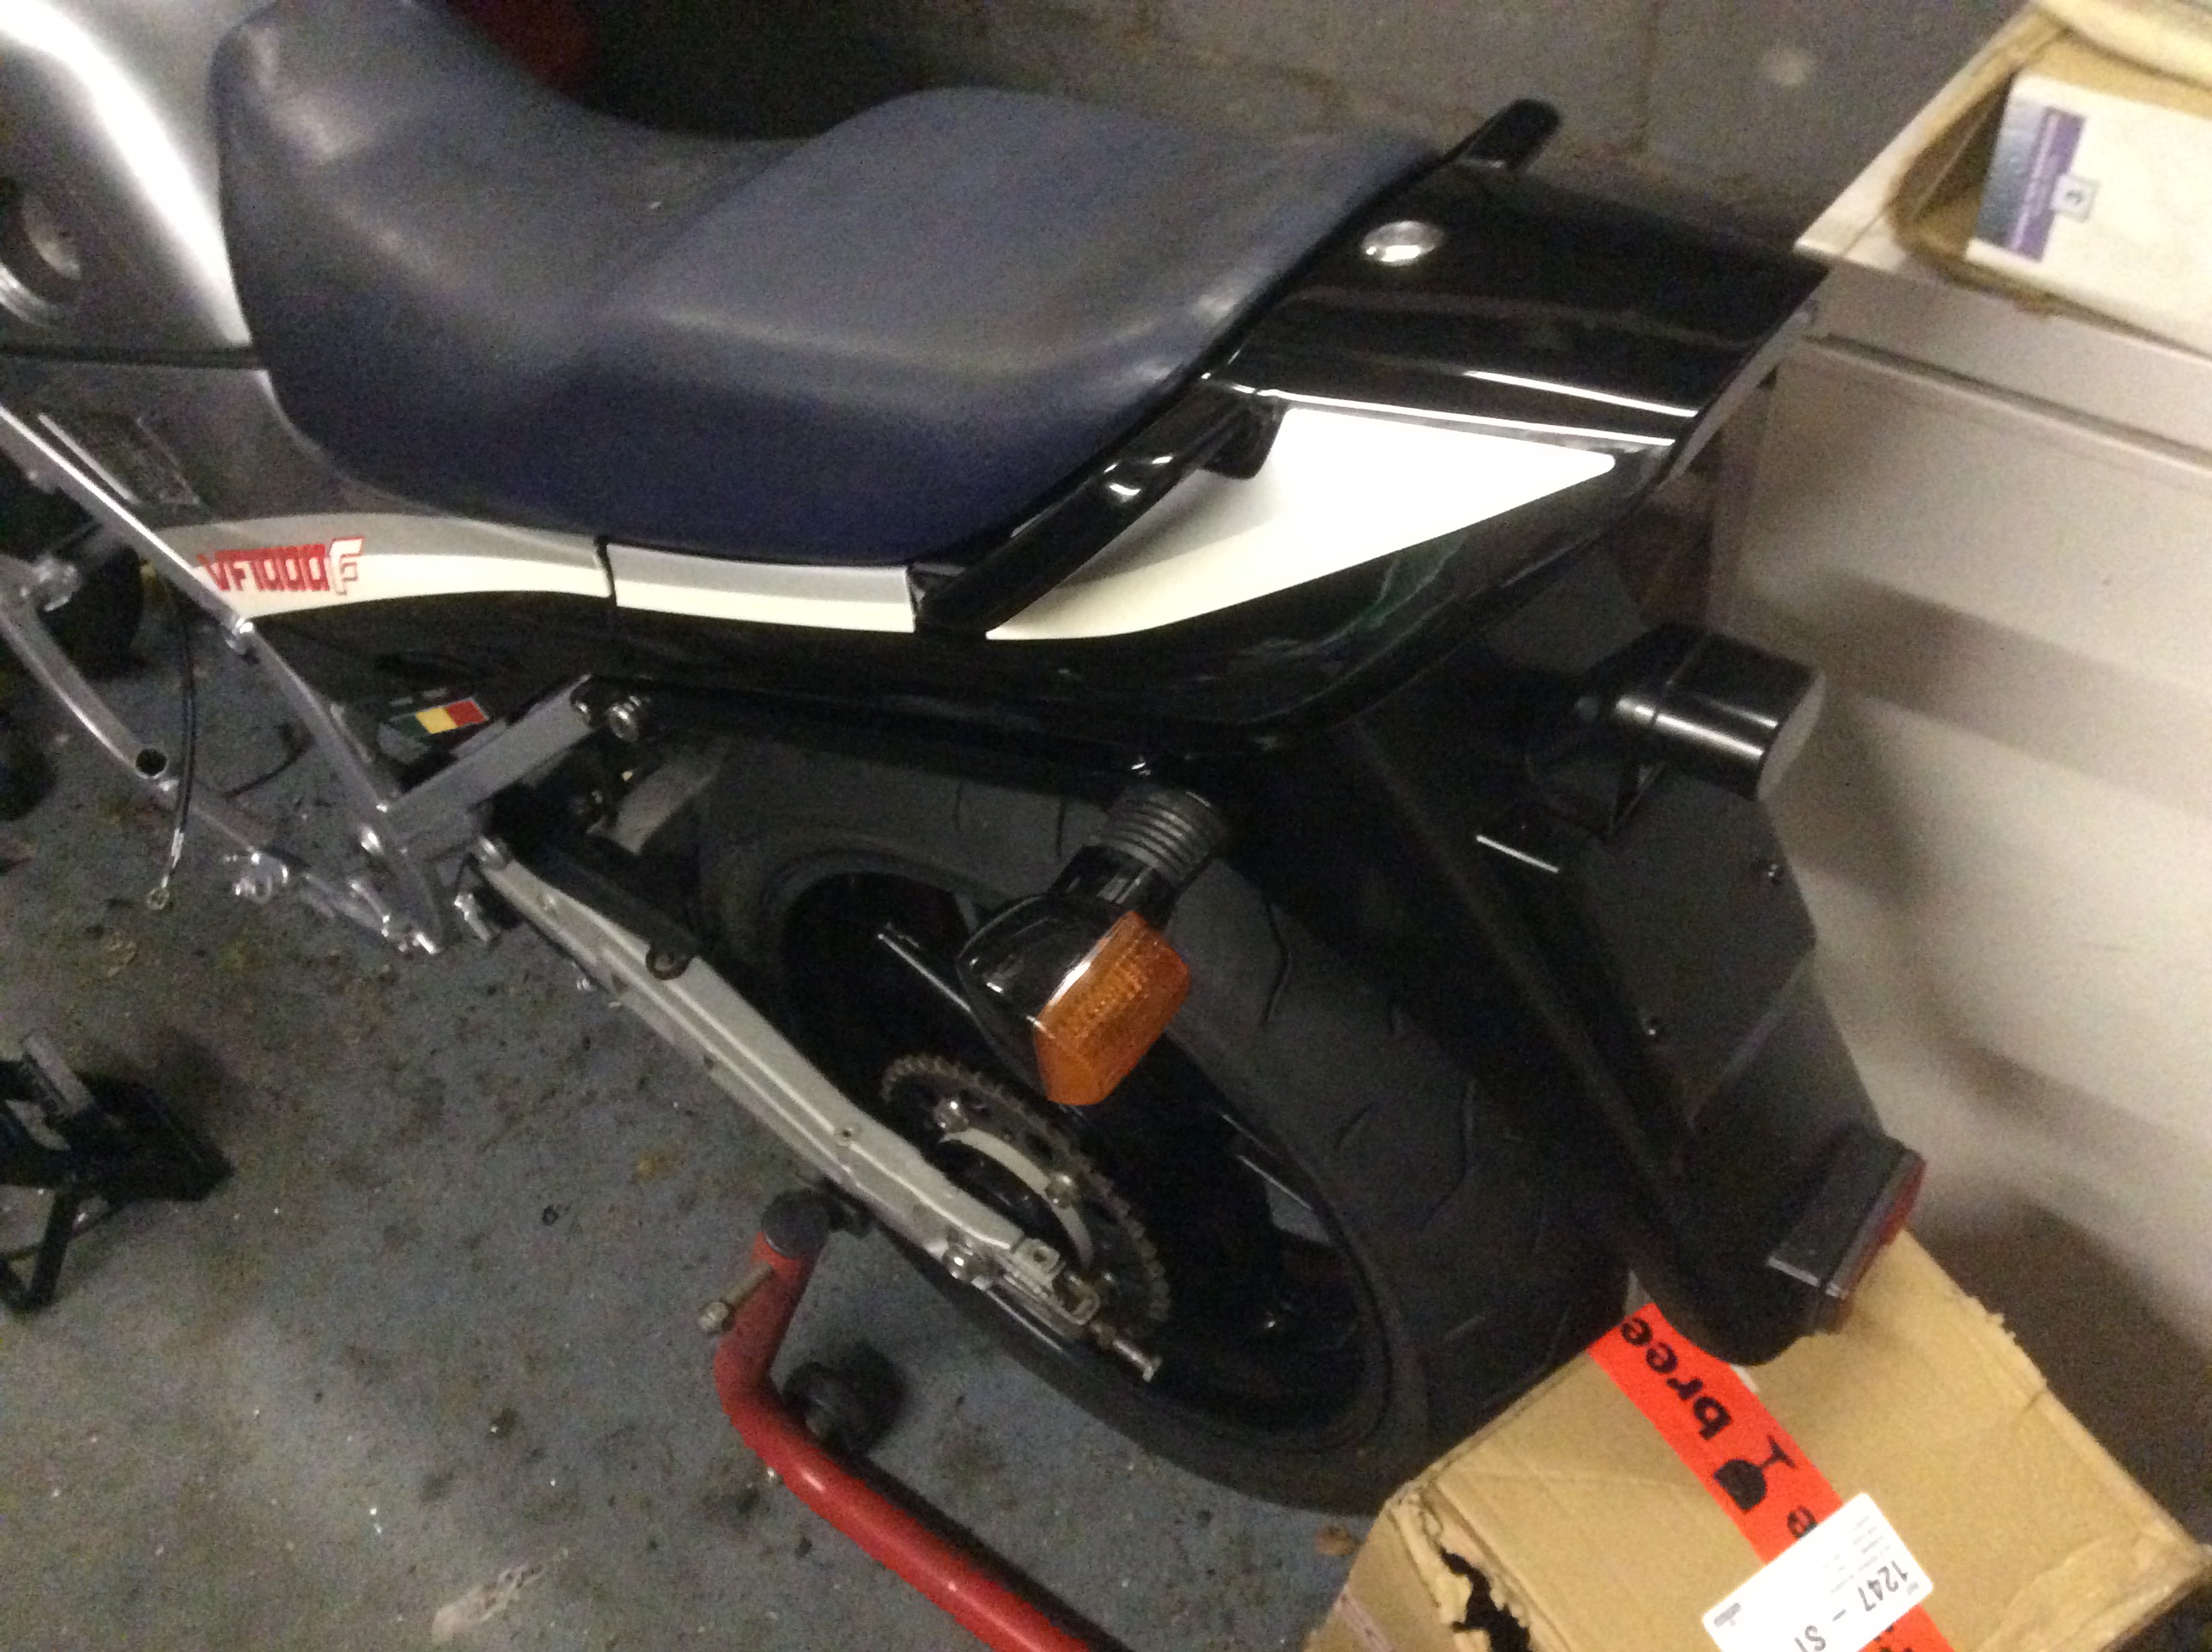
And
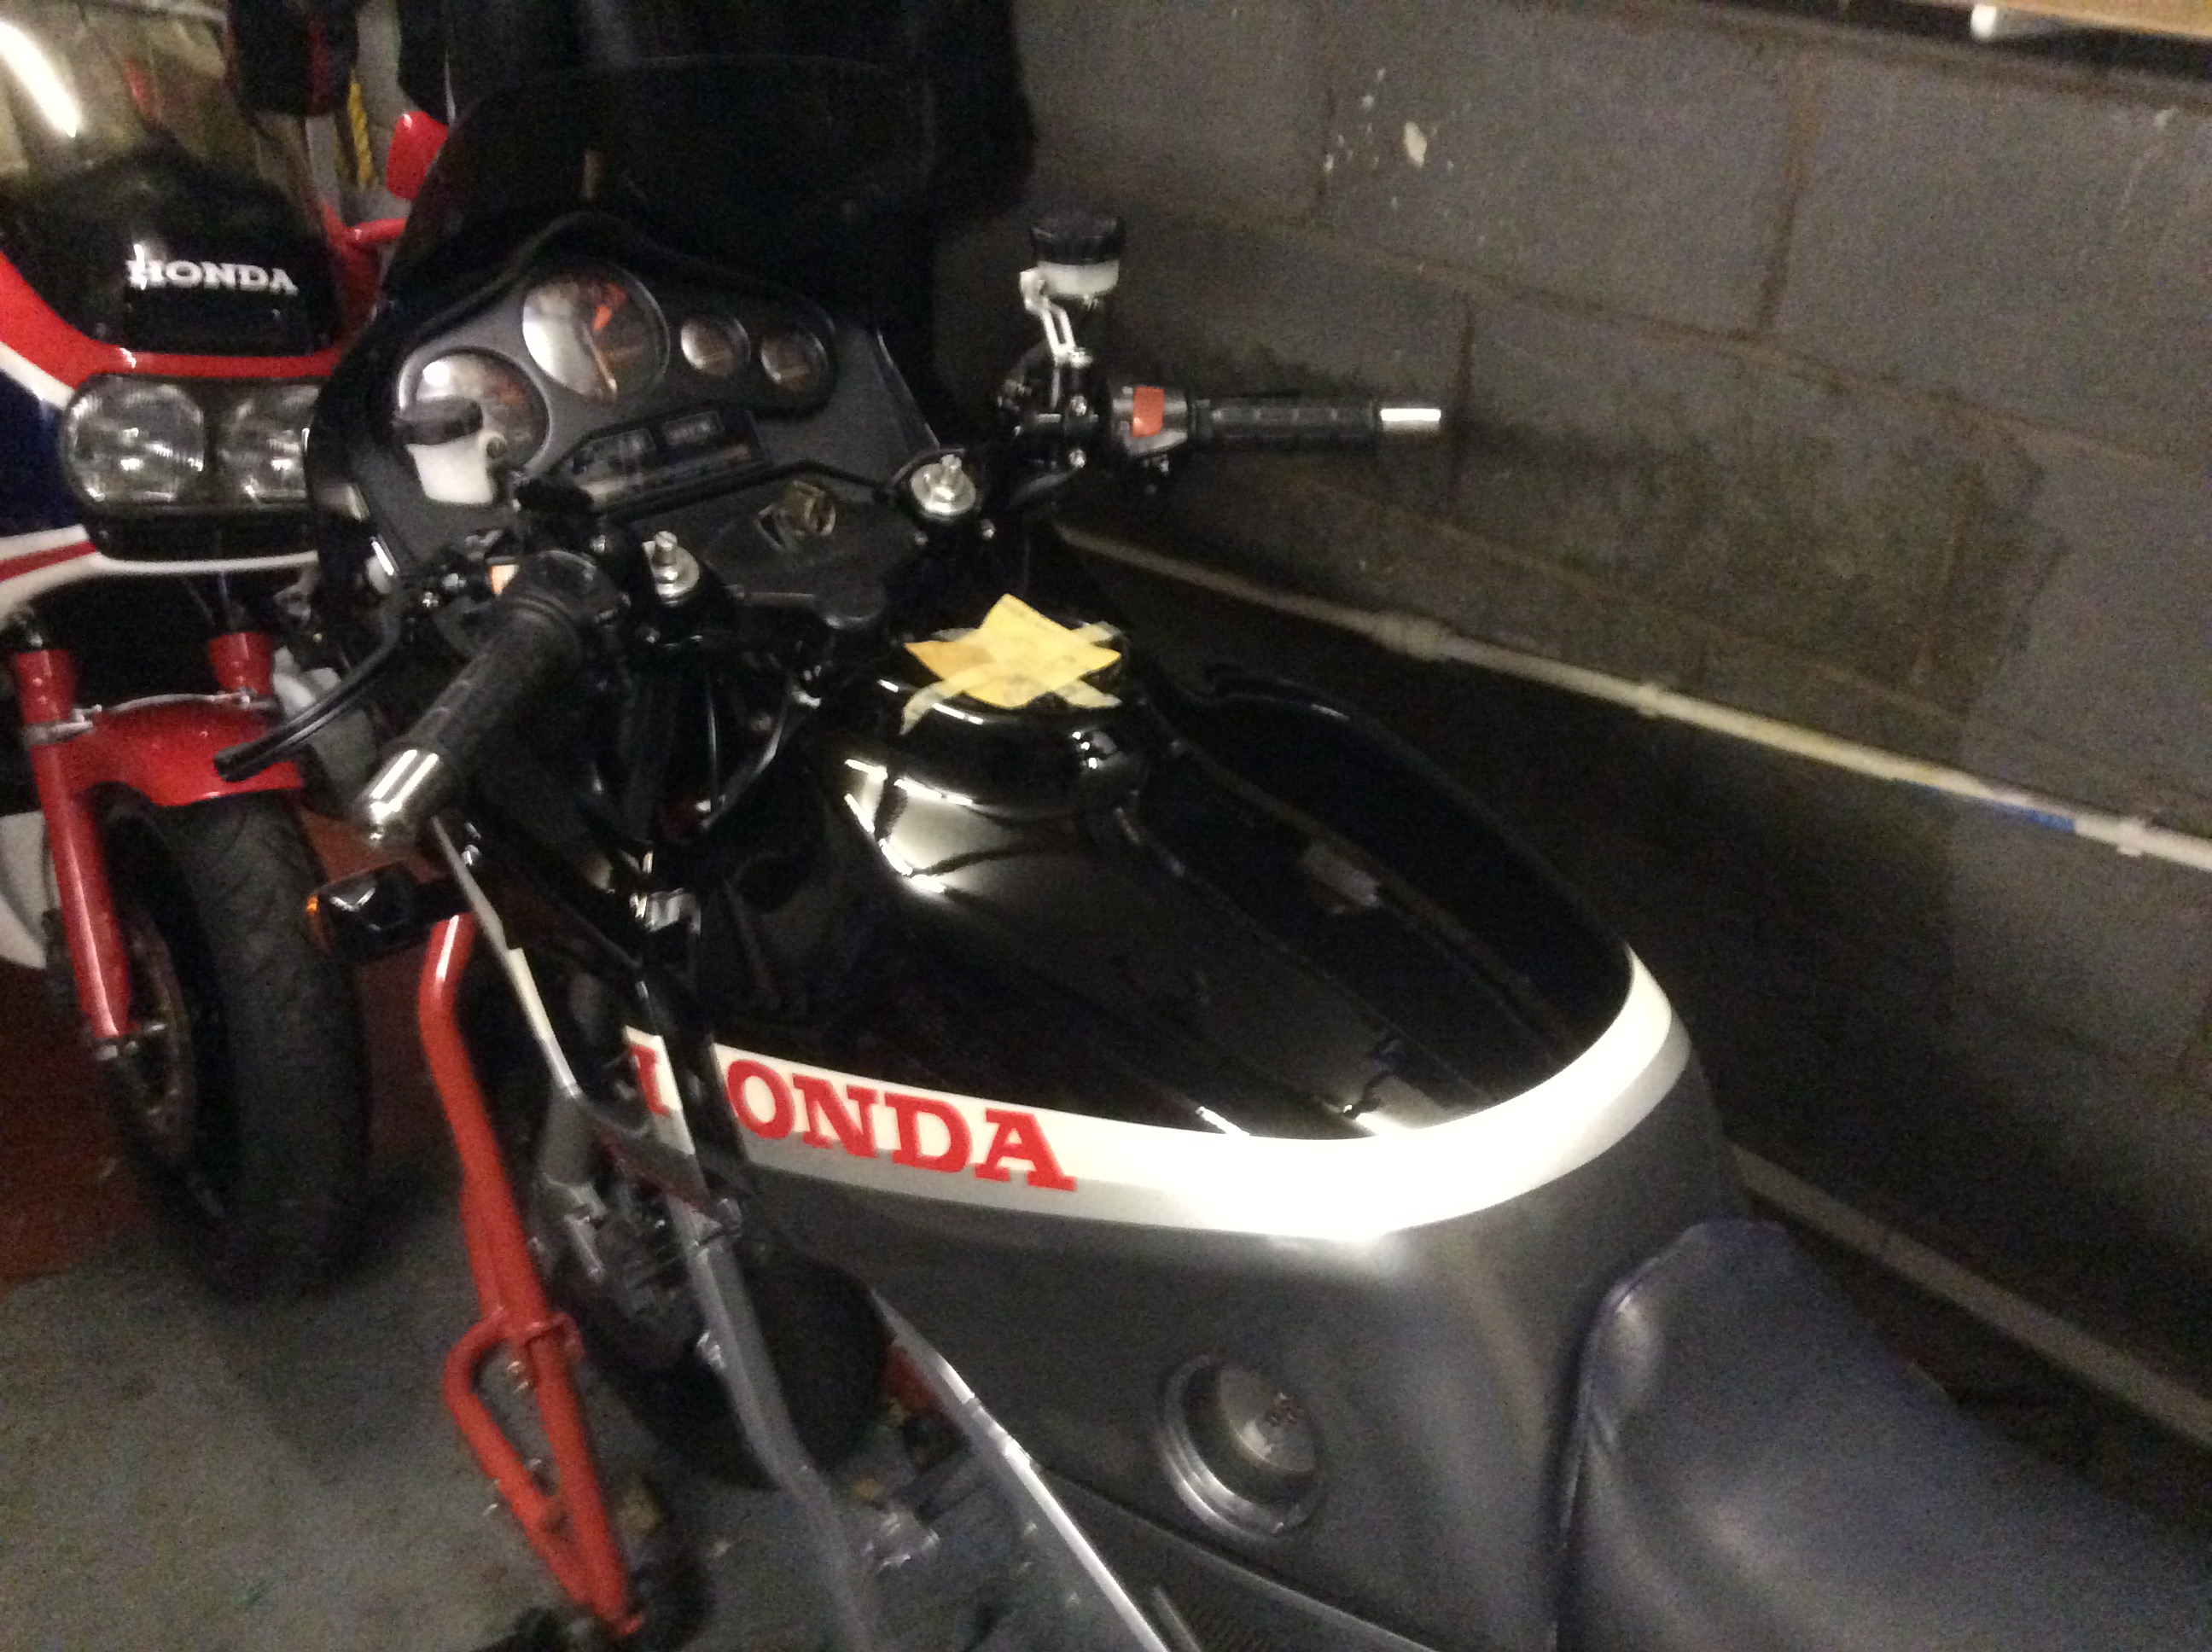
With the pointy end now looking like this
Controls have been switched for blackbird items and radial master cylinders added for brakes and clutch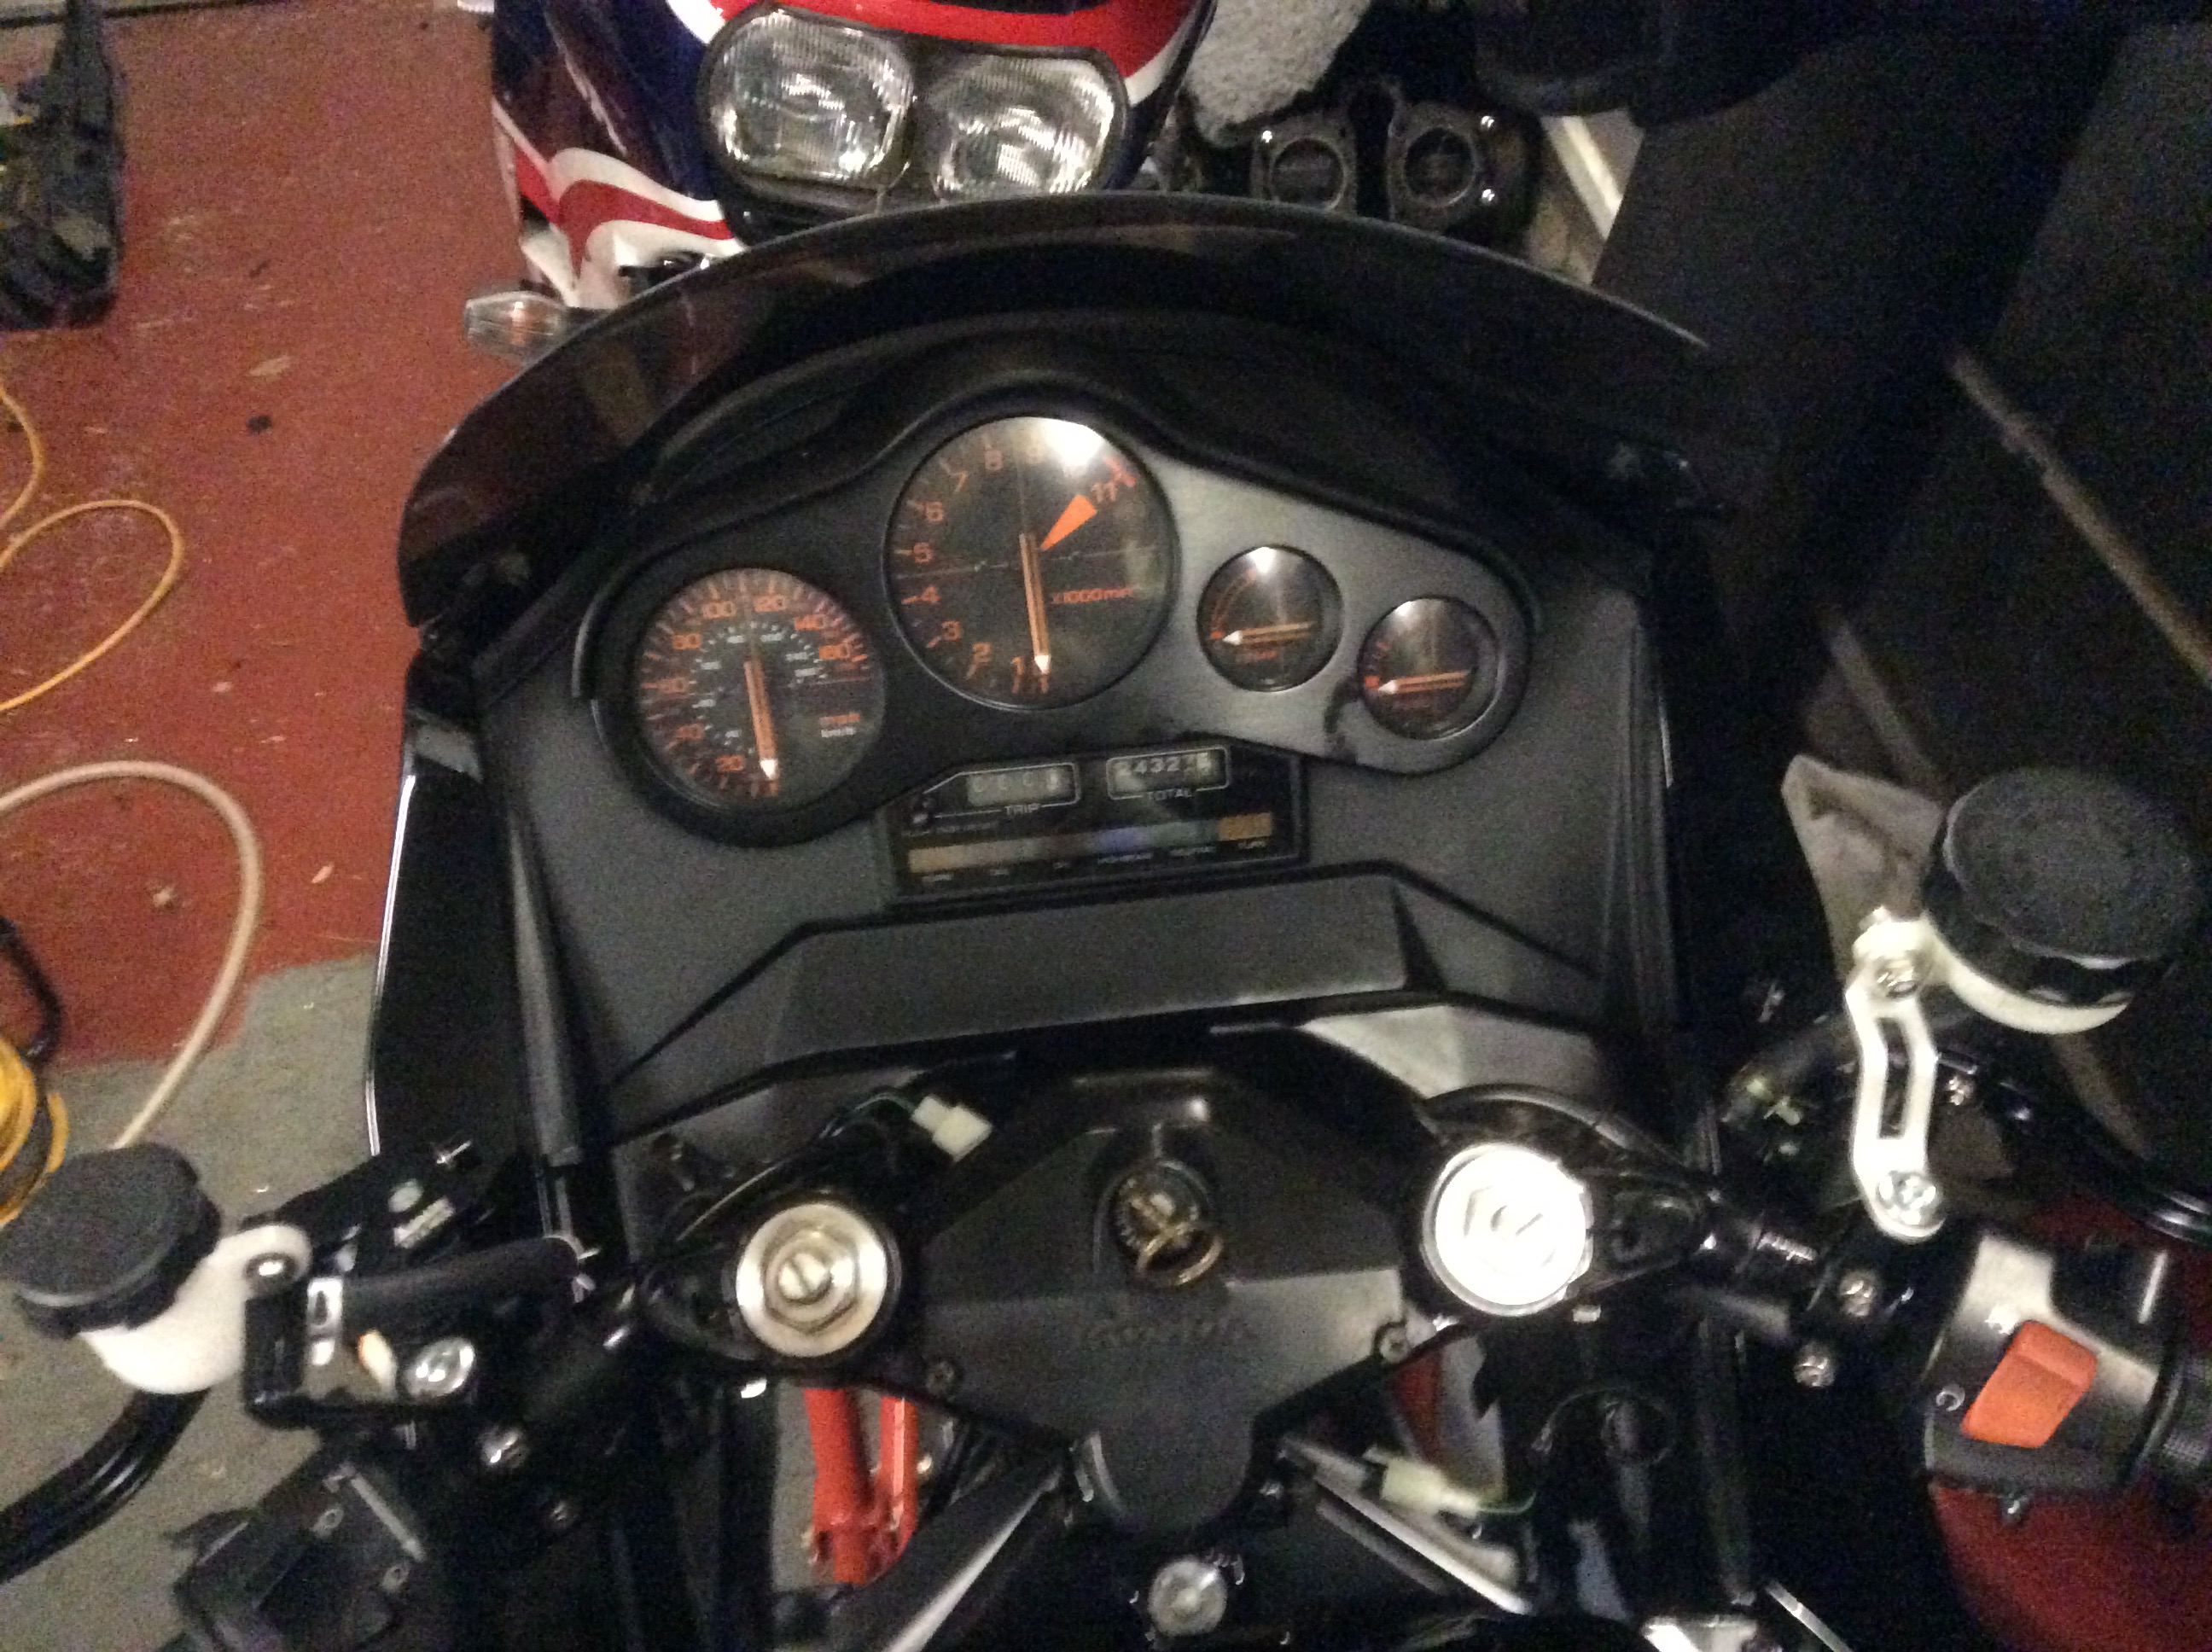
Bif
top work bif, you look to have quite a lot of very clean second hand items as well as the NOS items, what are your plans for the engine, are you going to strip it down and paint the two crank case halves, or is the engine already in good fettle ?
When I built the ff/fe project bike I considered using more modern switch gear as getting hold of good conditioned originals looked like it would be problematic, in the end some turned up so I thought no more about it, are the blackbird ones plug and play with the vf wiring loom, or did you have to alter the multi plugs, or the arrangement of the wires within them ?