Good job Gaza.
Like the updates ! 
Good job Gaza.
Like the updates !
Hi gary, I’m pretty sure the liners are the same between R and f models
Thanks Pete, thought they would be so back to the shed in the morning!
Garyb
Second Pete’s thoughts,I’ve used F ones in one of my R motors
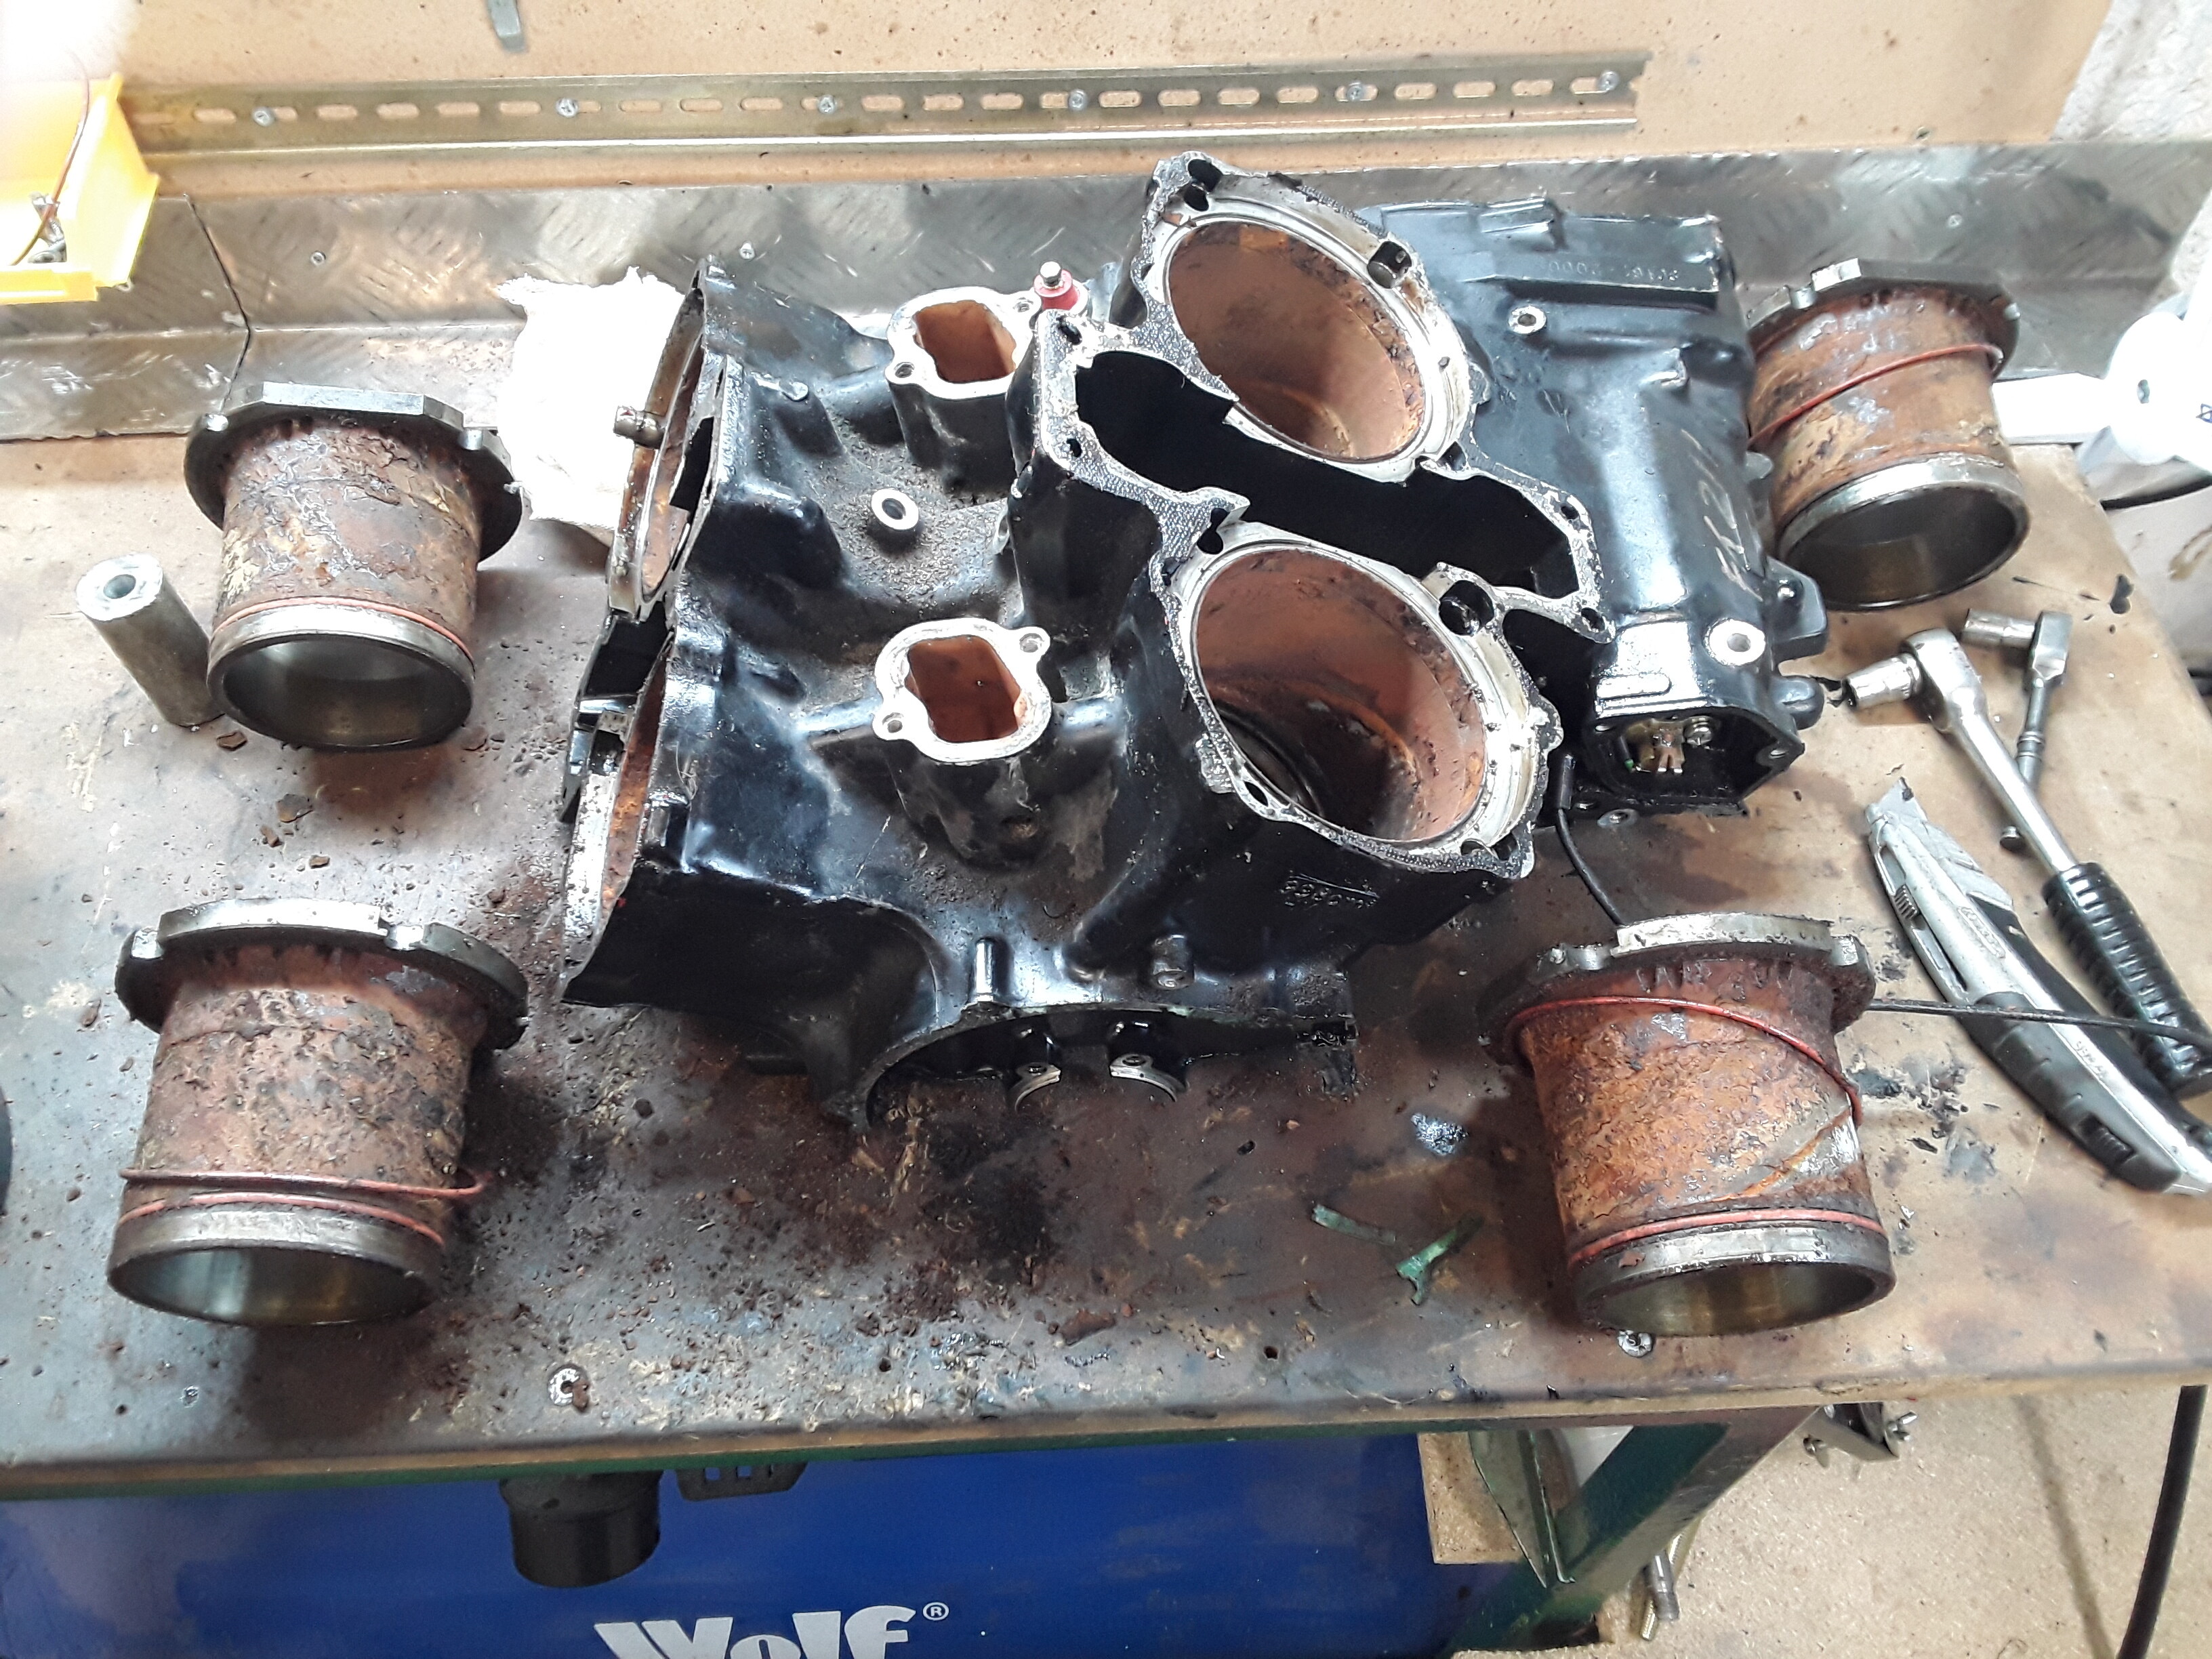
Next question bif! Any trick to removing the liners, I’ve removed bolt and tried tapping from underneath but no joy. I don’t want to do any damage though liner is being replaced so it wouldn’t matter but I will need to remove the ones from spare engine so need to do it gently. Its freezing here at the moment which won’t be helping matters.
The heads and bottom crankcase have been painted and look good but due to the temperature are taking longer to dry than usual so while I wait for them to dry fully I will clean up pistons and get crank ready. I will also put carbs through the ultrasonic bath and may try soda blasting a spare one to see if they come out any cleaner.
Garyb
You are charging on with this mate,if this is what drinking cider does for you it’s time I swapped my lager and black.
Some liners practically fell out but the tougher ones needed some encouragement from an alloy drift and a very large hammer.
Pete has done more of these than me and may suggest a more subtle method
Keep up the good work
Hi gary, yes I’ve done a few of these, I use a piece of mild steel and a lump hammer to drift them out, needs to be a heavy hammer and offer a firm “dead blow” once you’ve broken the bottom seal they practically fall out…
I have heard of people making a puller out of 1 inch box section and a piece of threaded bar.
Thanks, on nights this week so will give it a go tomorrow when I get up.
Excellent advice, thanks. All liners now out, used a 2lb hammer and an aluminium bar. As Pete said, a lot of effort to get them moving but once they do move they come out easily. Not as badly blocked as I suspected though the liner I need to replace had 4 blocked coolant transfer holes and a lot of rust was found behind the other liners.
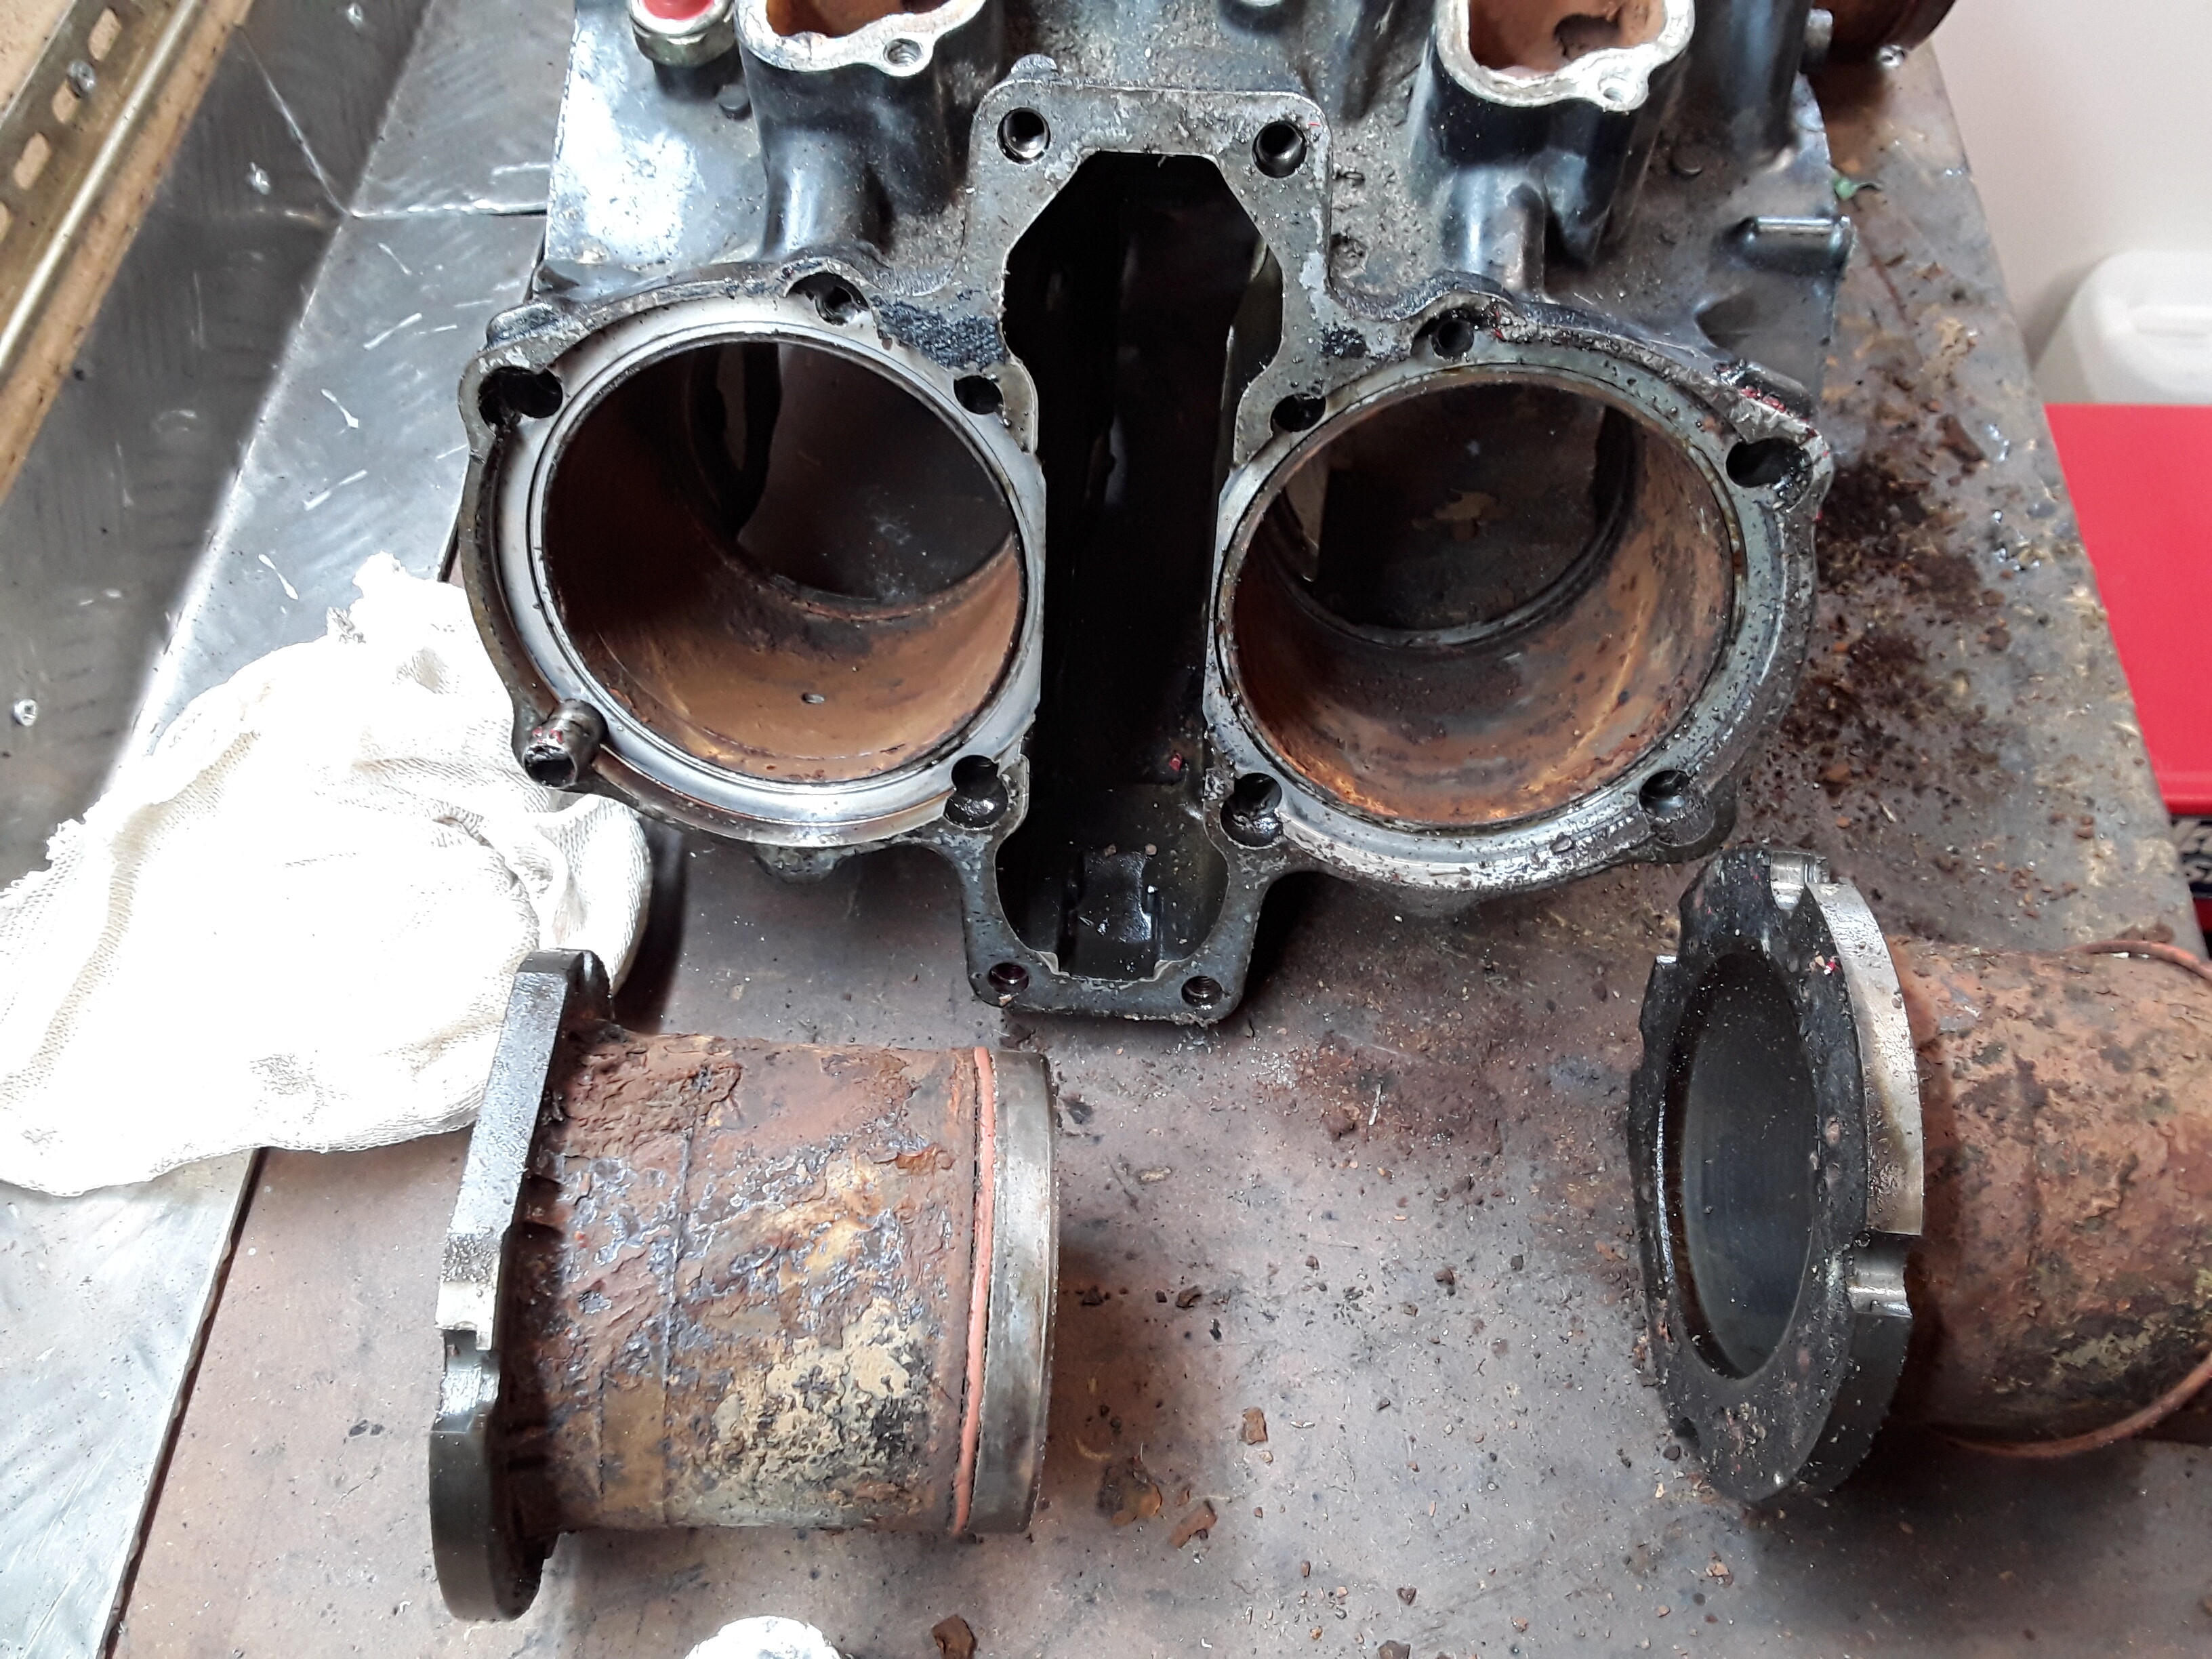
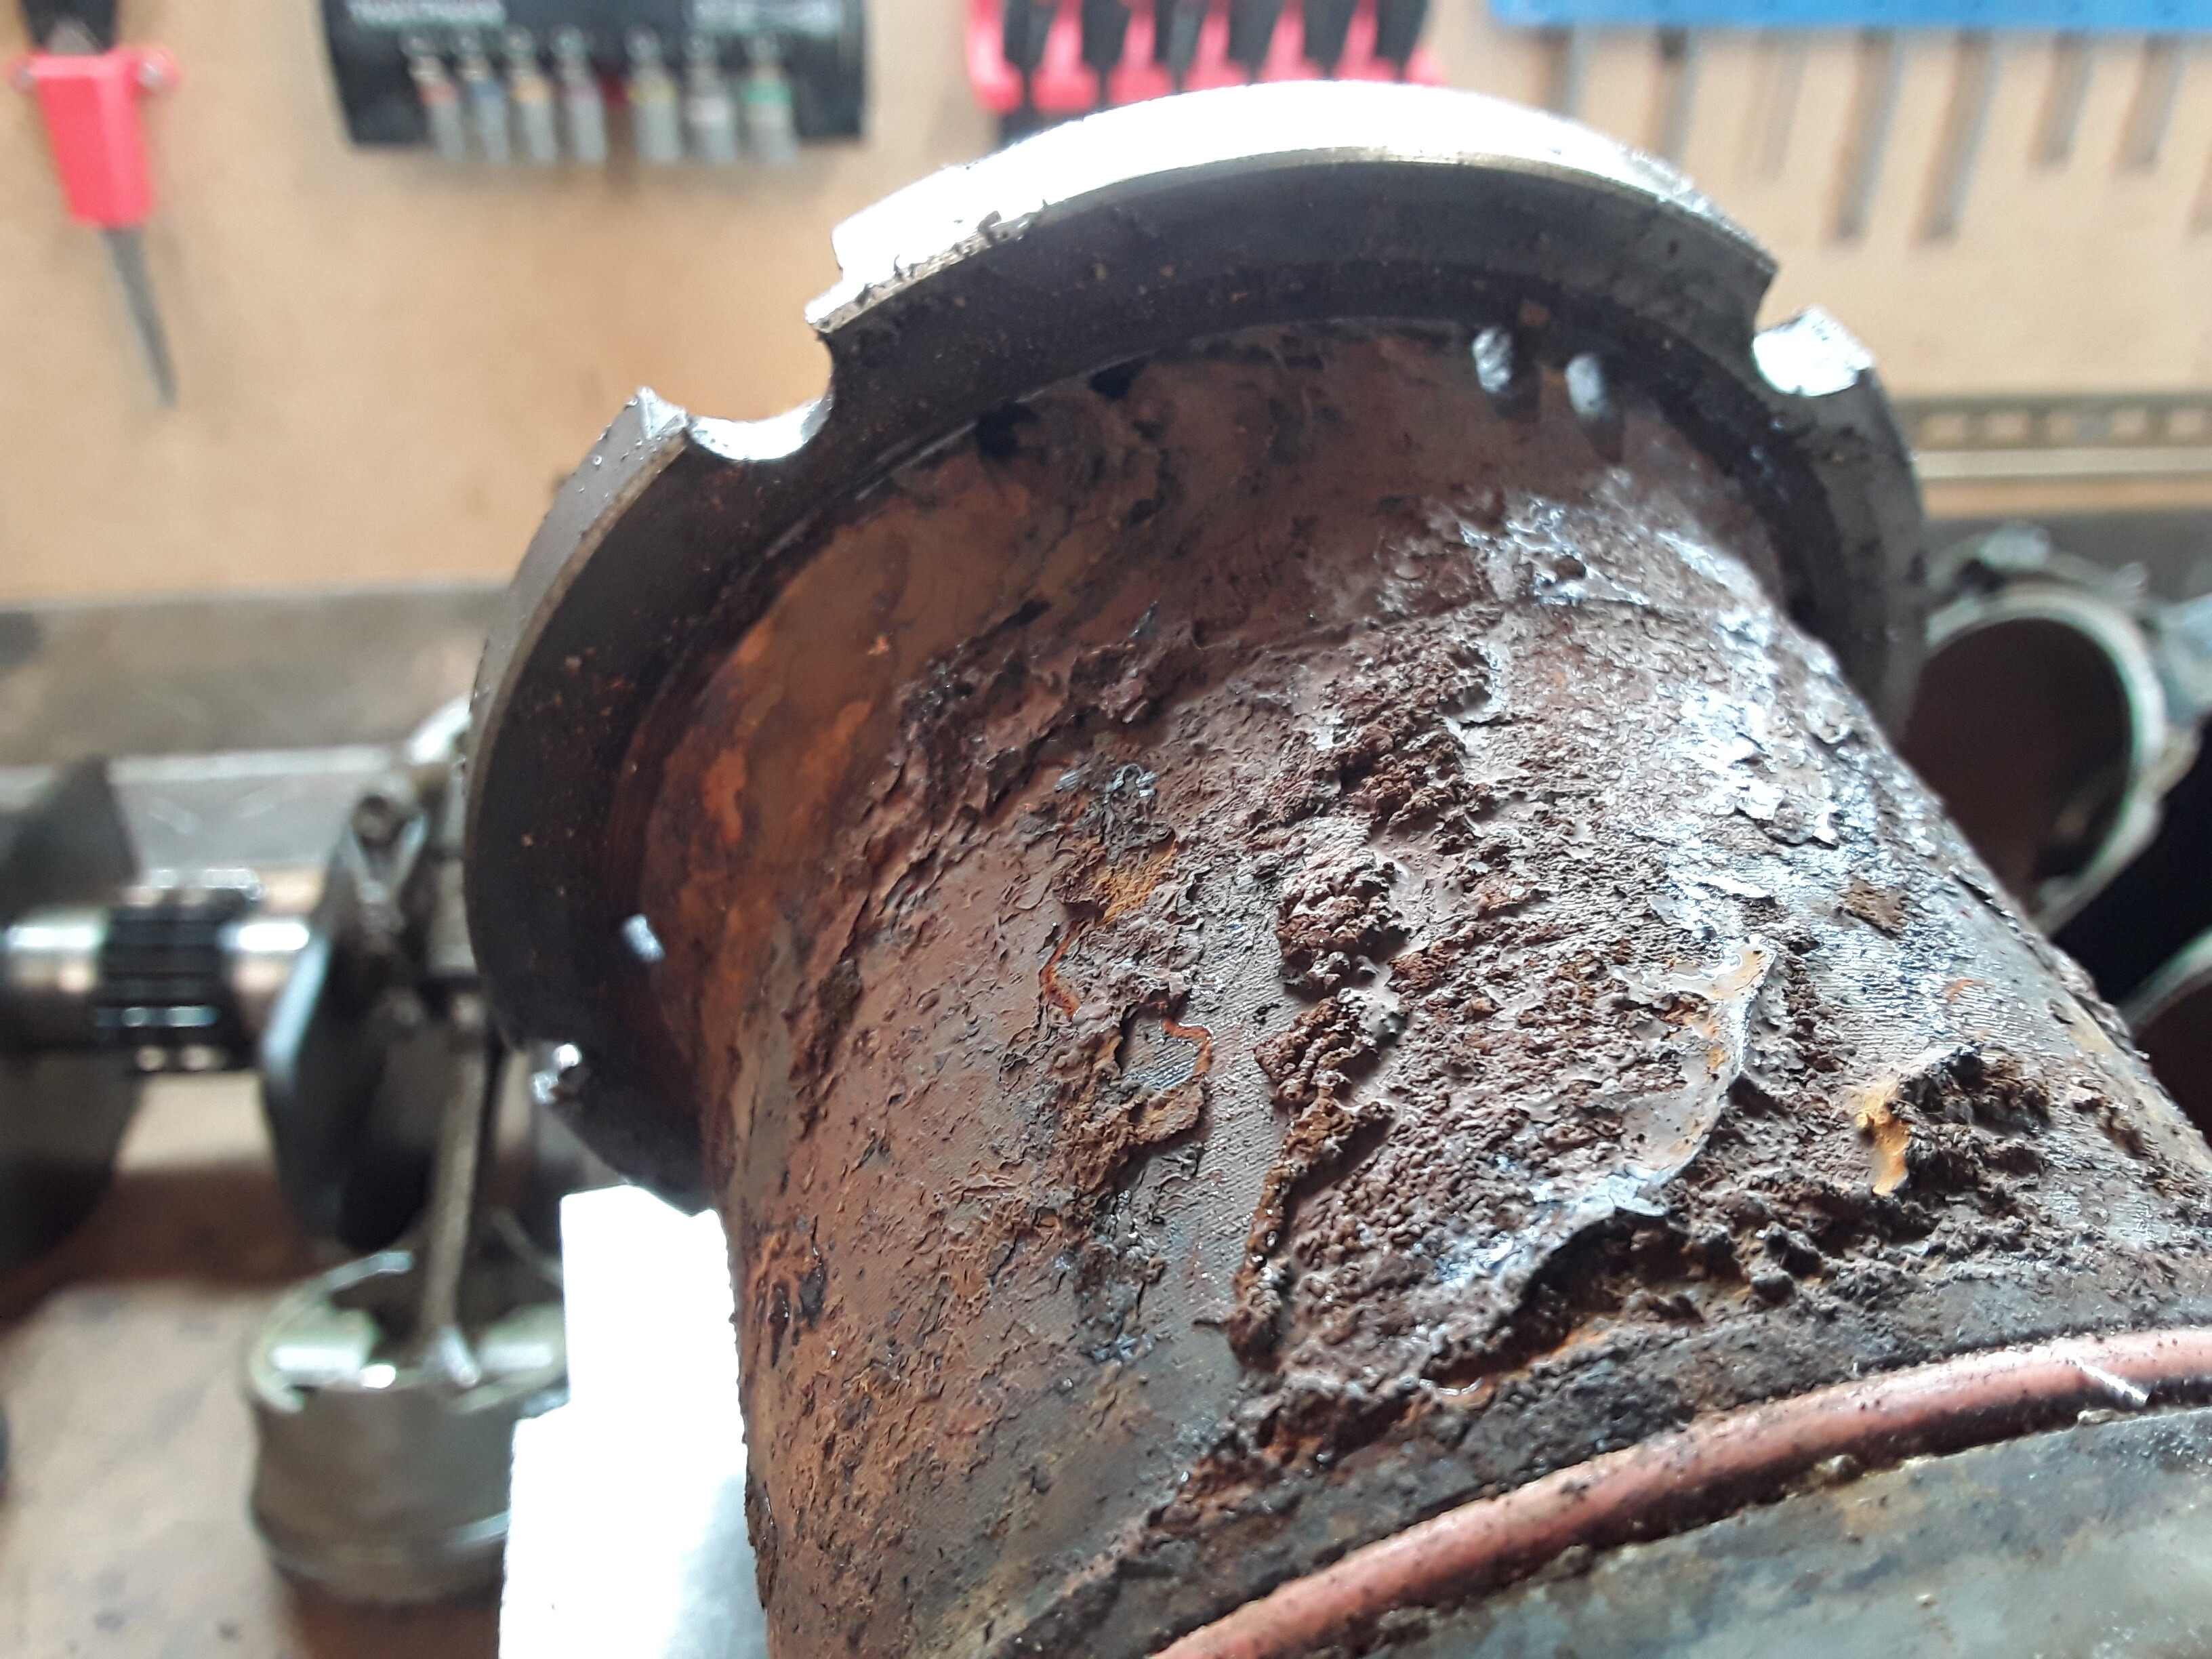
Blocked transfer port.
Need to clean up the three good liners and remove one from spare engine now. Any tips on how to refit liners will be most appreciated!
Garyb
Looking good gary, dont do what I did on the last one, I nipped the lowere O ring which didn’t become evident until the engine was in bike and had been warmed up a few times, then I noticed water in the engin oil… not a good day in the garage… had to strip everything back down and start again…
My tip would be to make sure all the mating surfaces are spotlessly clean, especially the lower one inside the crankcase, plenty of rubber grease, if your re using the O rings dont get any paraffin or petrol on them as they will swell up…
Are new o rings available? They don’t seem to be on the cmsnl site.
The first one of these I did I measured the O rings and bought virton ones from Simply bearings, they wernt quite as soft and flexible as the genuine ones but went in tightly with no issues. I have also re used the old ones,
I do have a full set of the proper Virton O rings that I ordered through bif, your more than welcome to these if you get stuck.
I can supply another set if you need them Garry
Thanks bif that would be fantastic, the top ones look ok but the bottom set look damaged and don’t fancy rebuilding engine again like Pete. Do you have my address? And how much will they be.
Garyb
Carbs all cleaned and ready to go back on.
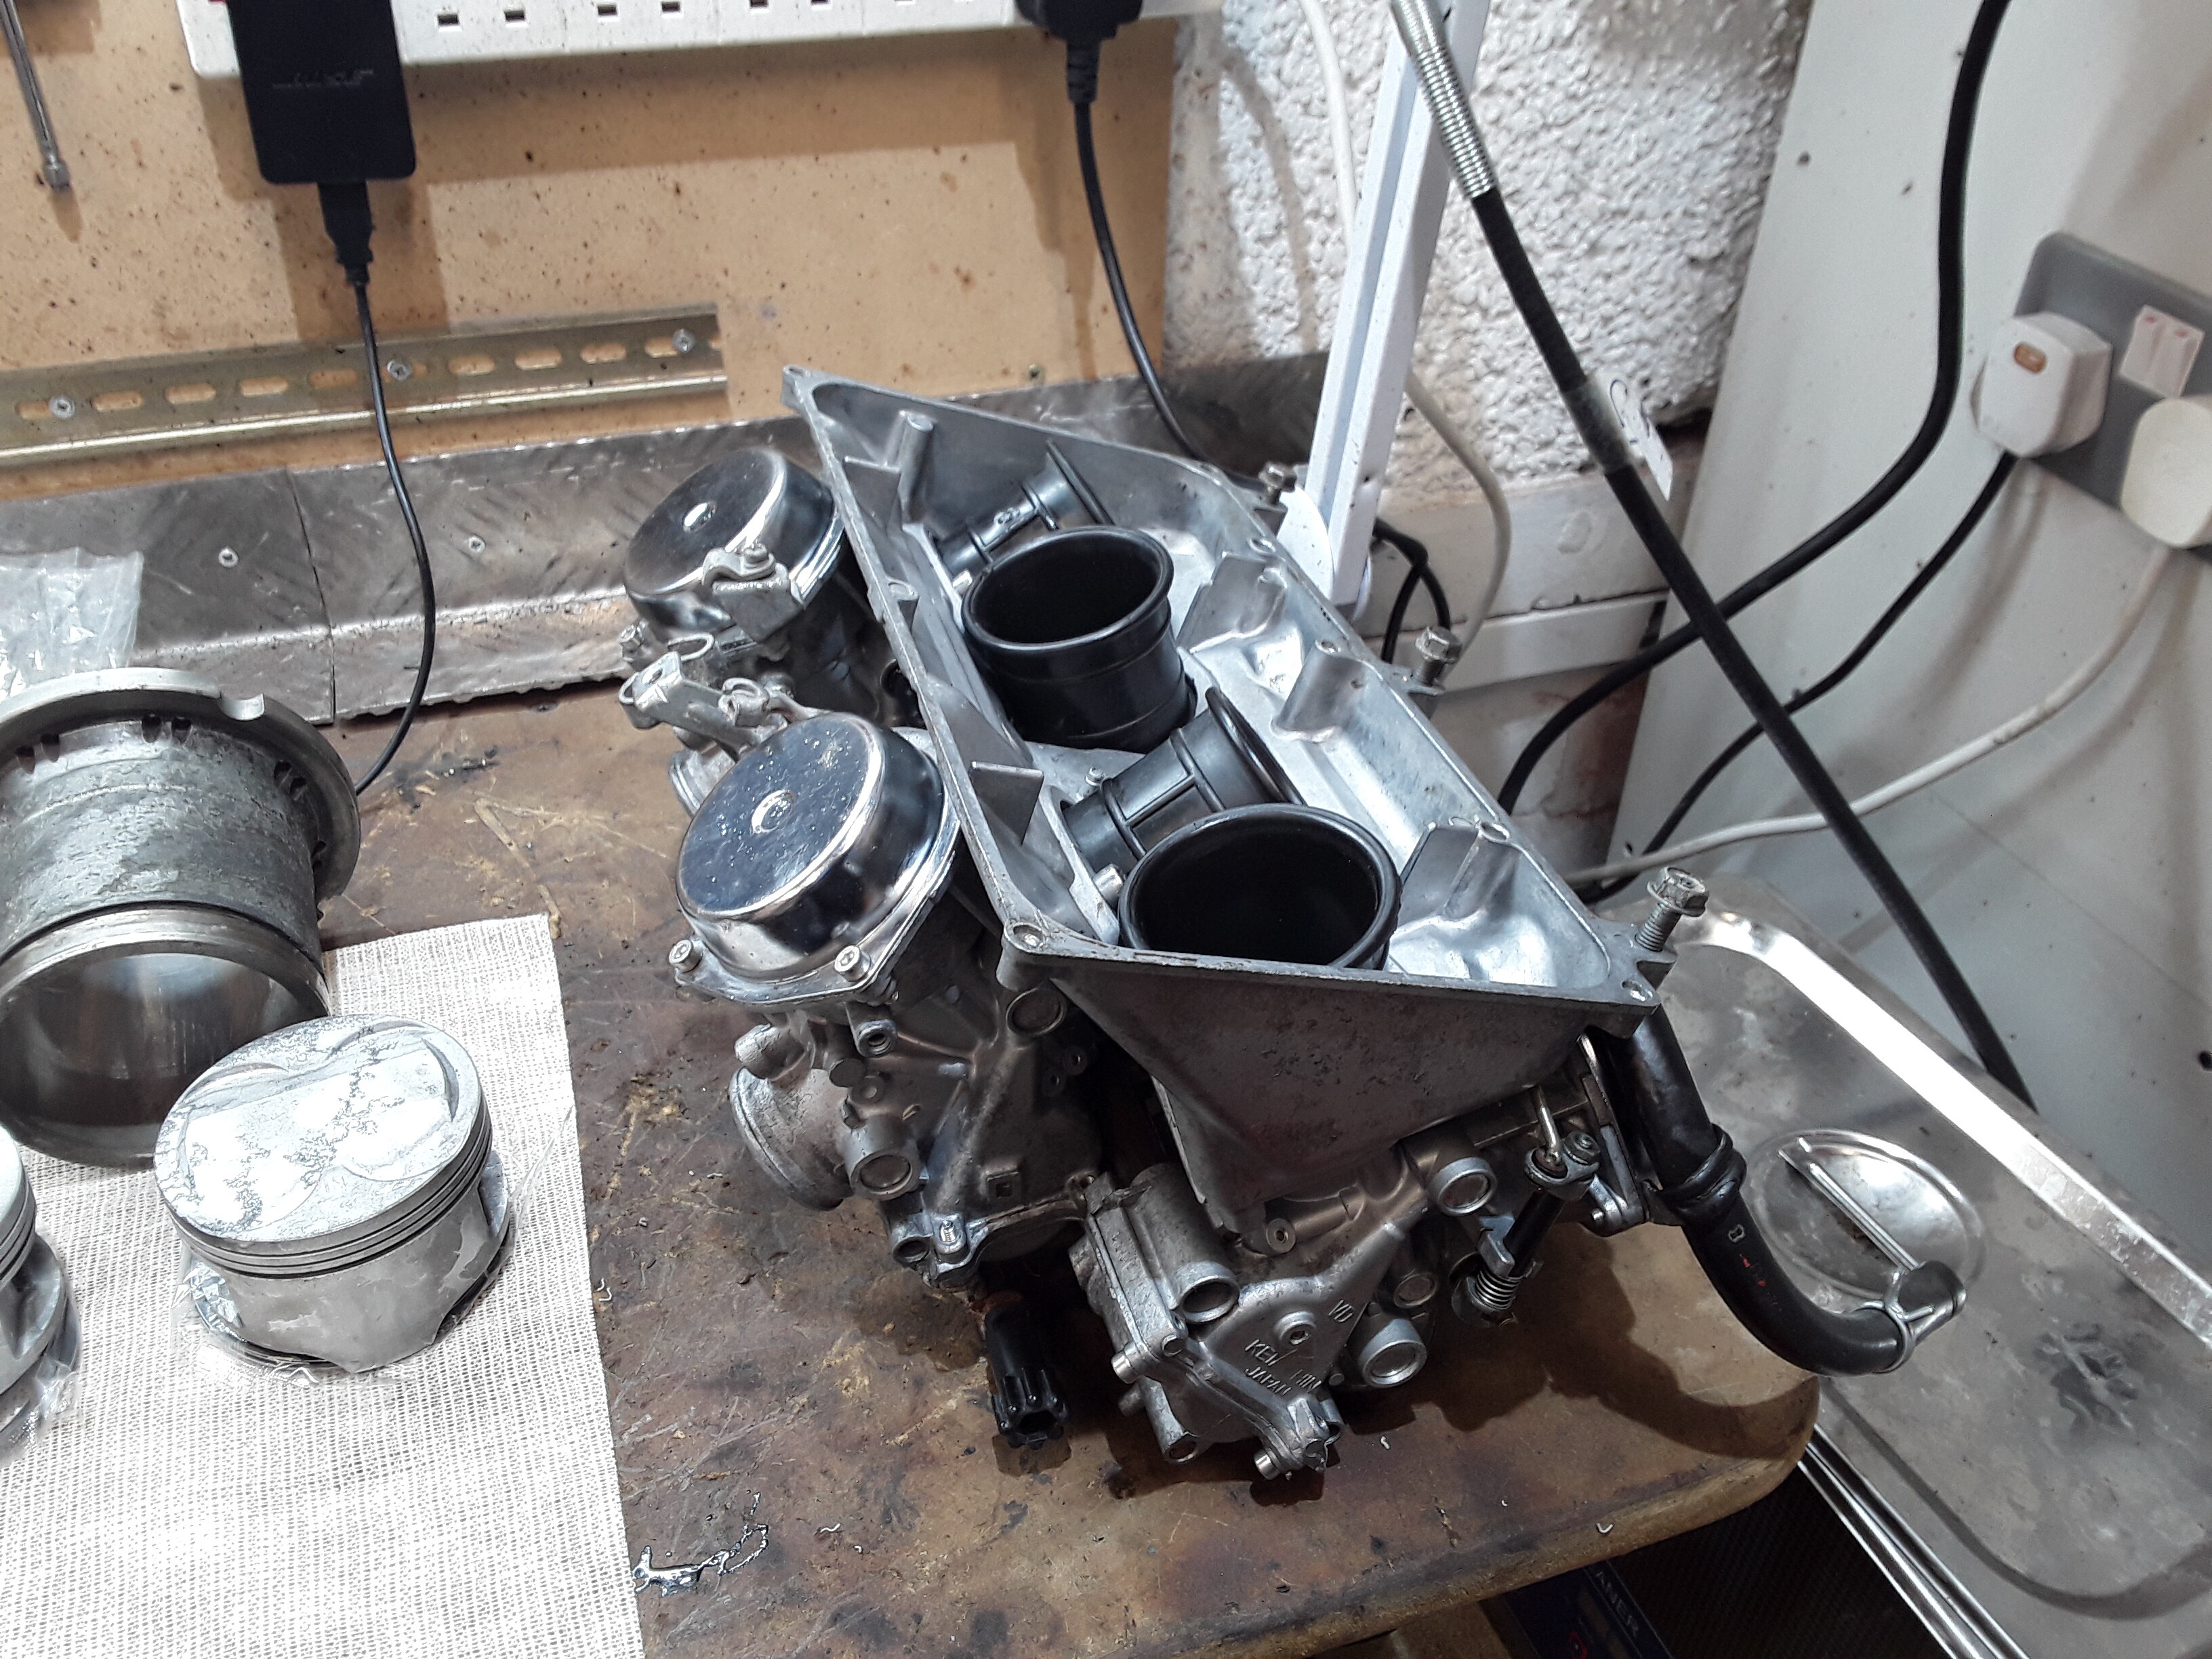
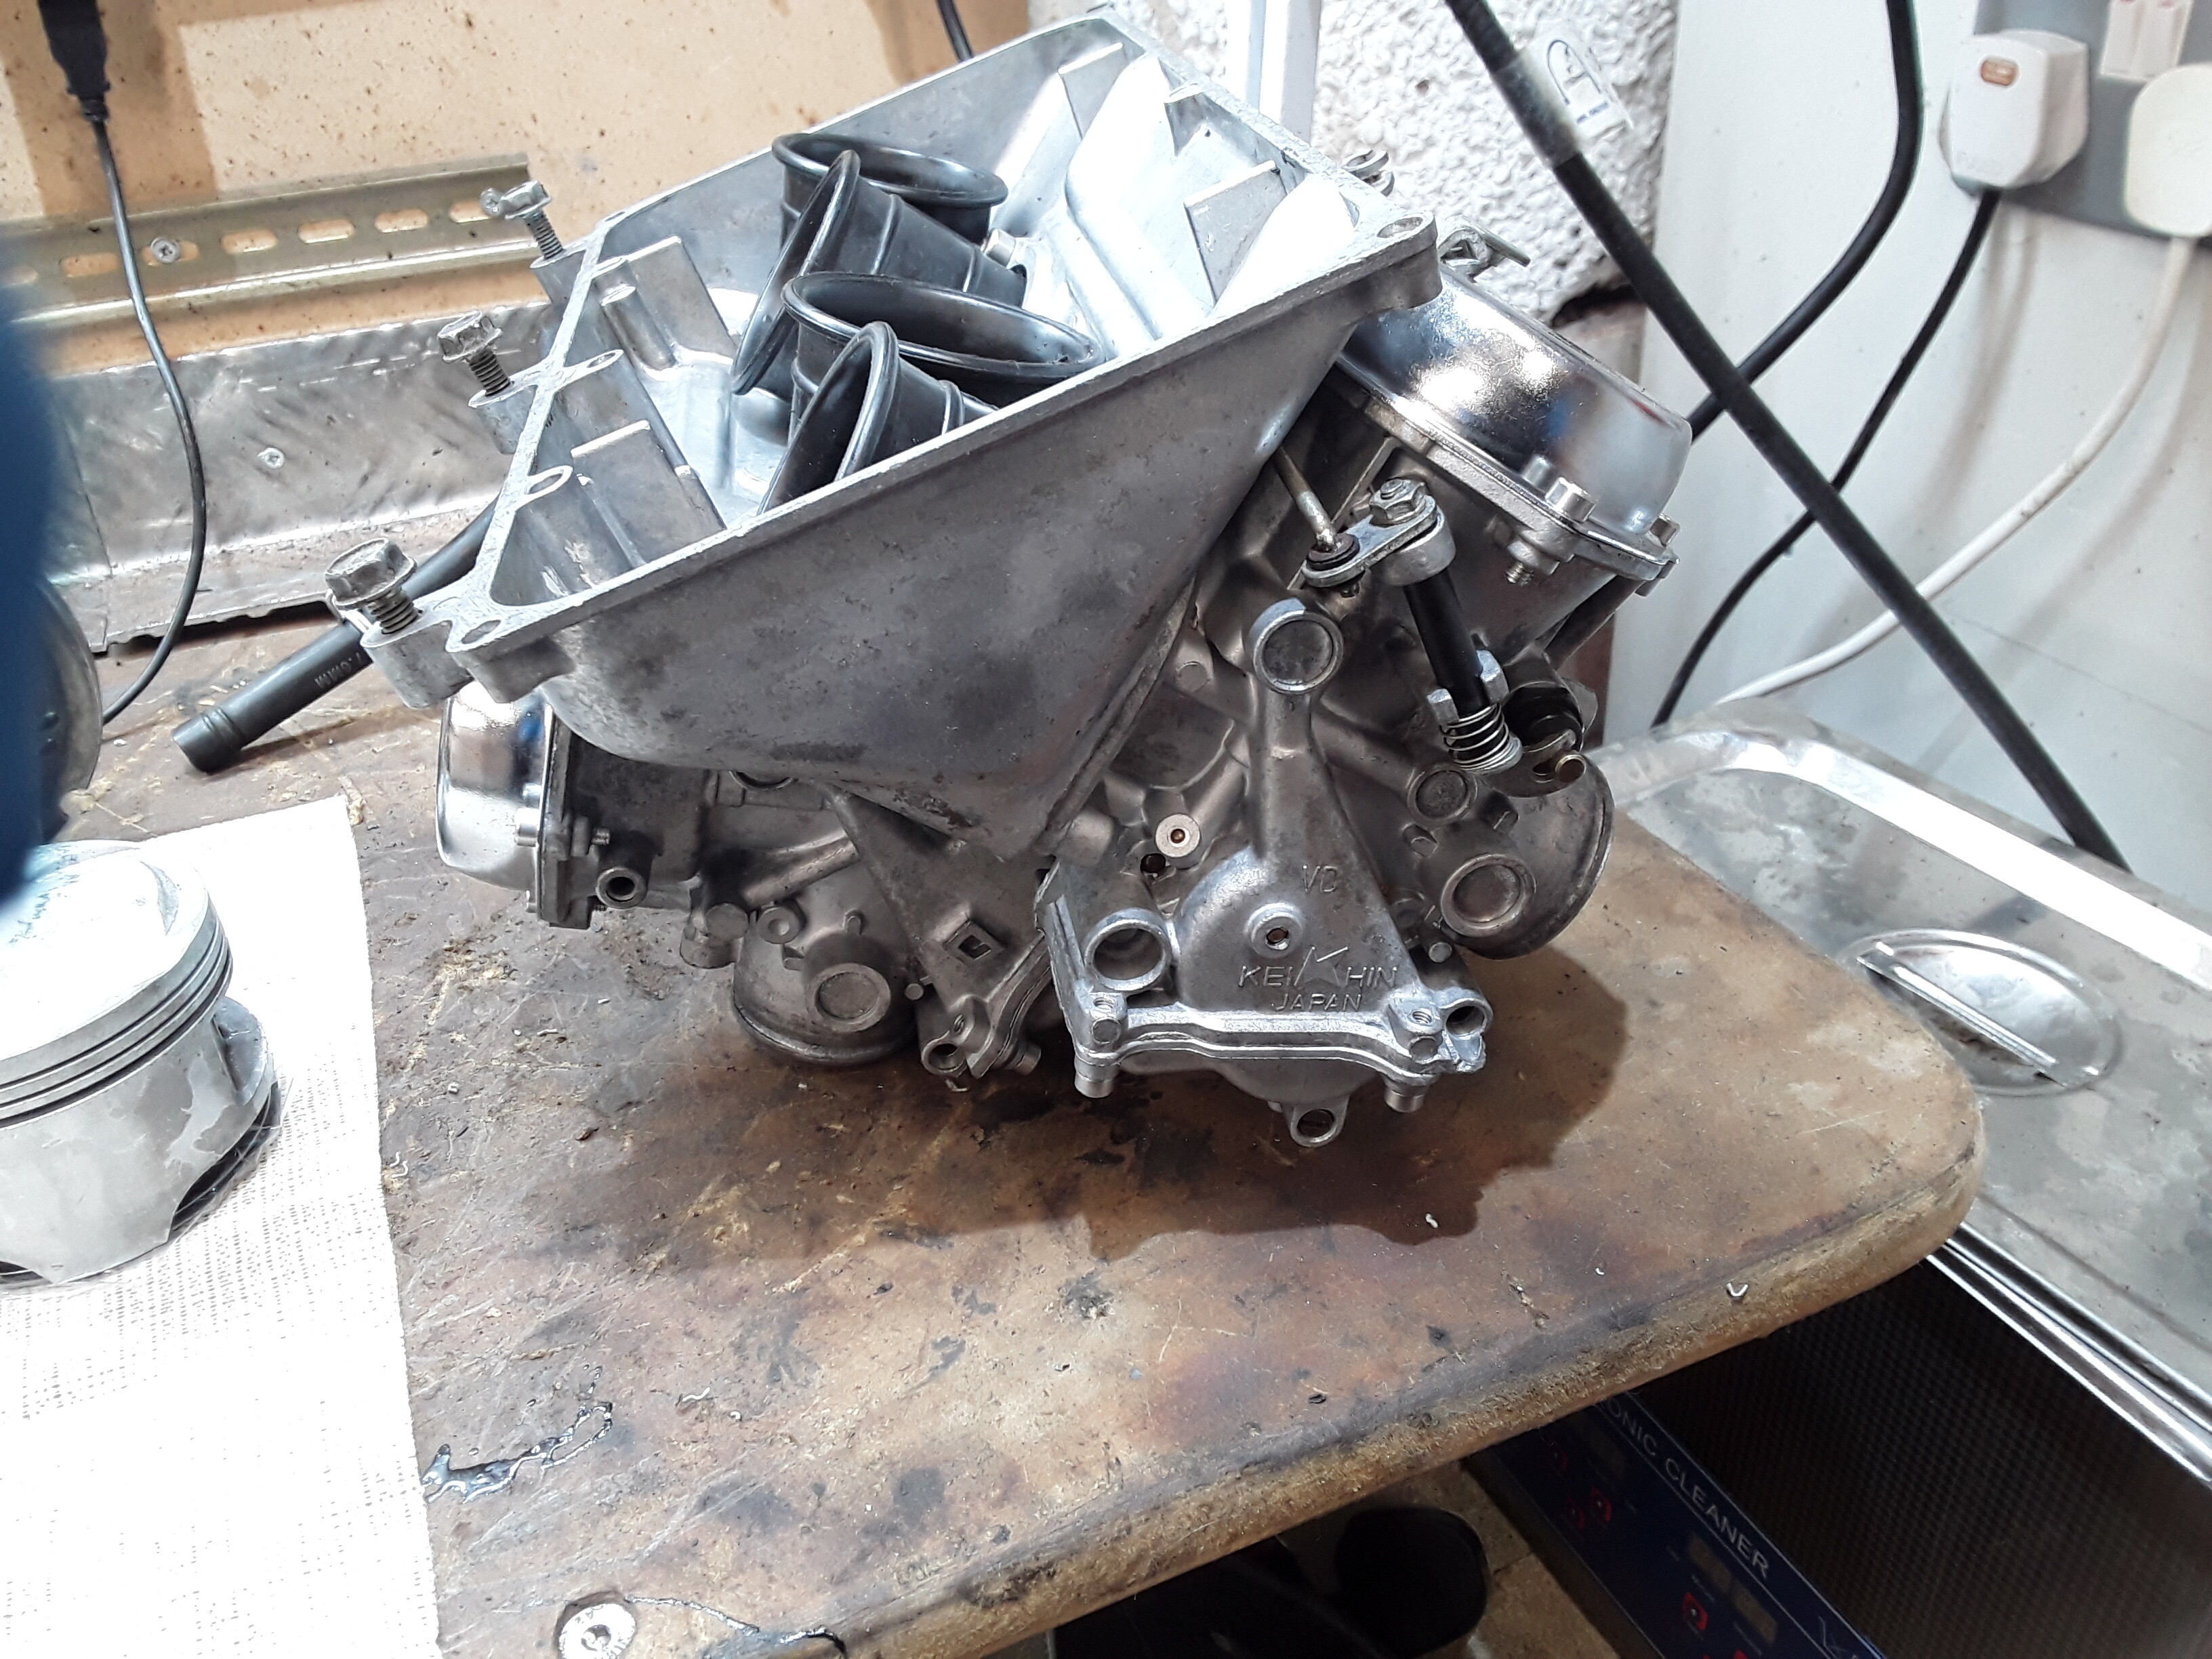
Liners back in next with the o rings biff supplied along with cleaned pistons and new rings.
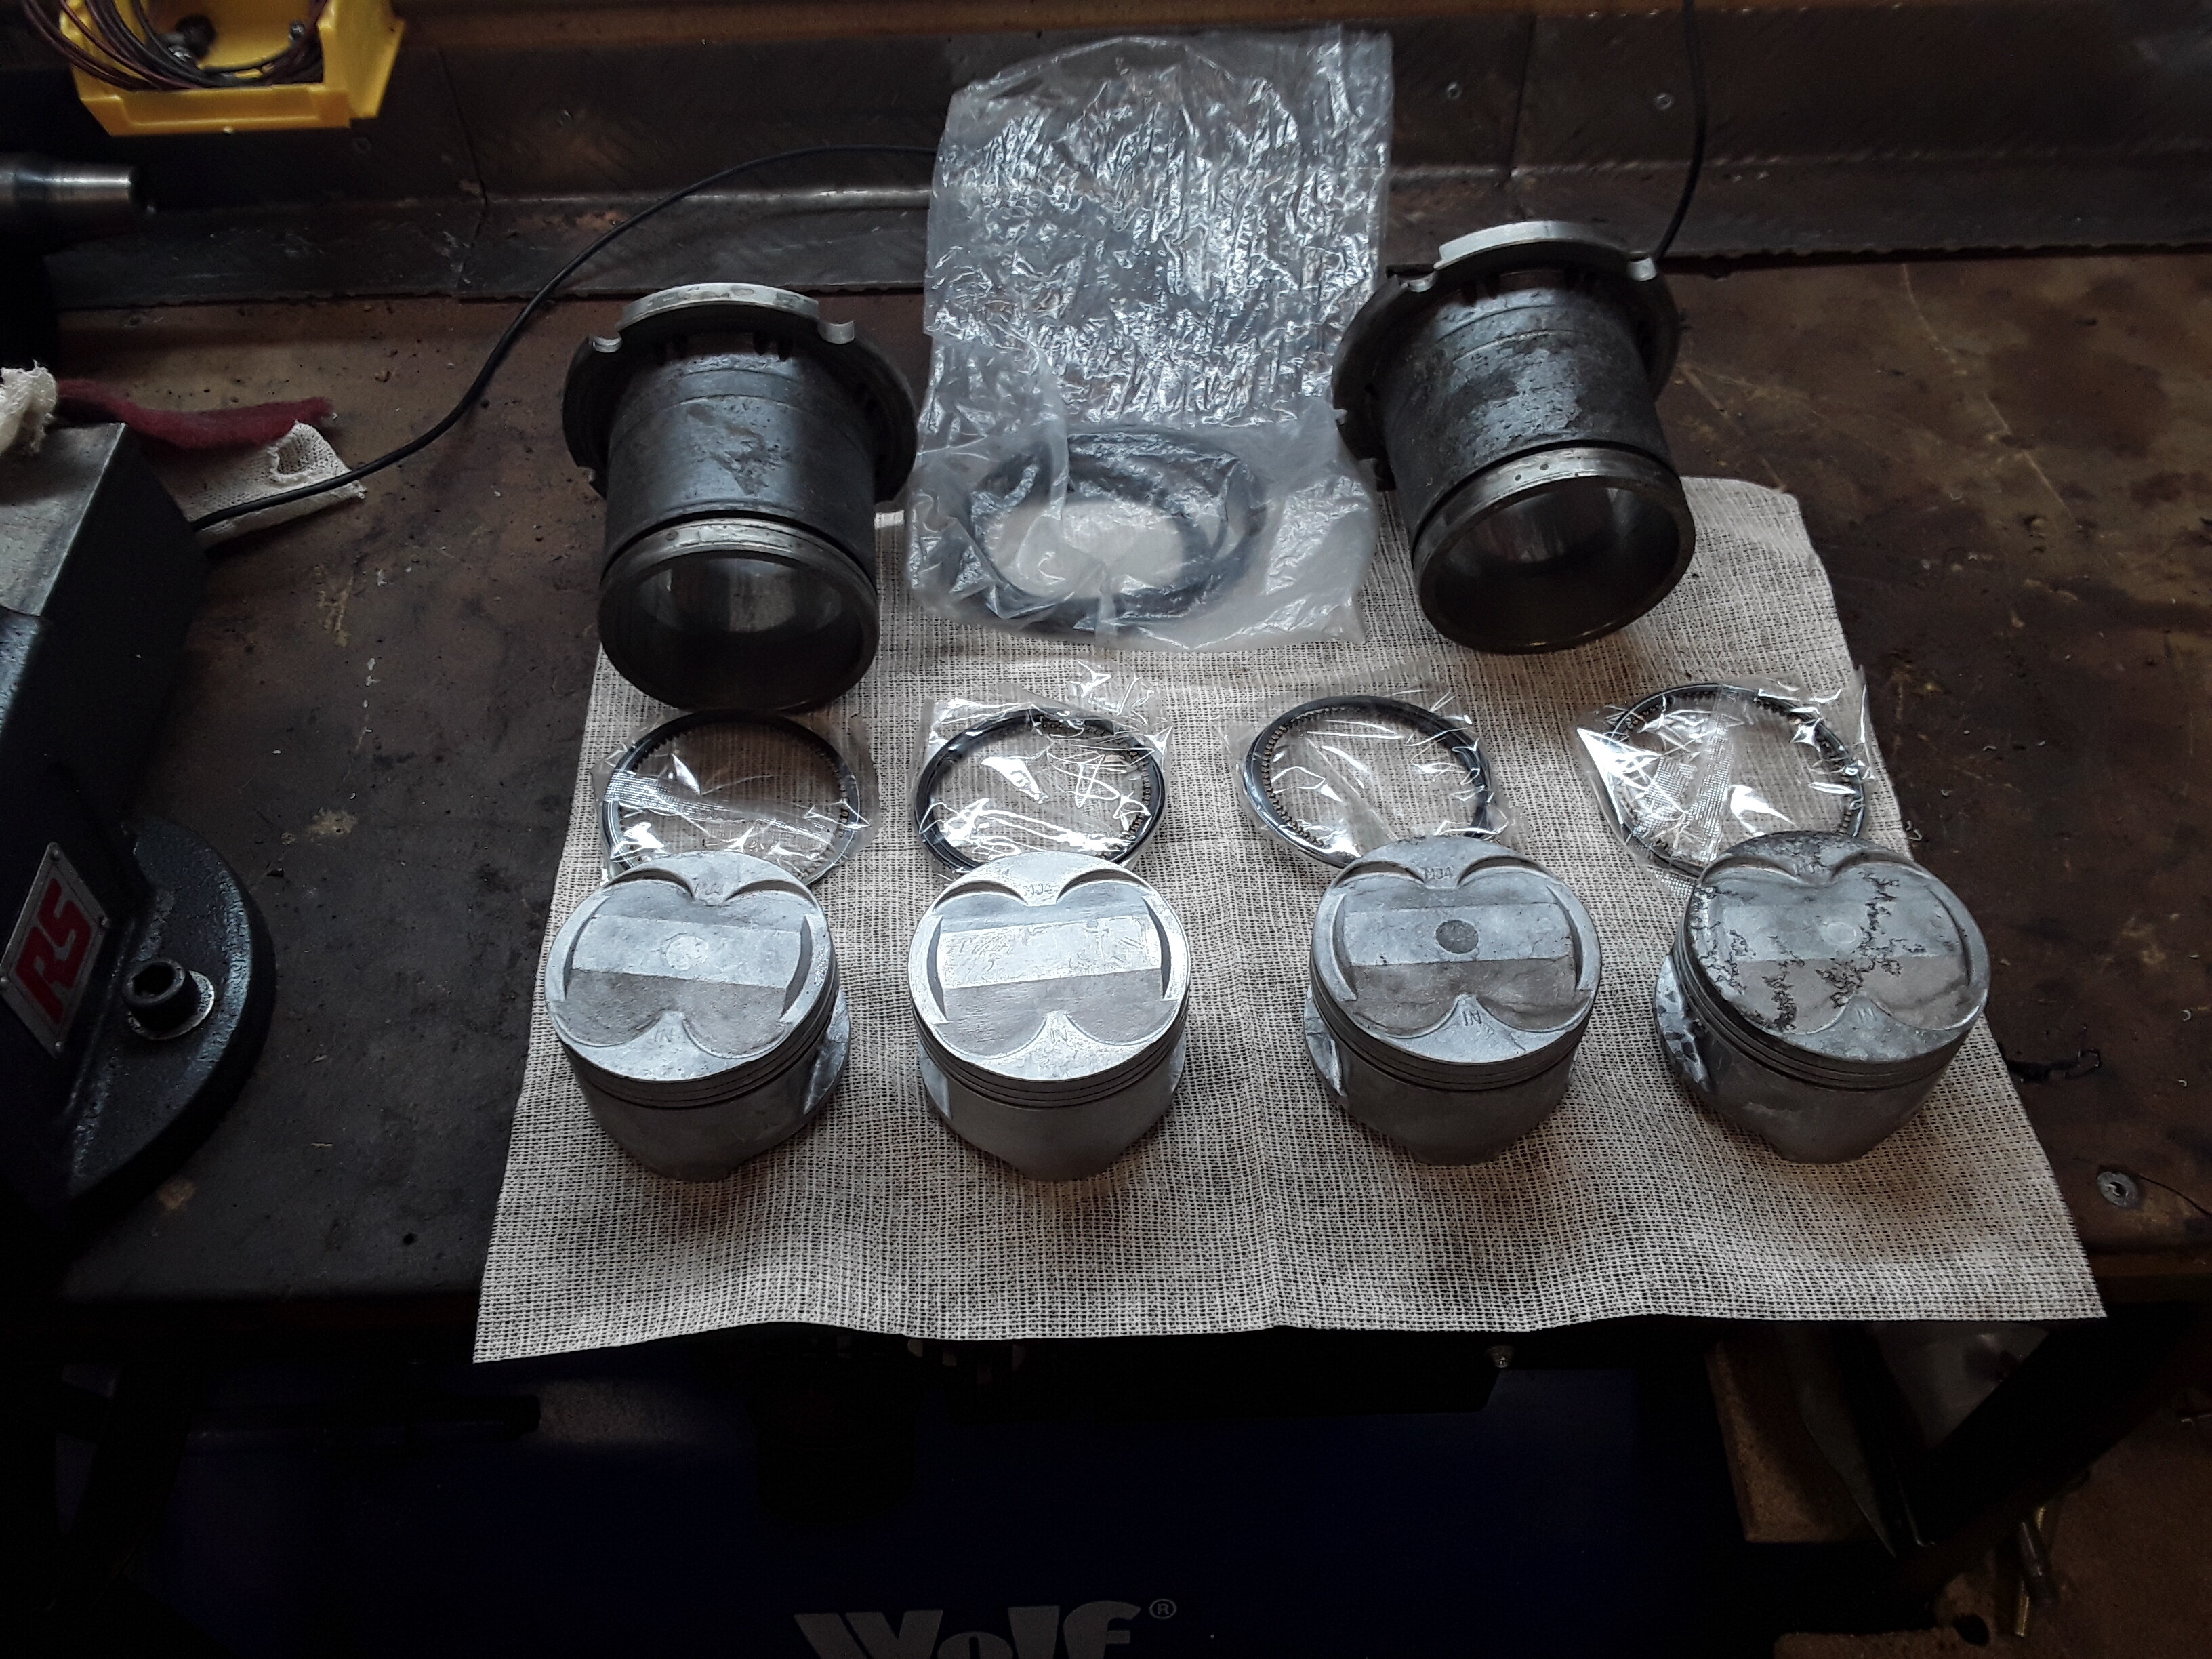
Other two liners on last cycle in ultrasonic bath, one piston didn’t clean up as nicely as the rest not sure why but when I stripped engine down it looked like a head gasket had gone as there was water in the bore though it may have come out of the head as I removed it. Not to worry it is still a thousand times cleaner than before.
Garyb
Liners back in thanks to Pete who said to use the cylinder head bolts and some box section steel to draw the liners down into the top casing.
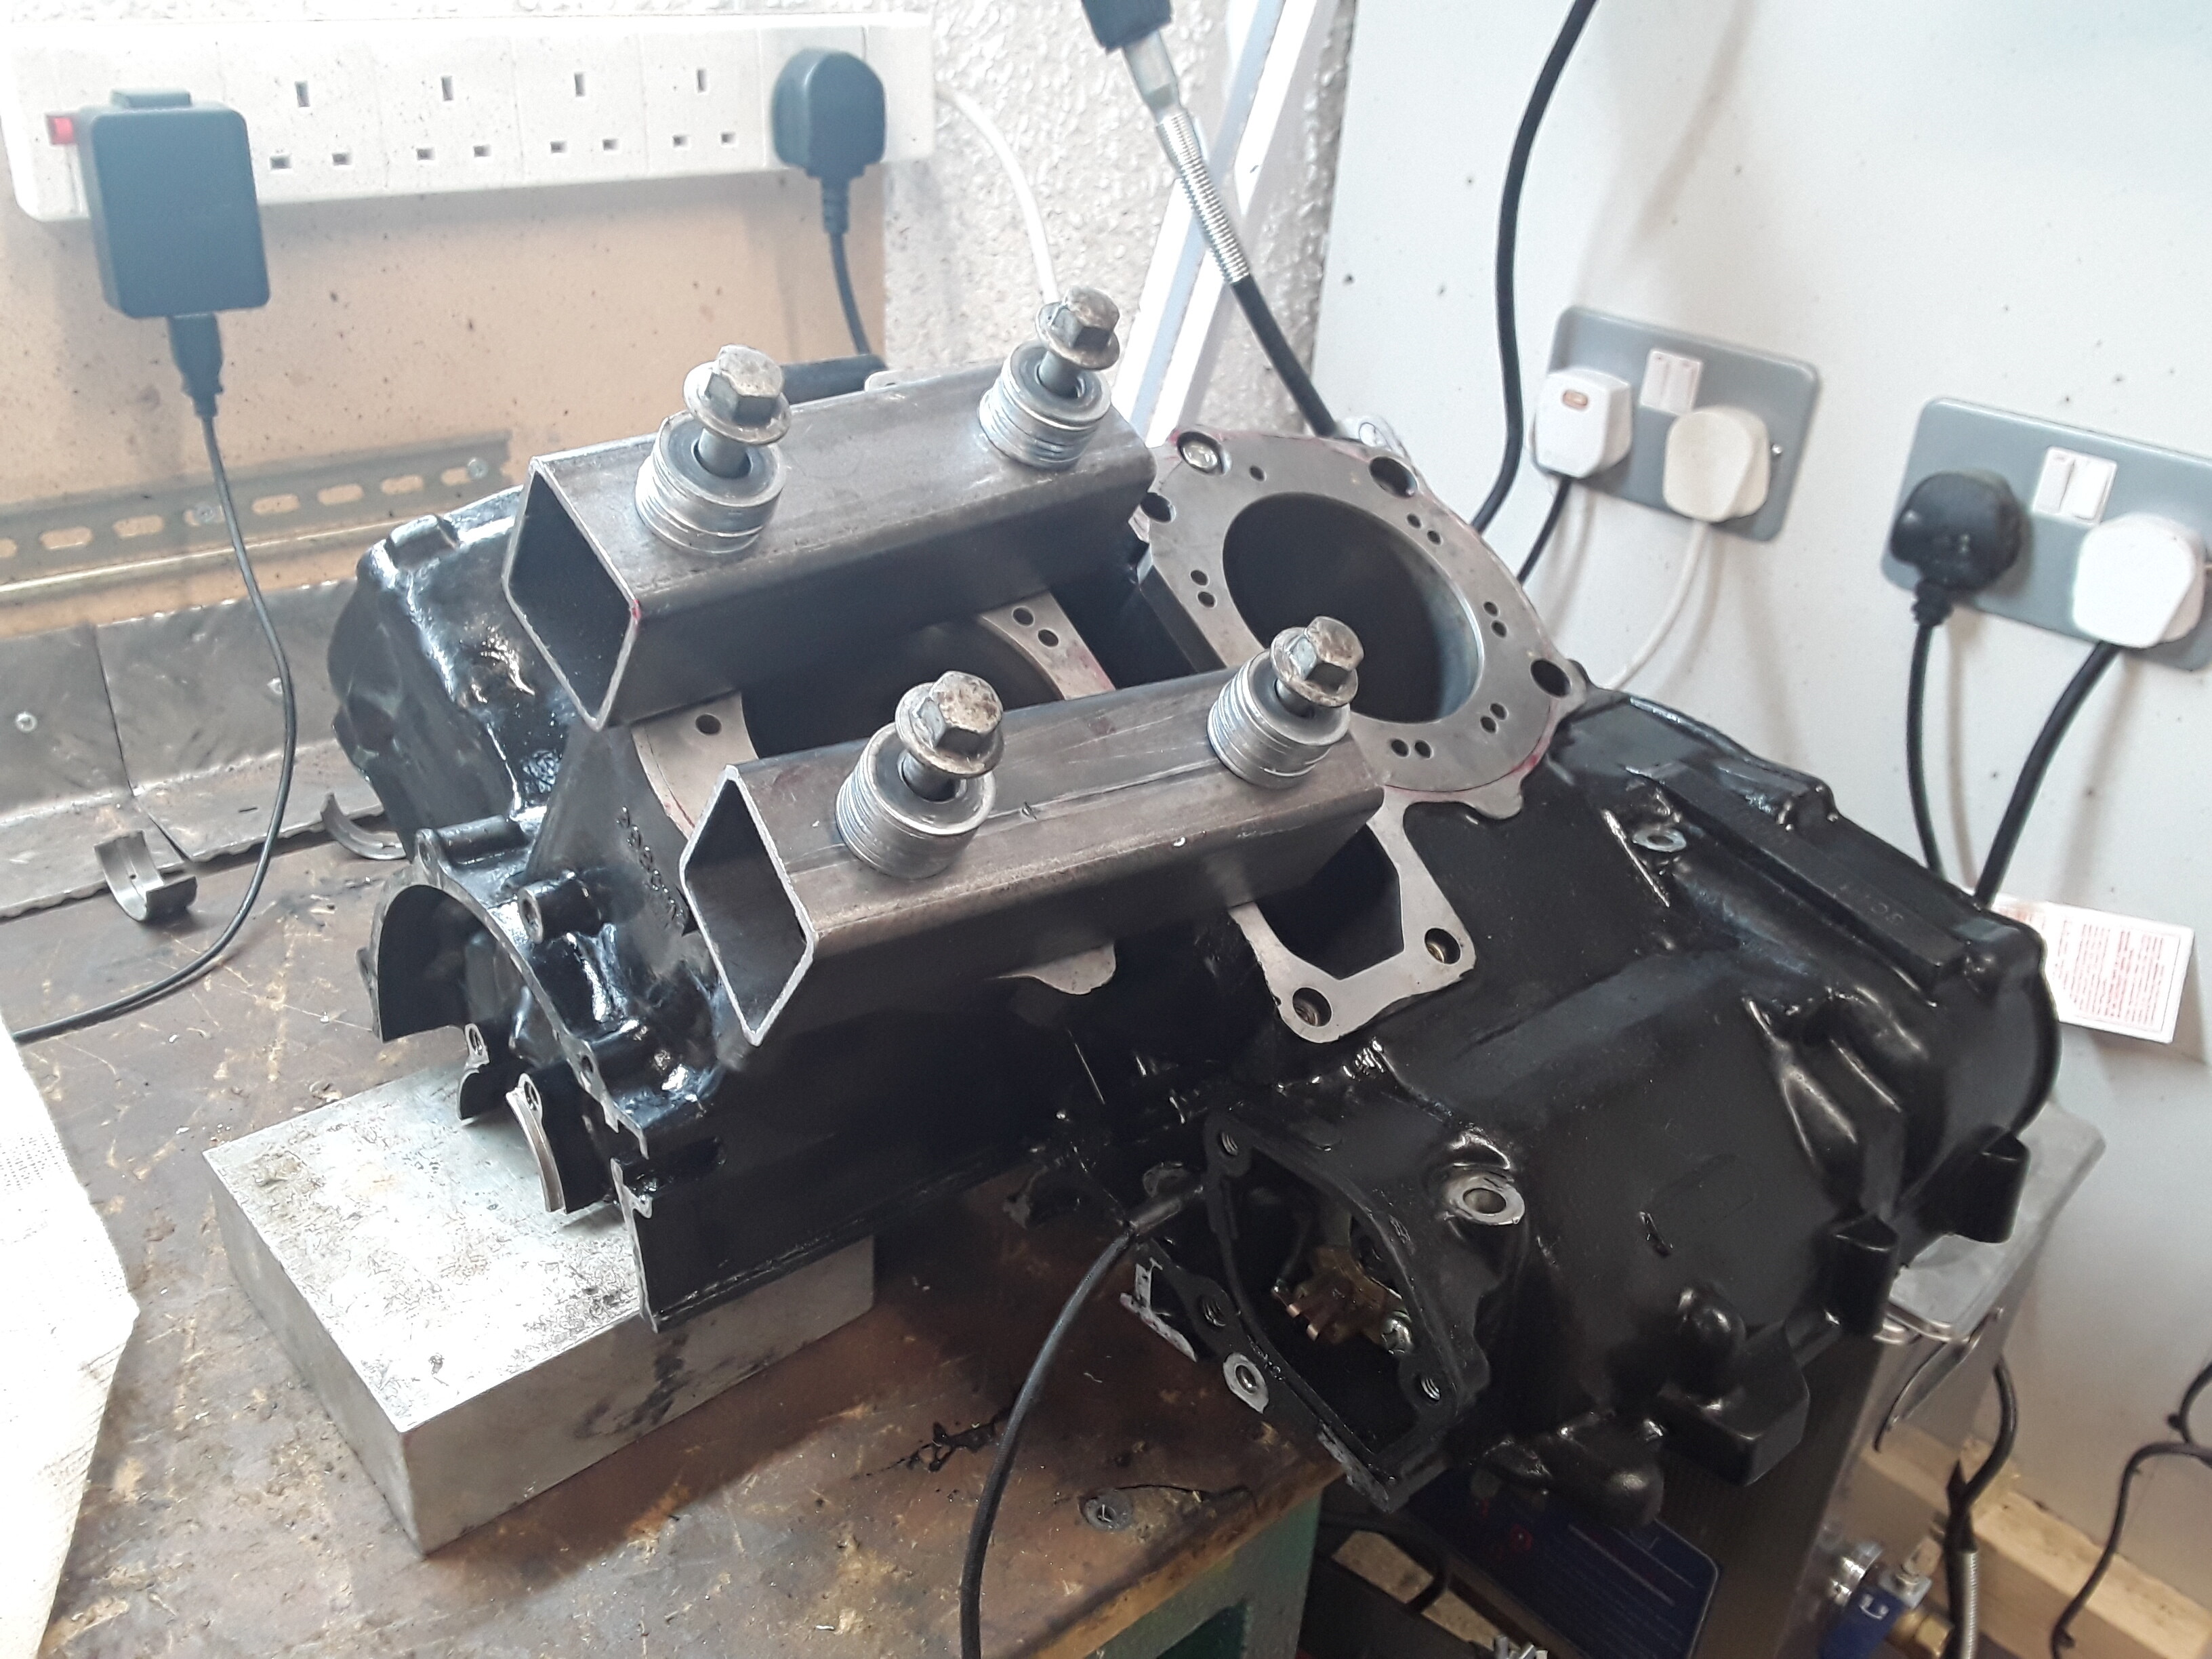
Worked a treat, they went in easily and straight. Thanks Pete! Next is to put pistons onto rods and put into the liners and we will be ready to re assemble the cases then.
Garyb
Pistons back in bore and con rods tightened to correct torque, gearbox back in and all ready to join cases tomorrow
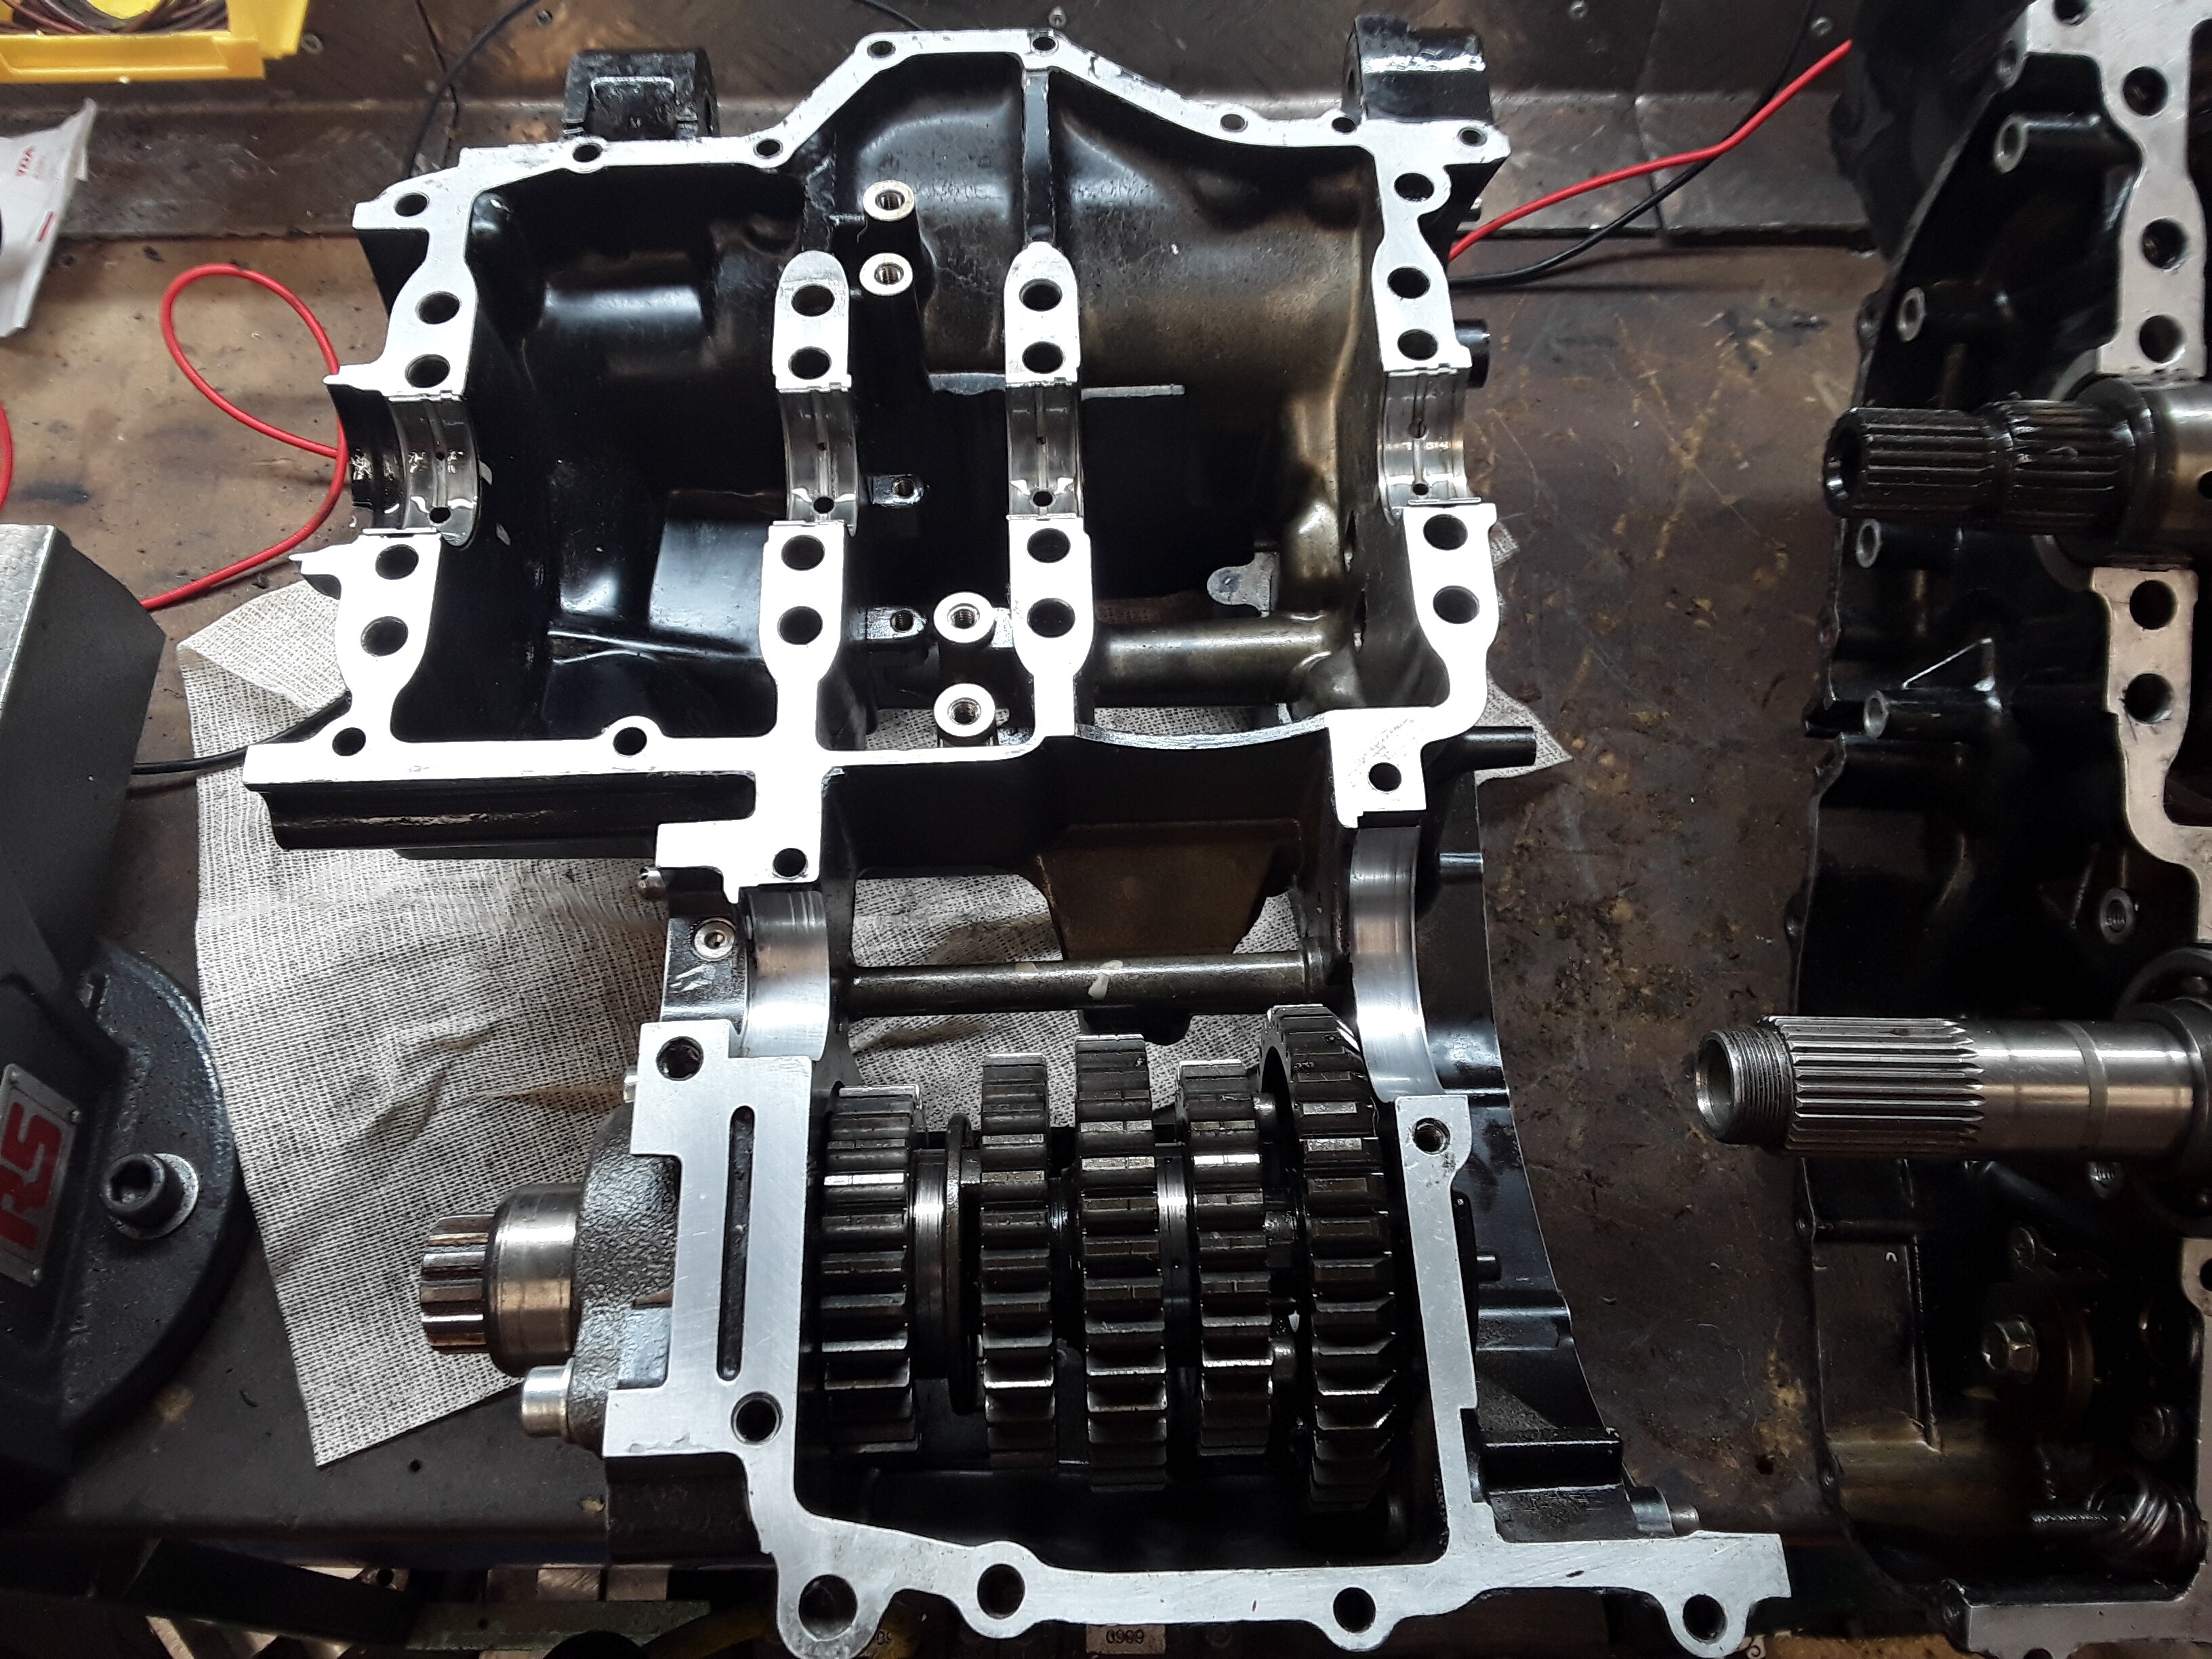
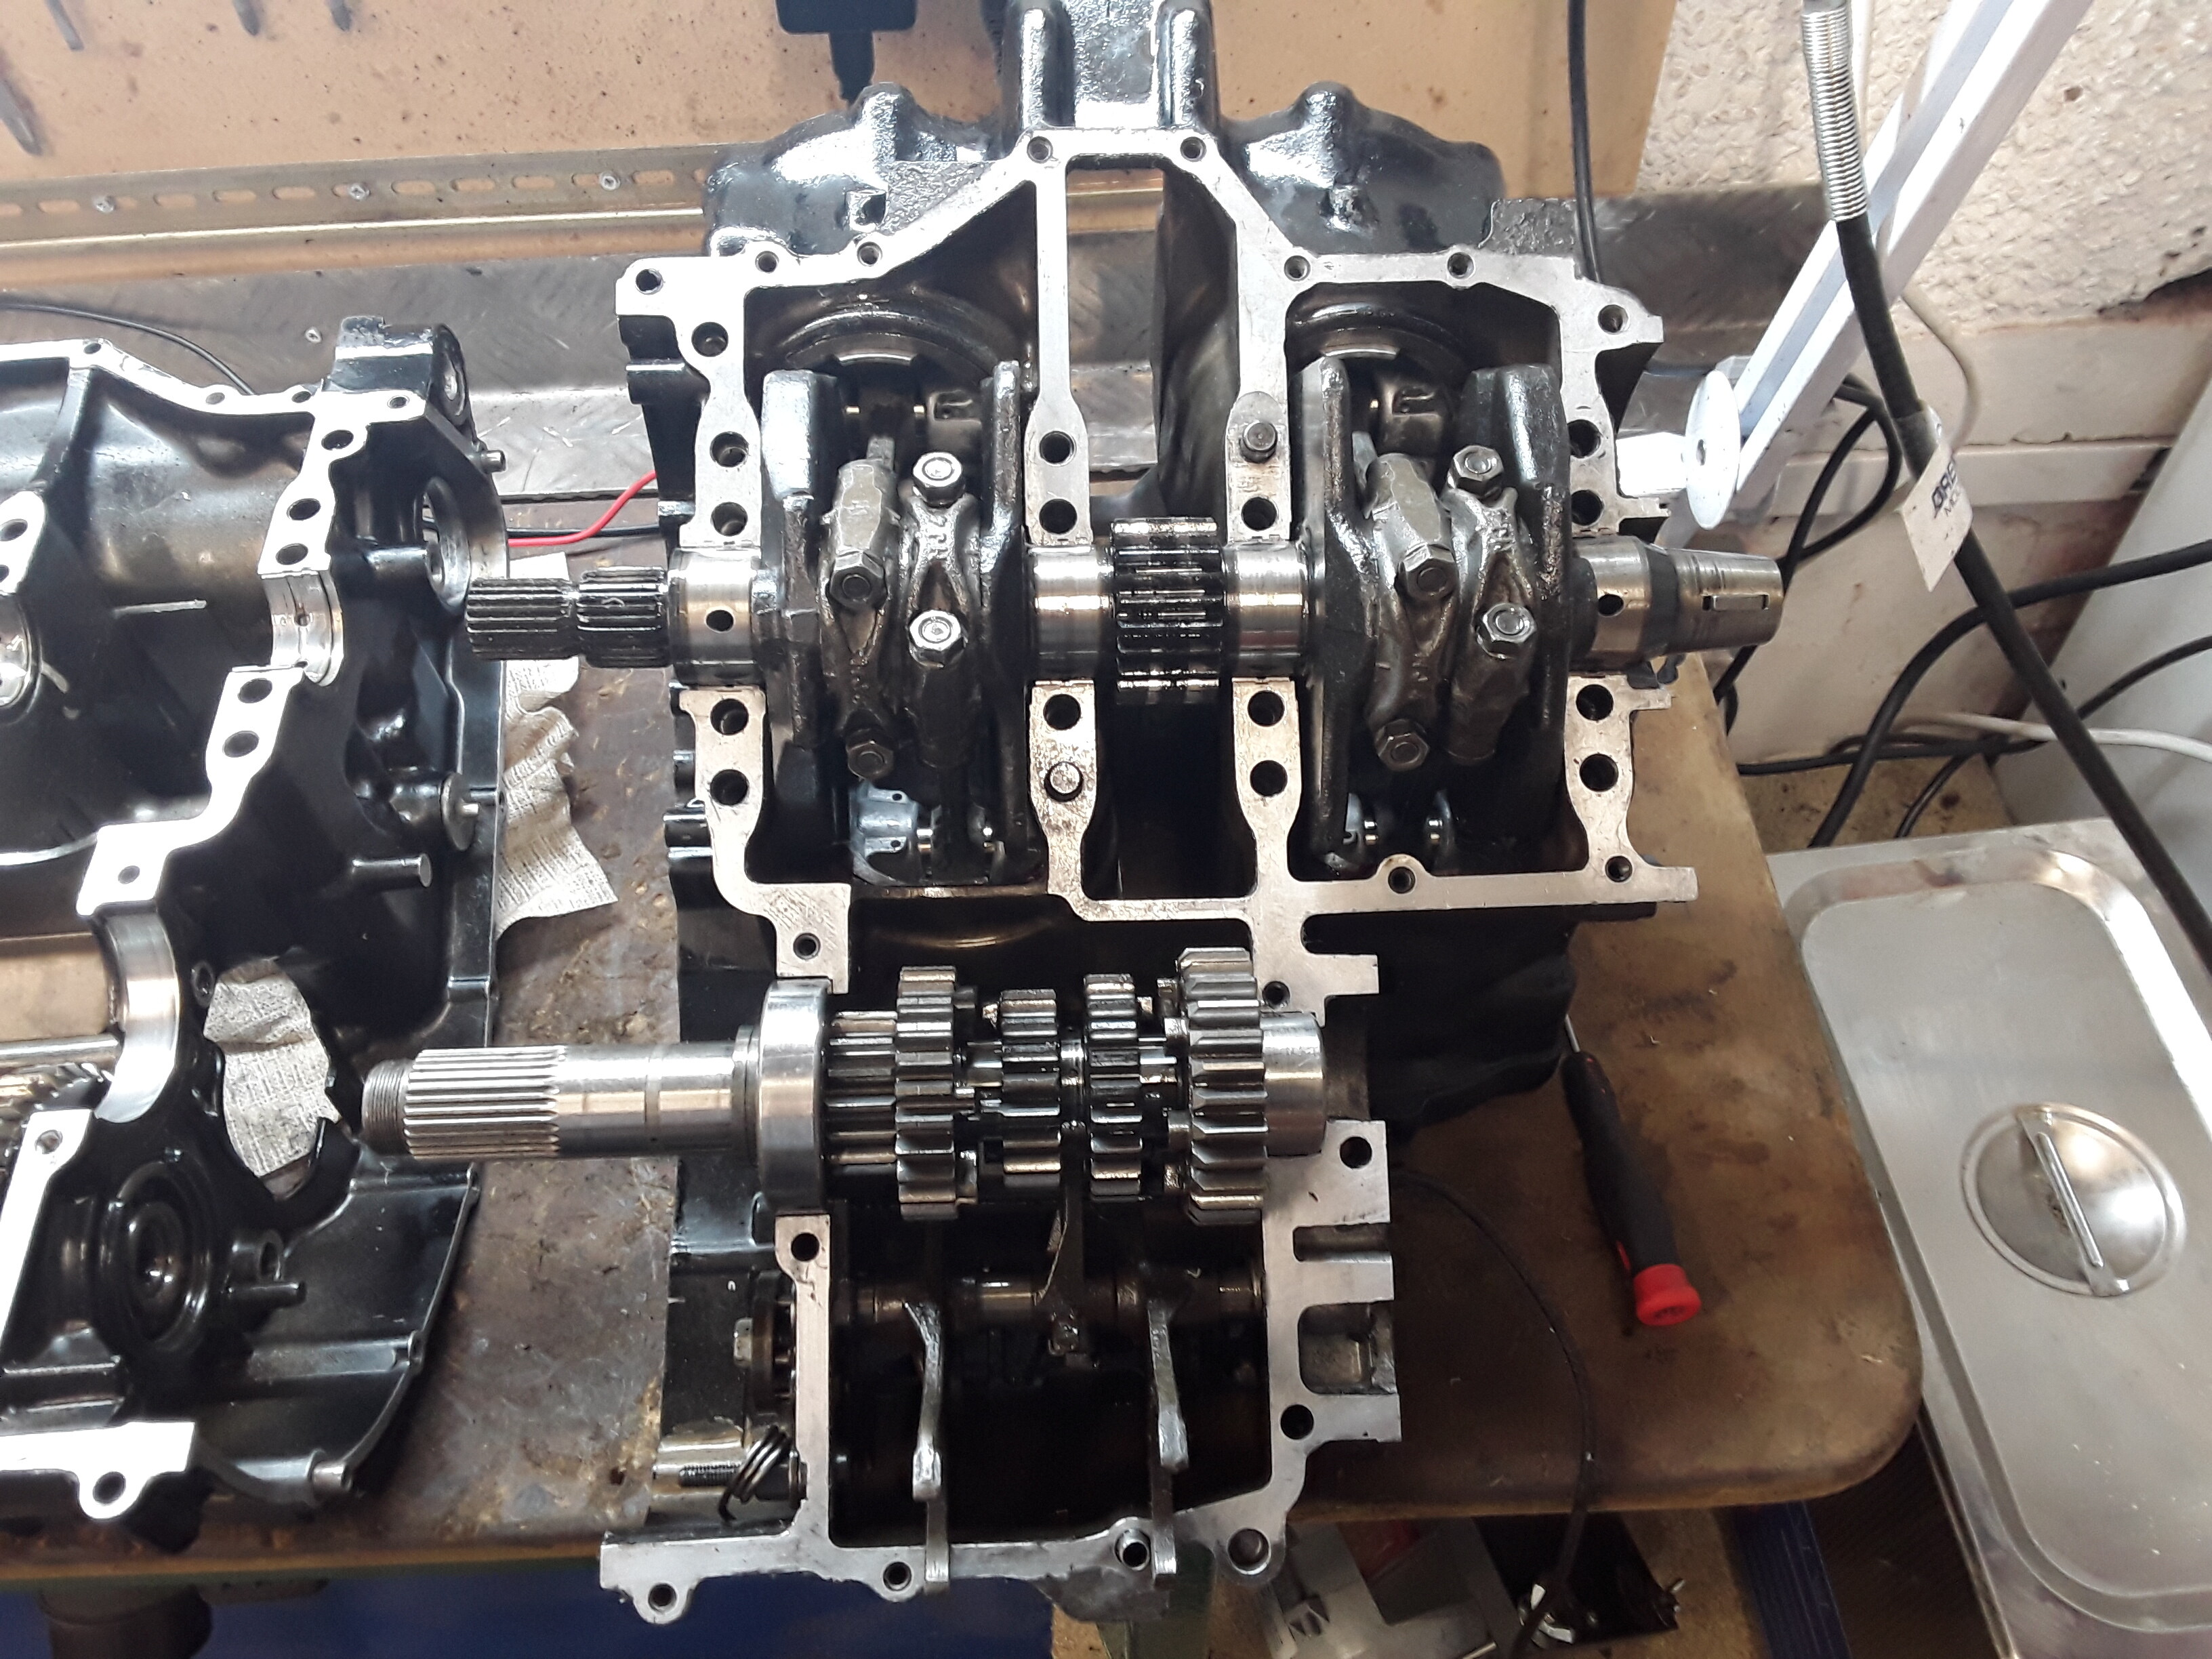
Found the main bearing shell nearest clutch was damaged so spent today taking another engine apart to get an A2 bearing but it was not much better but did have good B1 bearings and according to the manual both A2 and B1 are the same colour code, green so have used one of them. If anybody knows different tell me quickly before I rebuild cases!
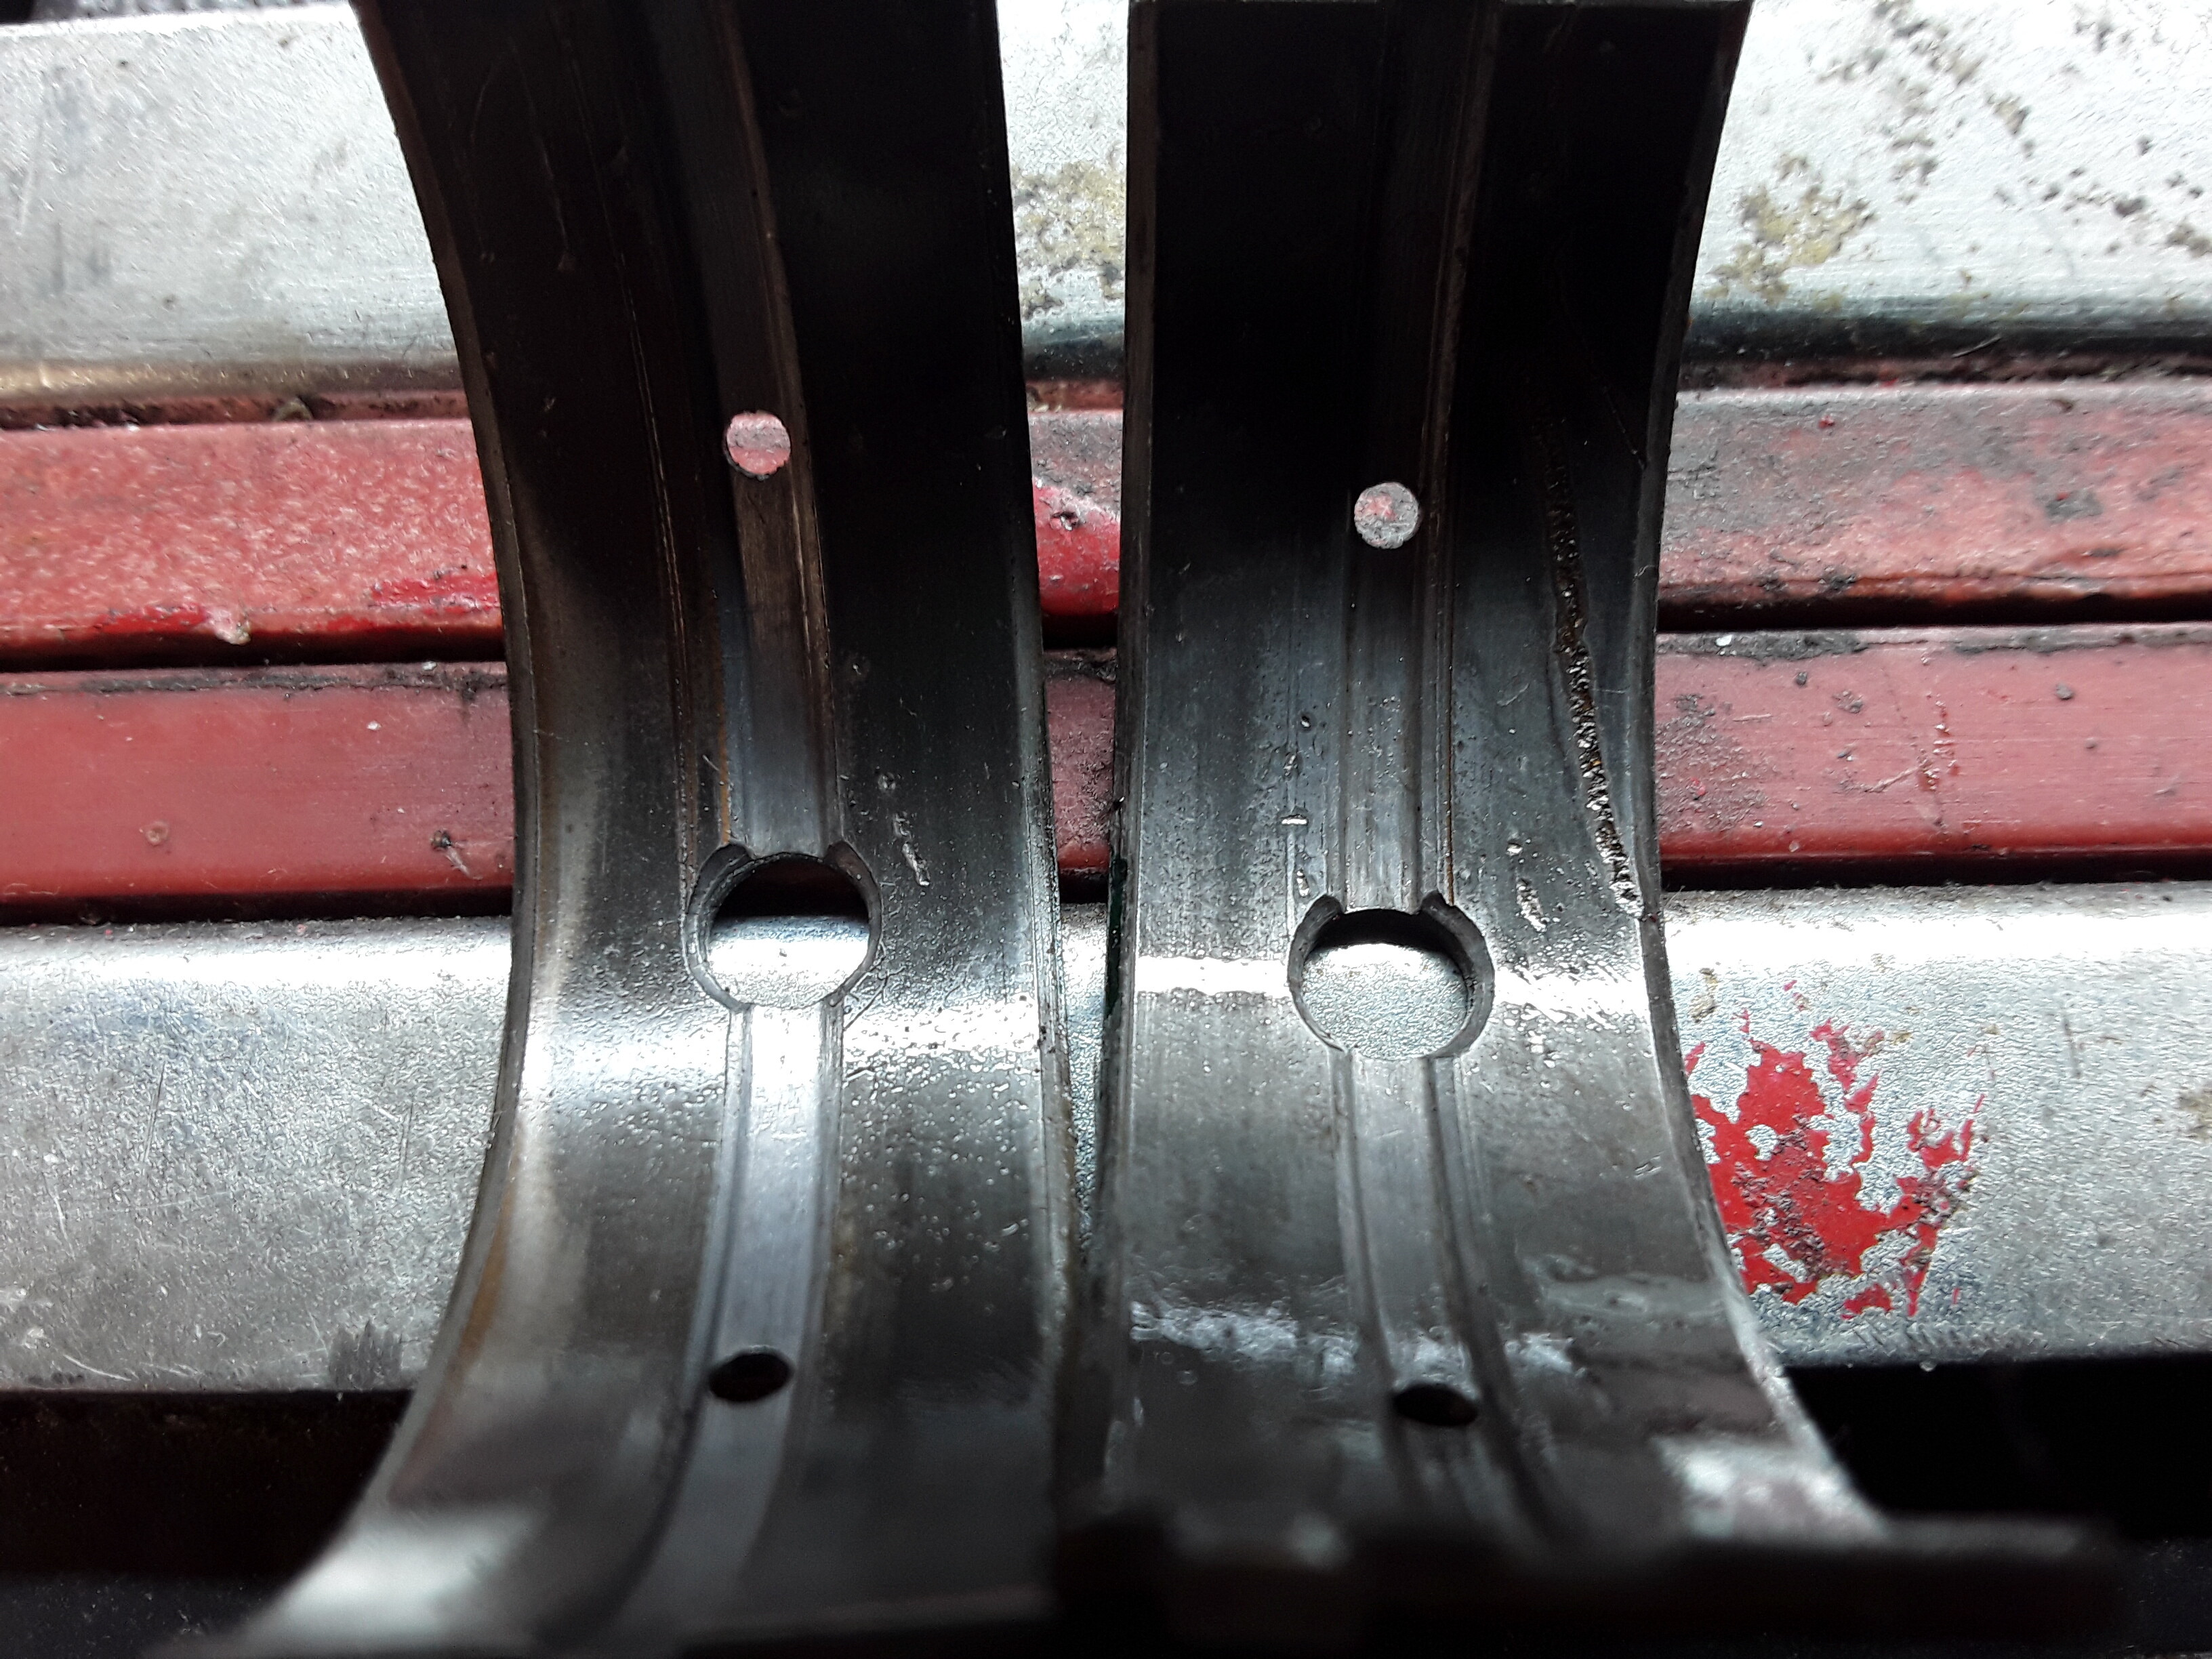
Original A2
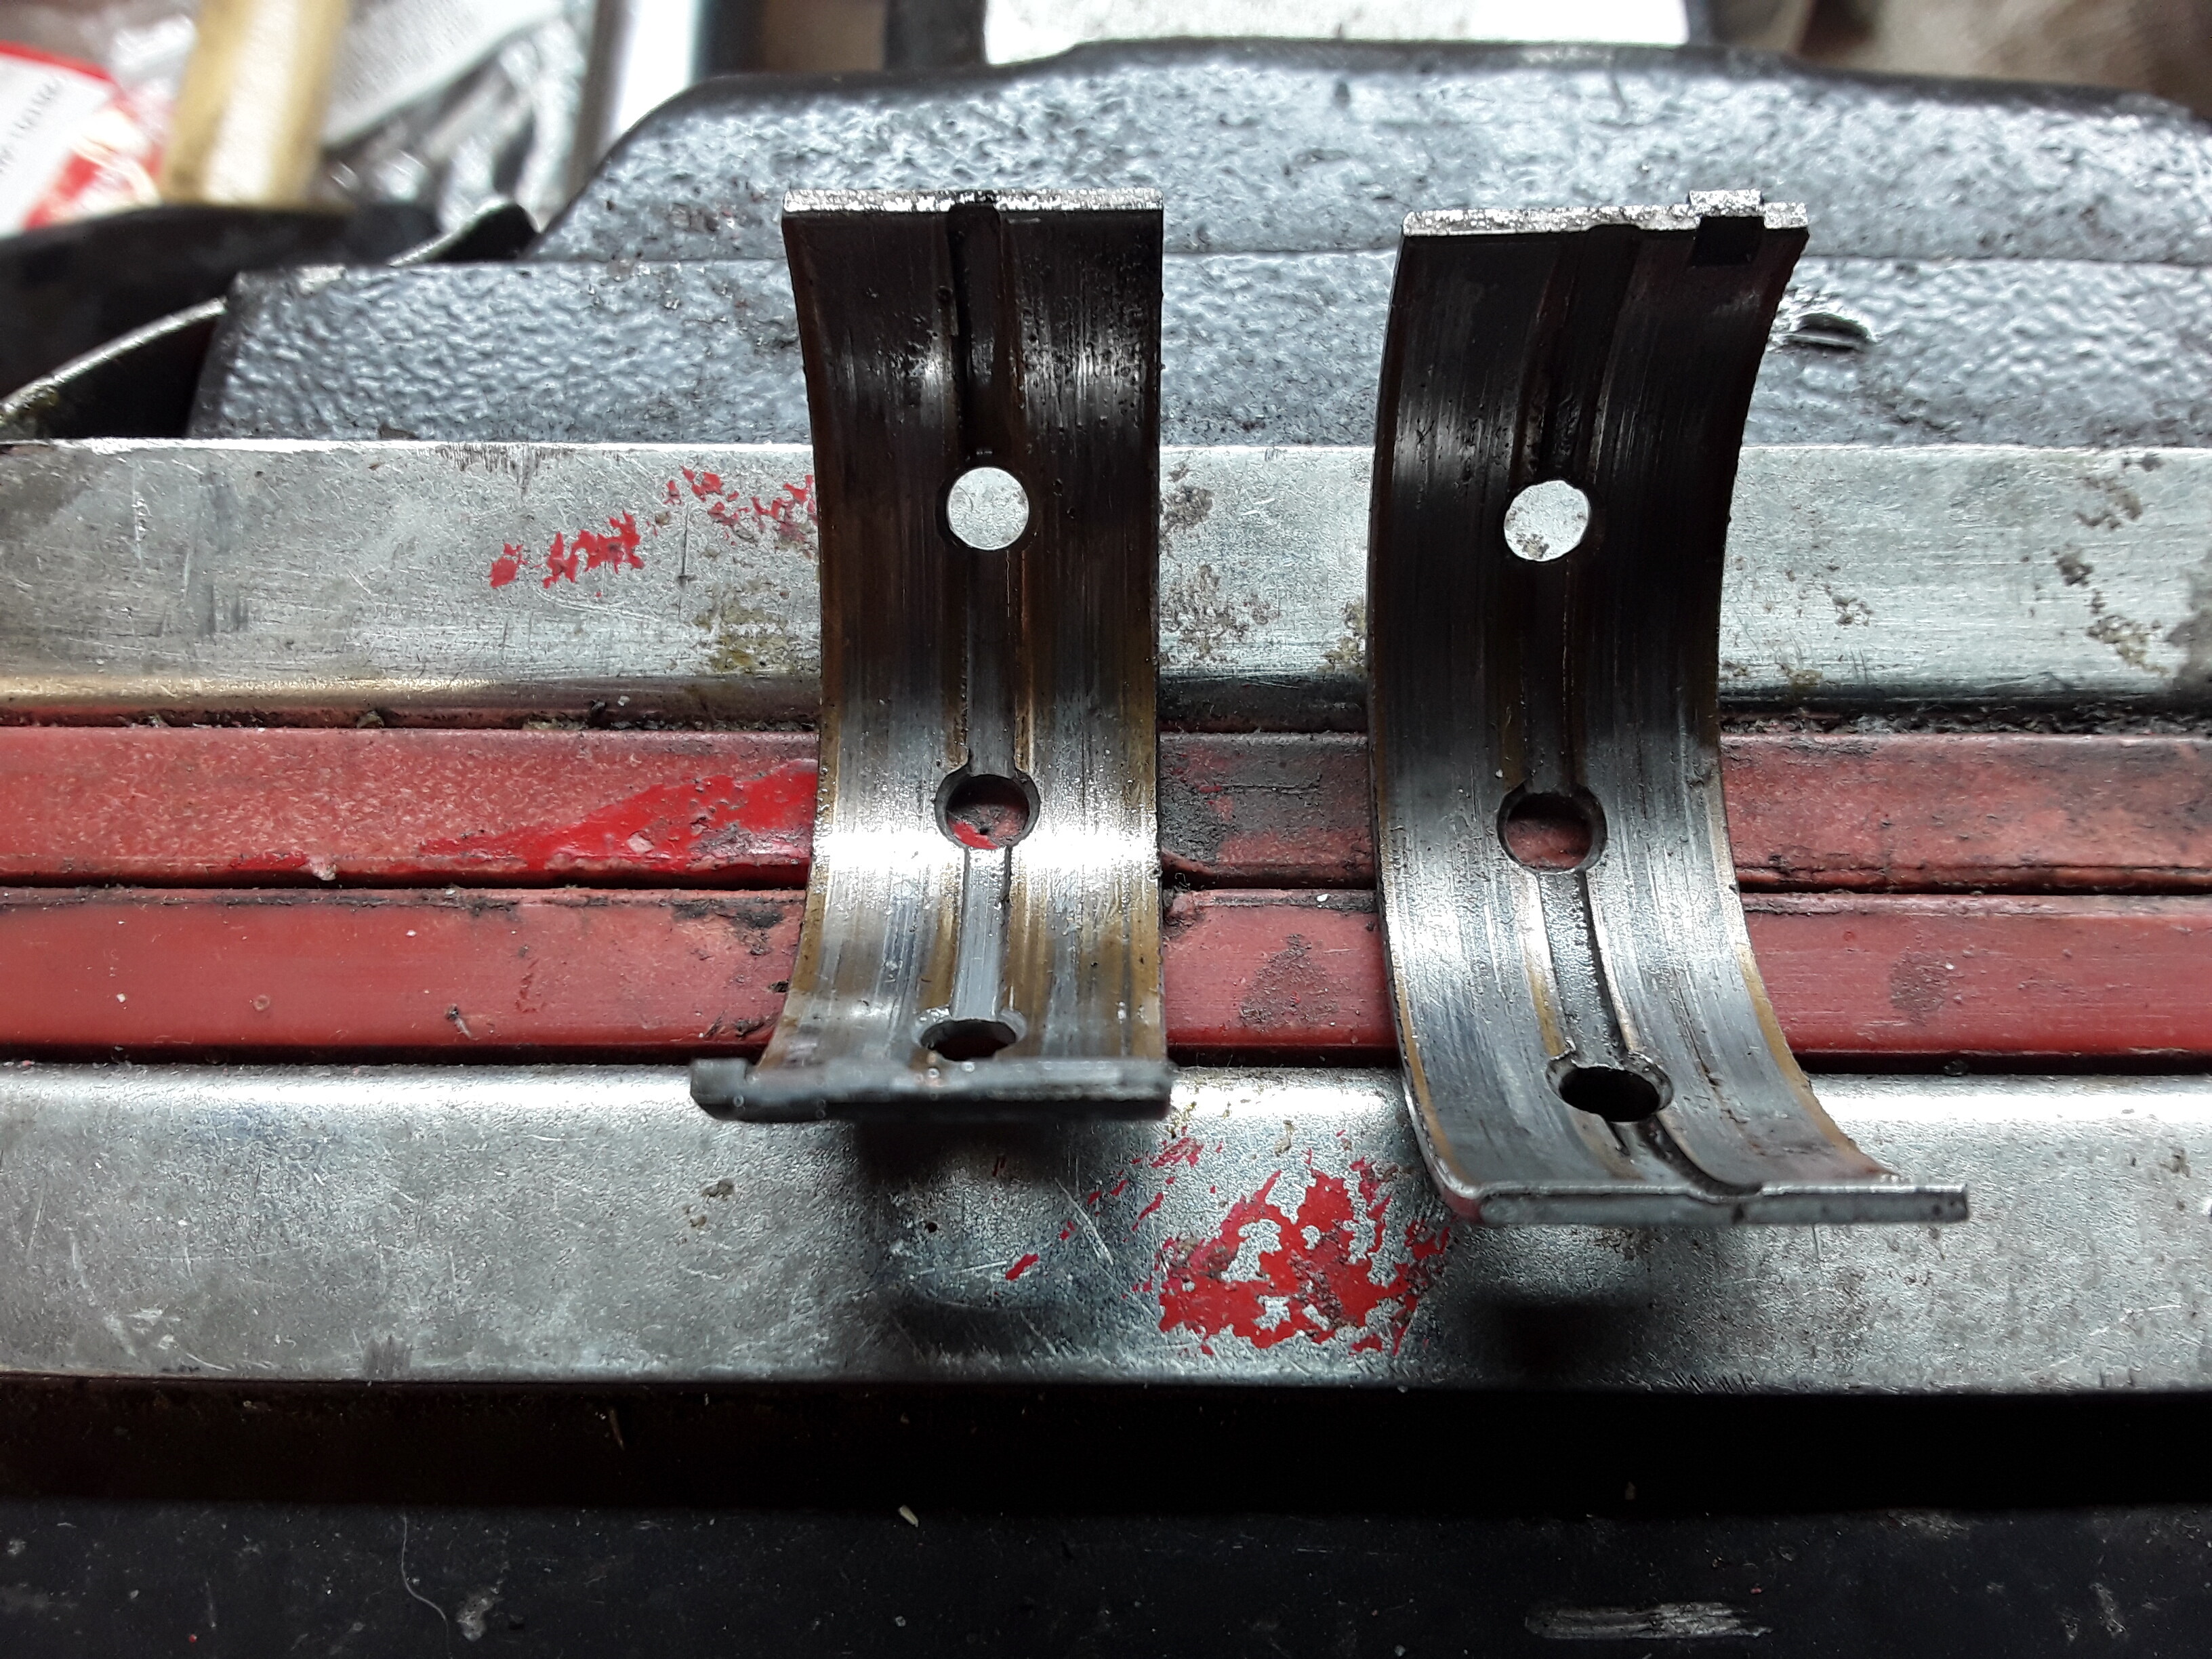
Spare A2

Spare B1, not perfect but better than the others I think.
Garyb
Like they say in this part of the world @garyb
“We done Marra”
I think Pete has already said but just to put your mind at rest,you are right
Yep, same, just double checked with bif to make sure I hadn’t got it wrong, at the speed your going gary, you’ll have engine in and started up for end of week .