I bought one of All Balls repair kits a while back,so today while trying to create a bit more space I came across a box with some taps in I got a bit distracted from the task in hand.
How hard can it be?
I decided to find out.
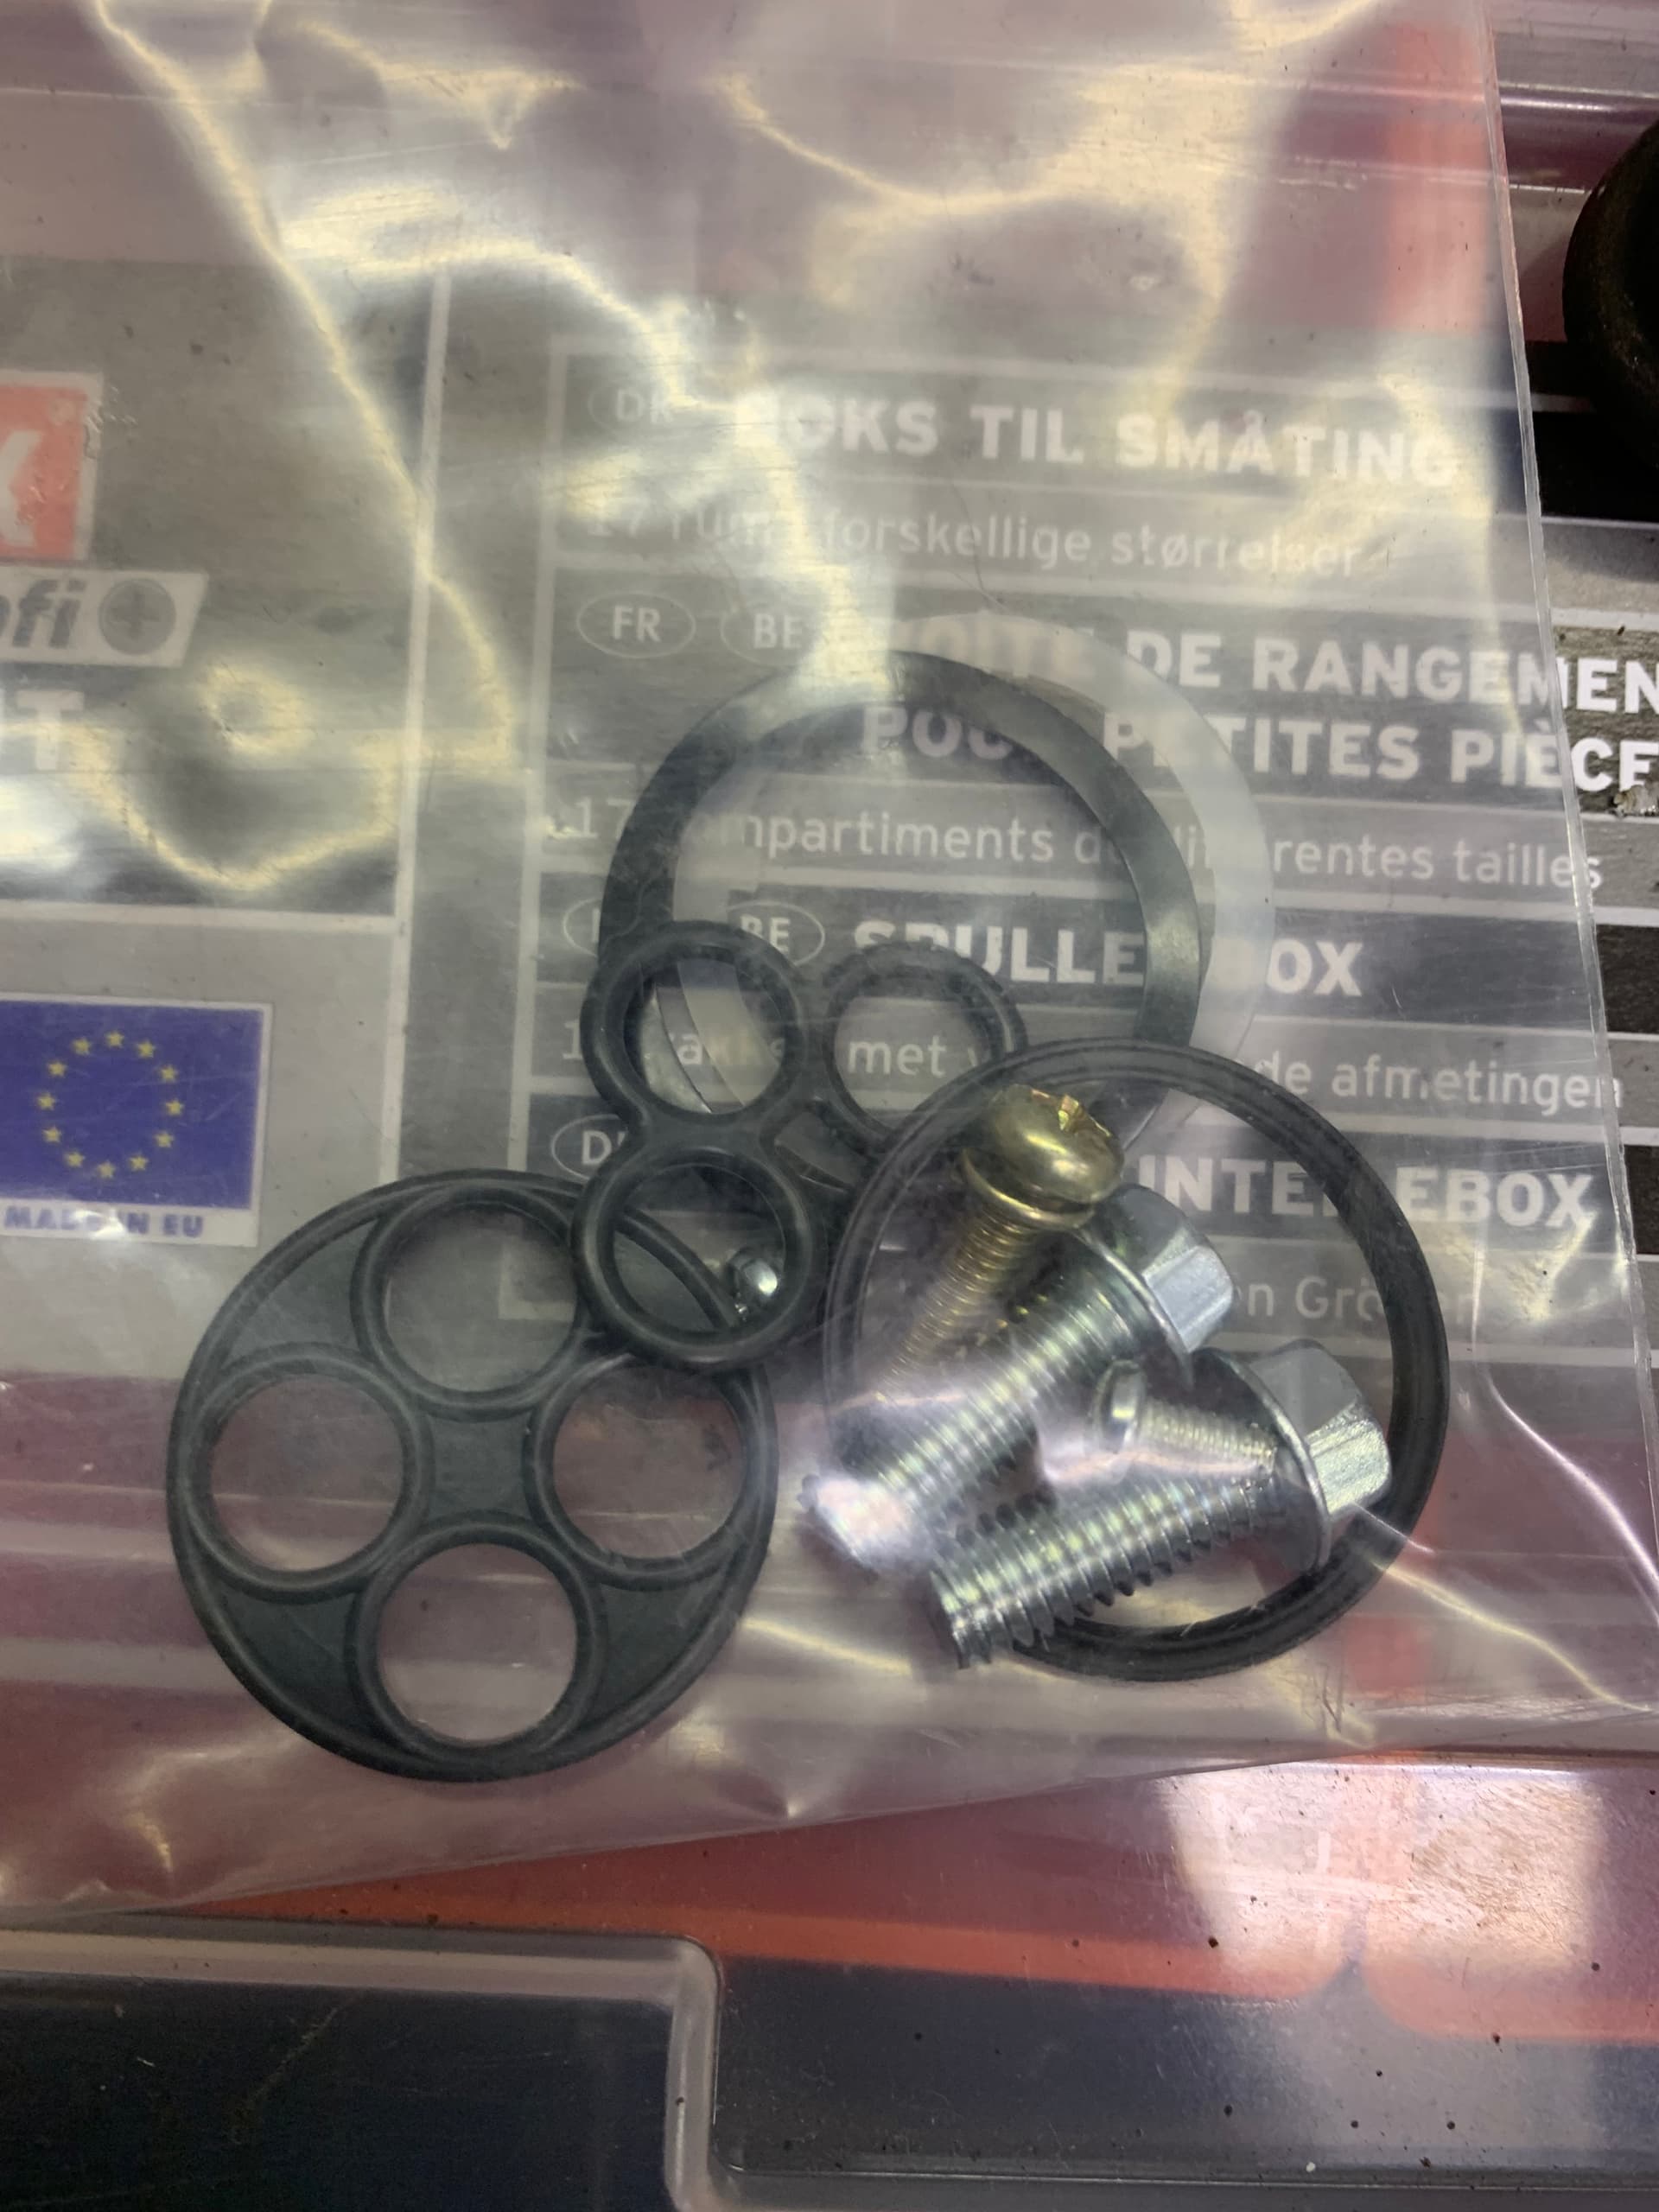
The kit includes a drill bit to remove what I assumed to be a couple of rivets.
Set up and drill right through the alloy
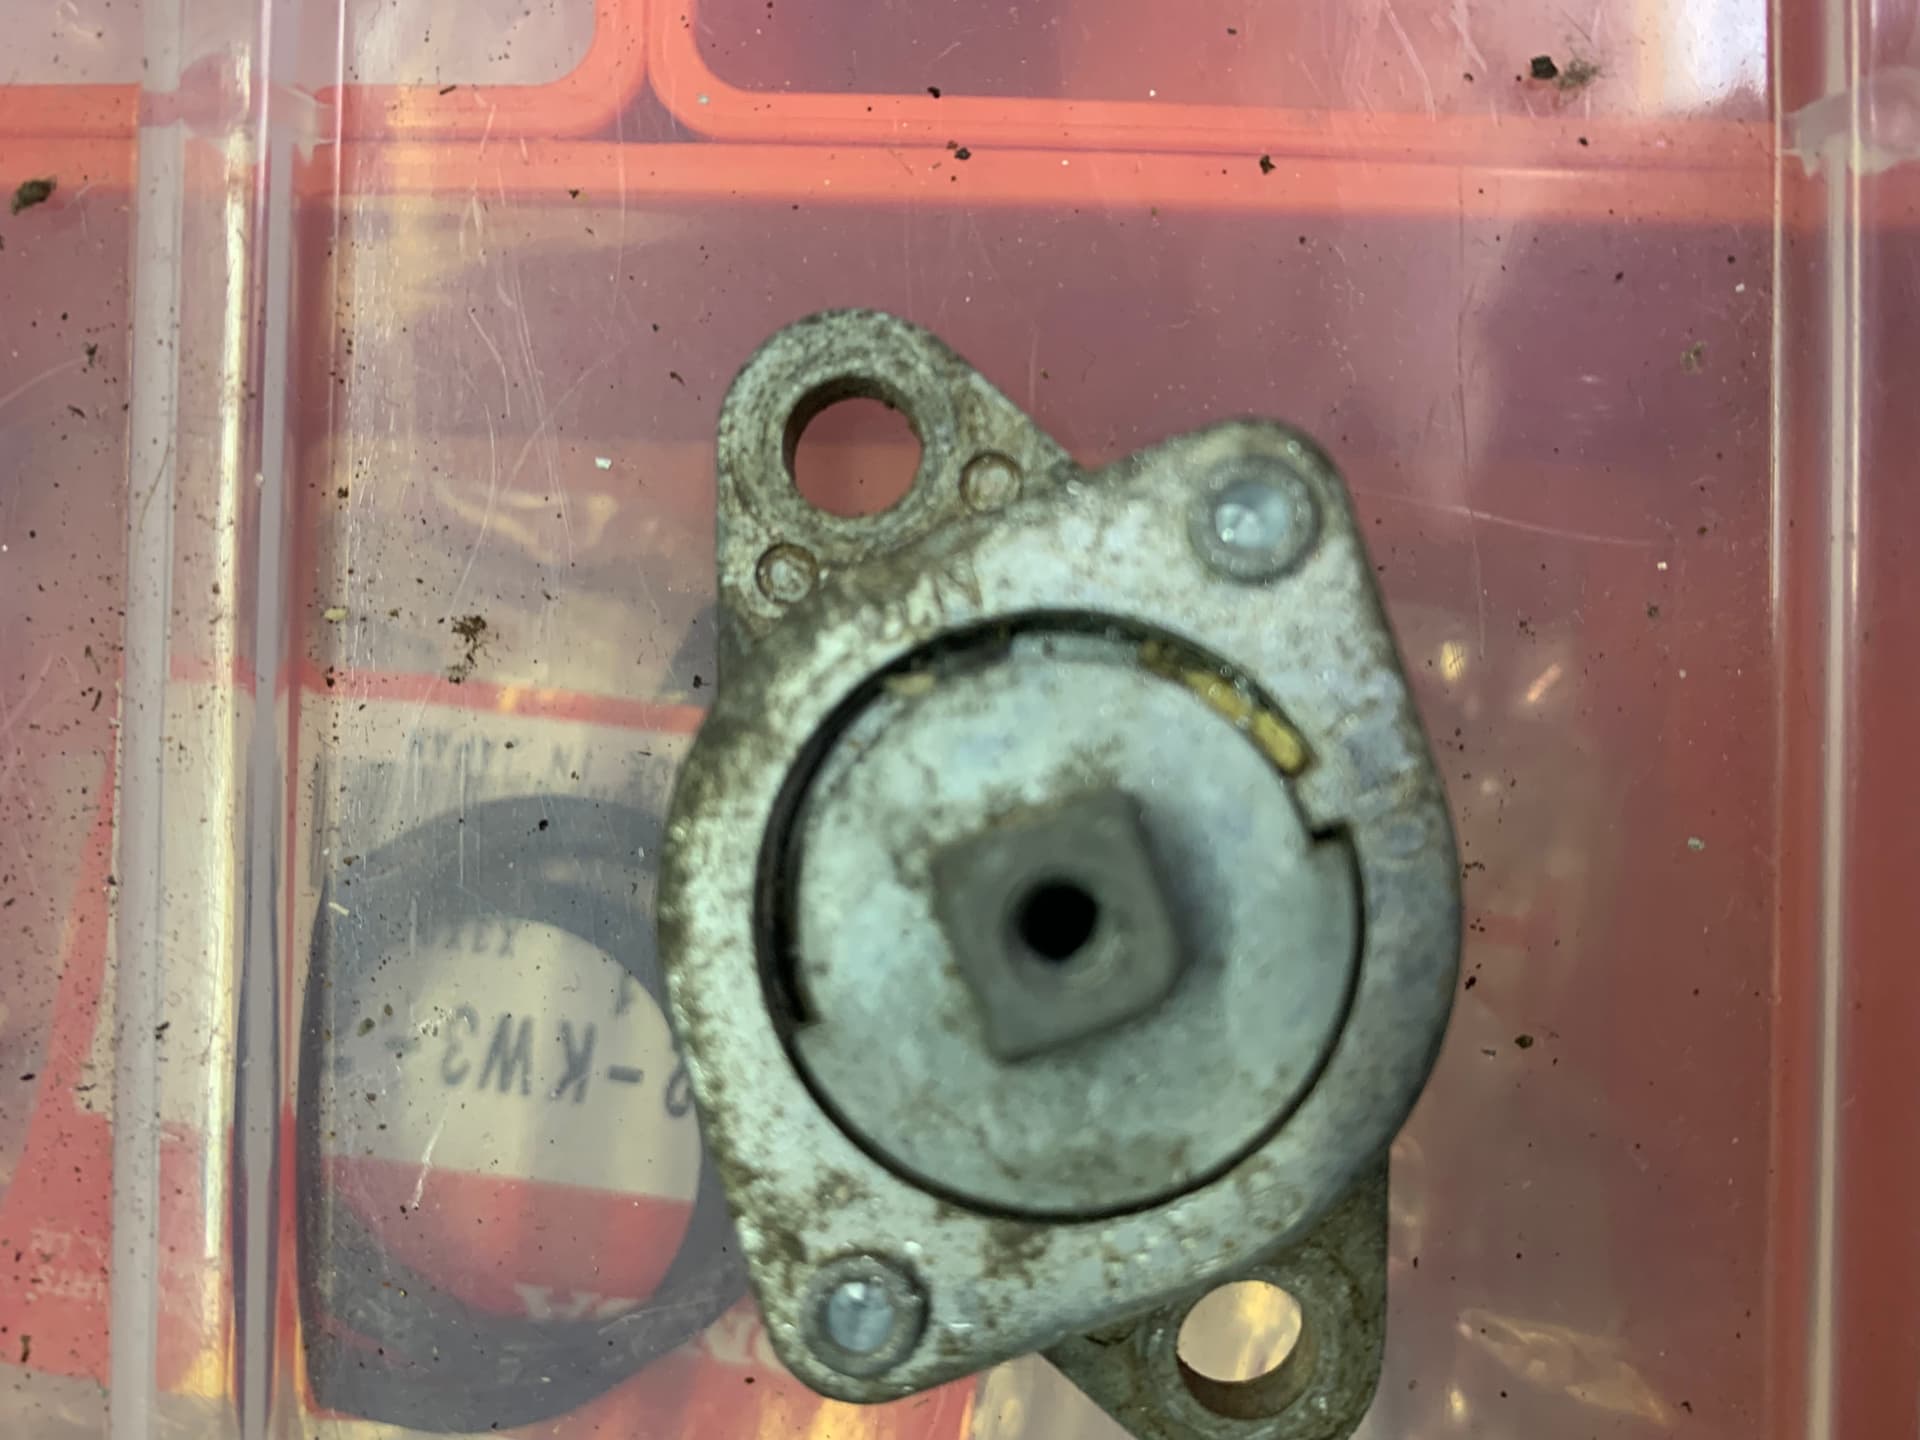
These are not rivets but part of the alloy casting,so using a 7mm drill I drilled off the head of each “rivet”
It was easy to lever the steel retaining plate up off the the remaining posts
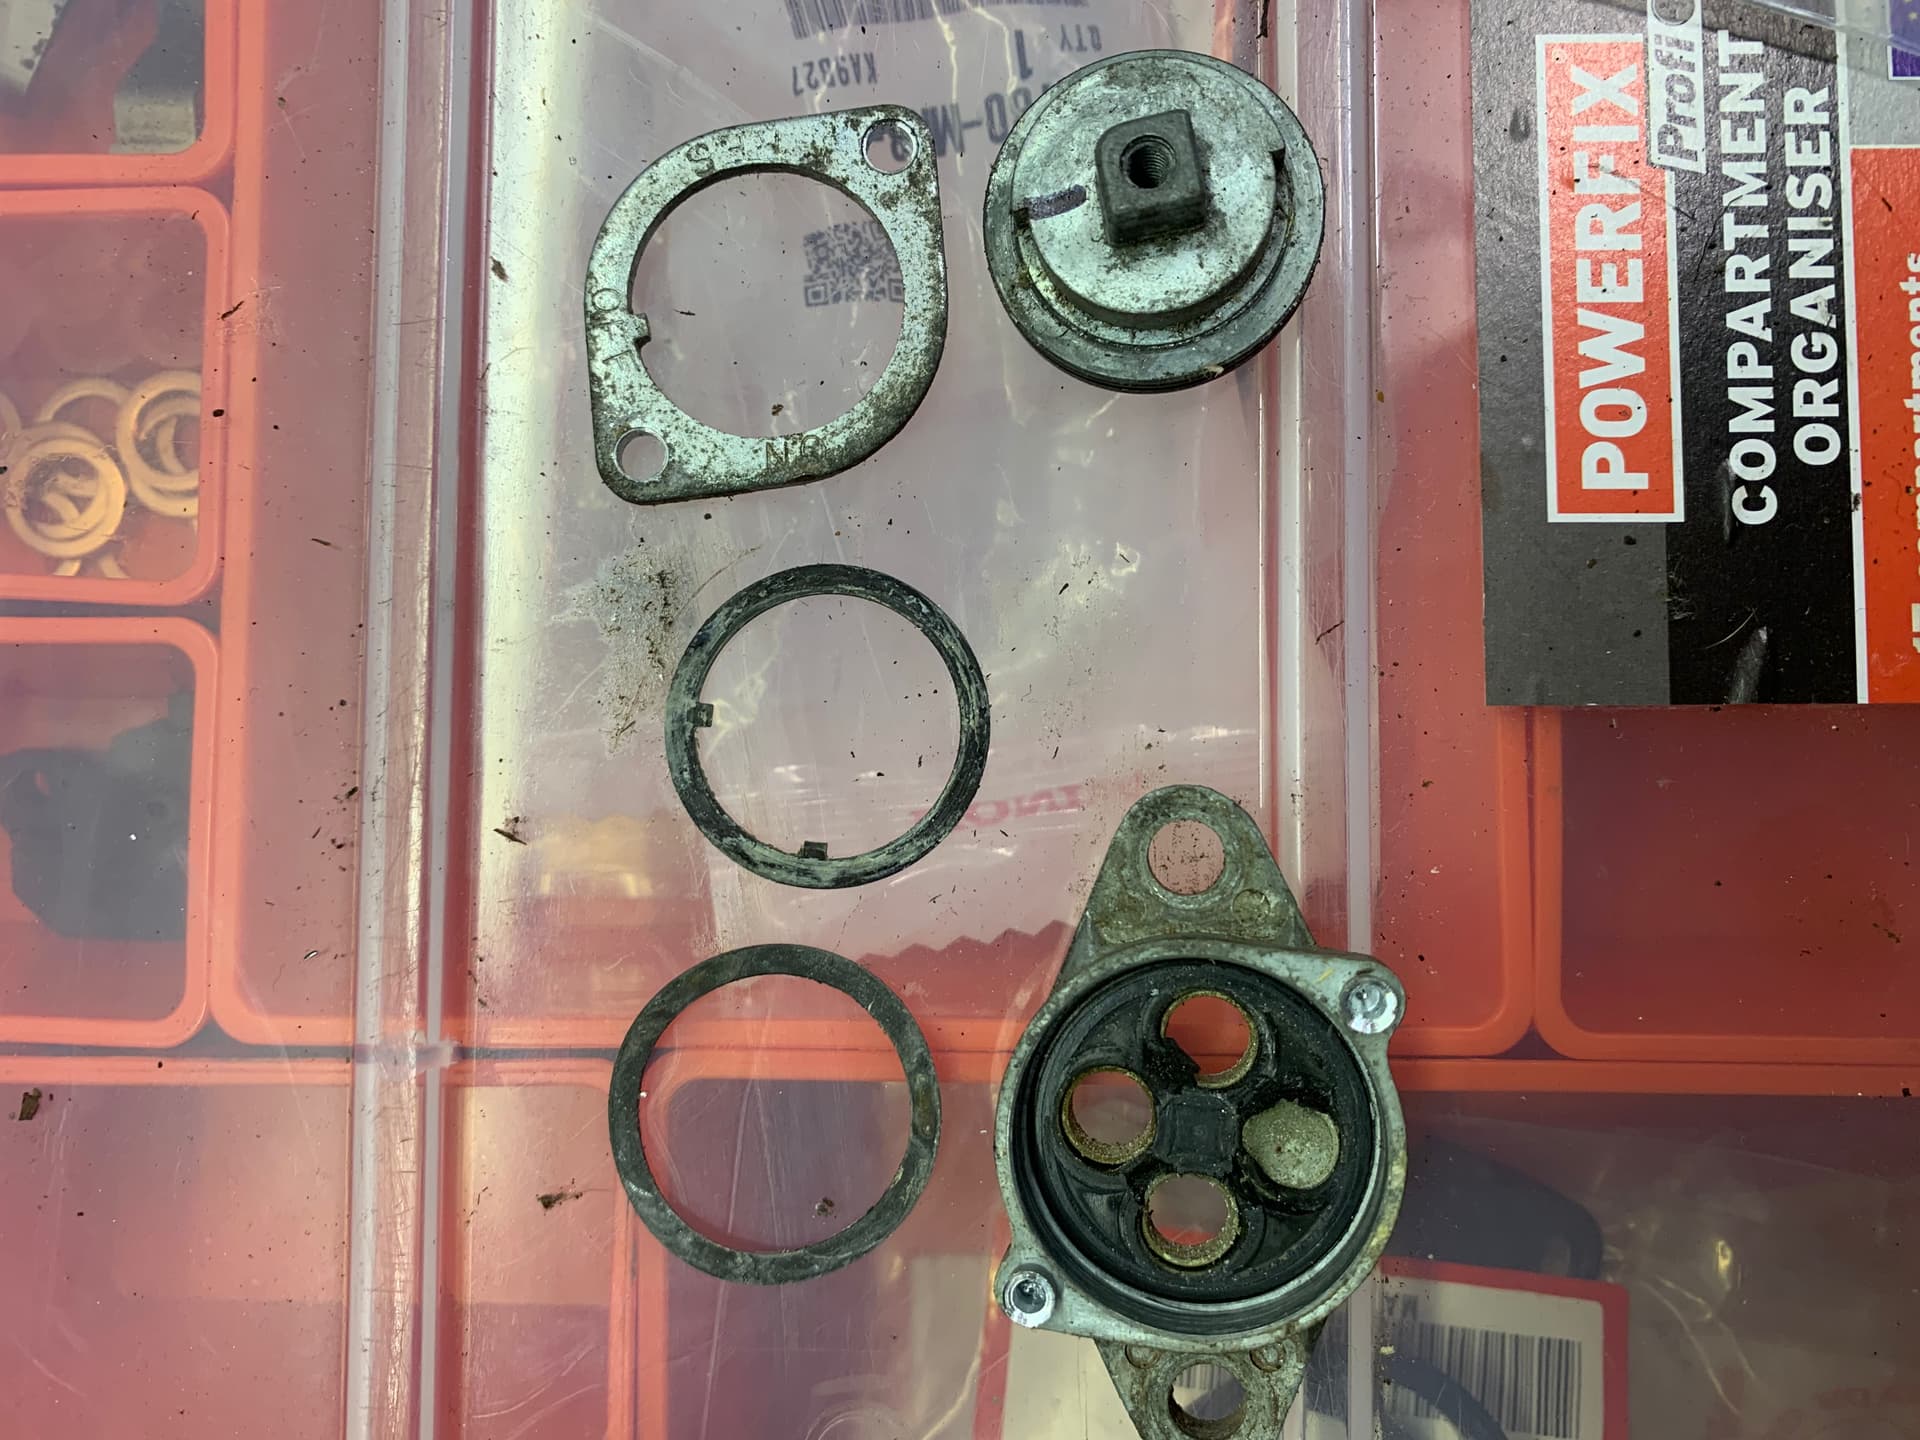
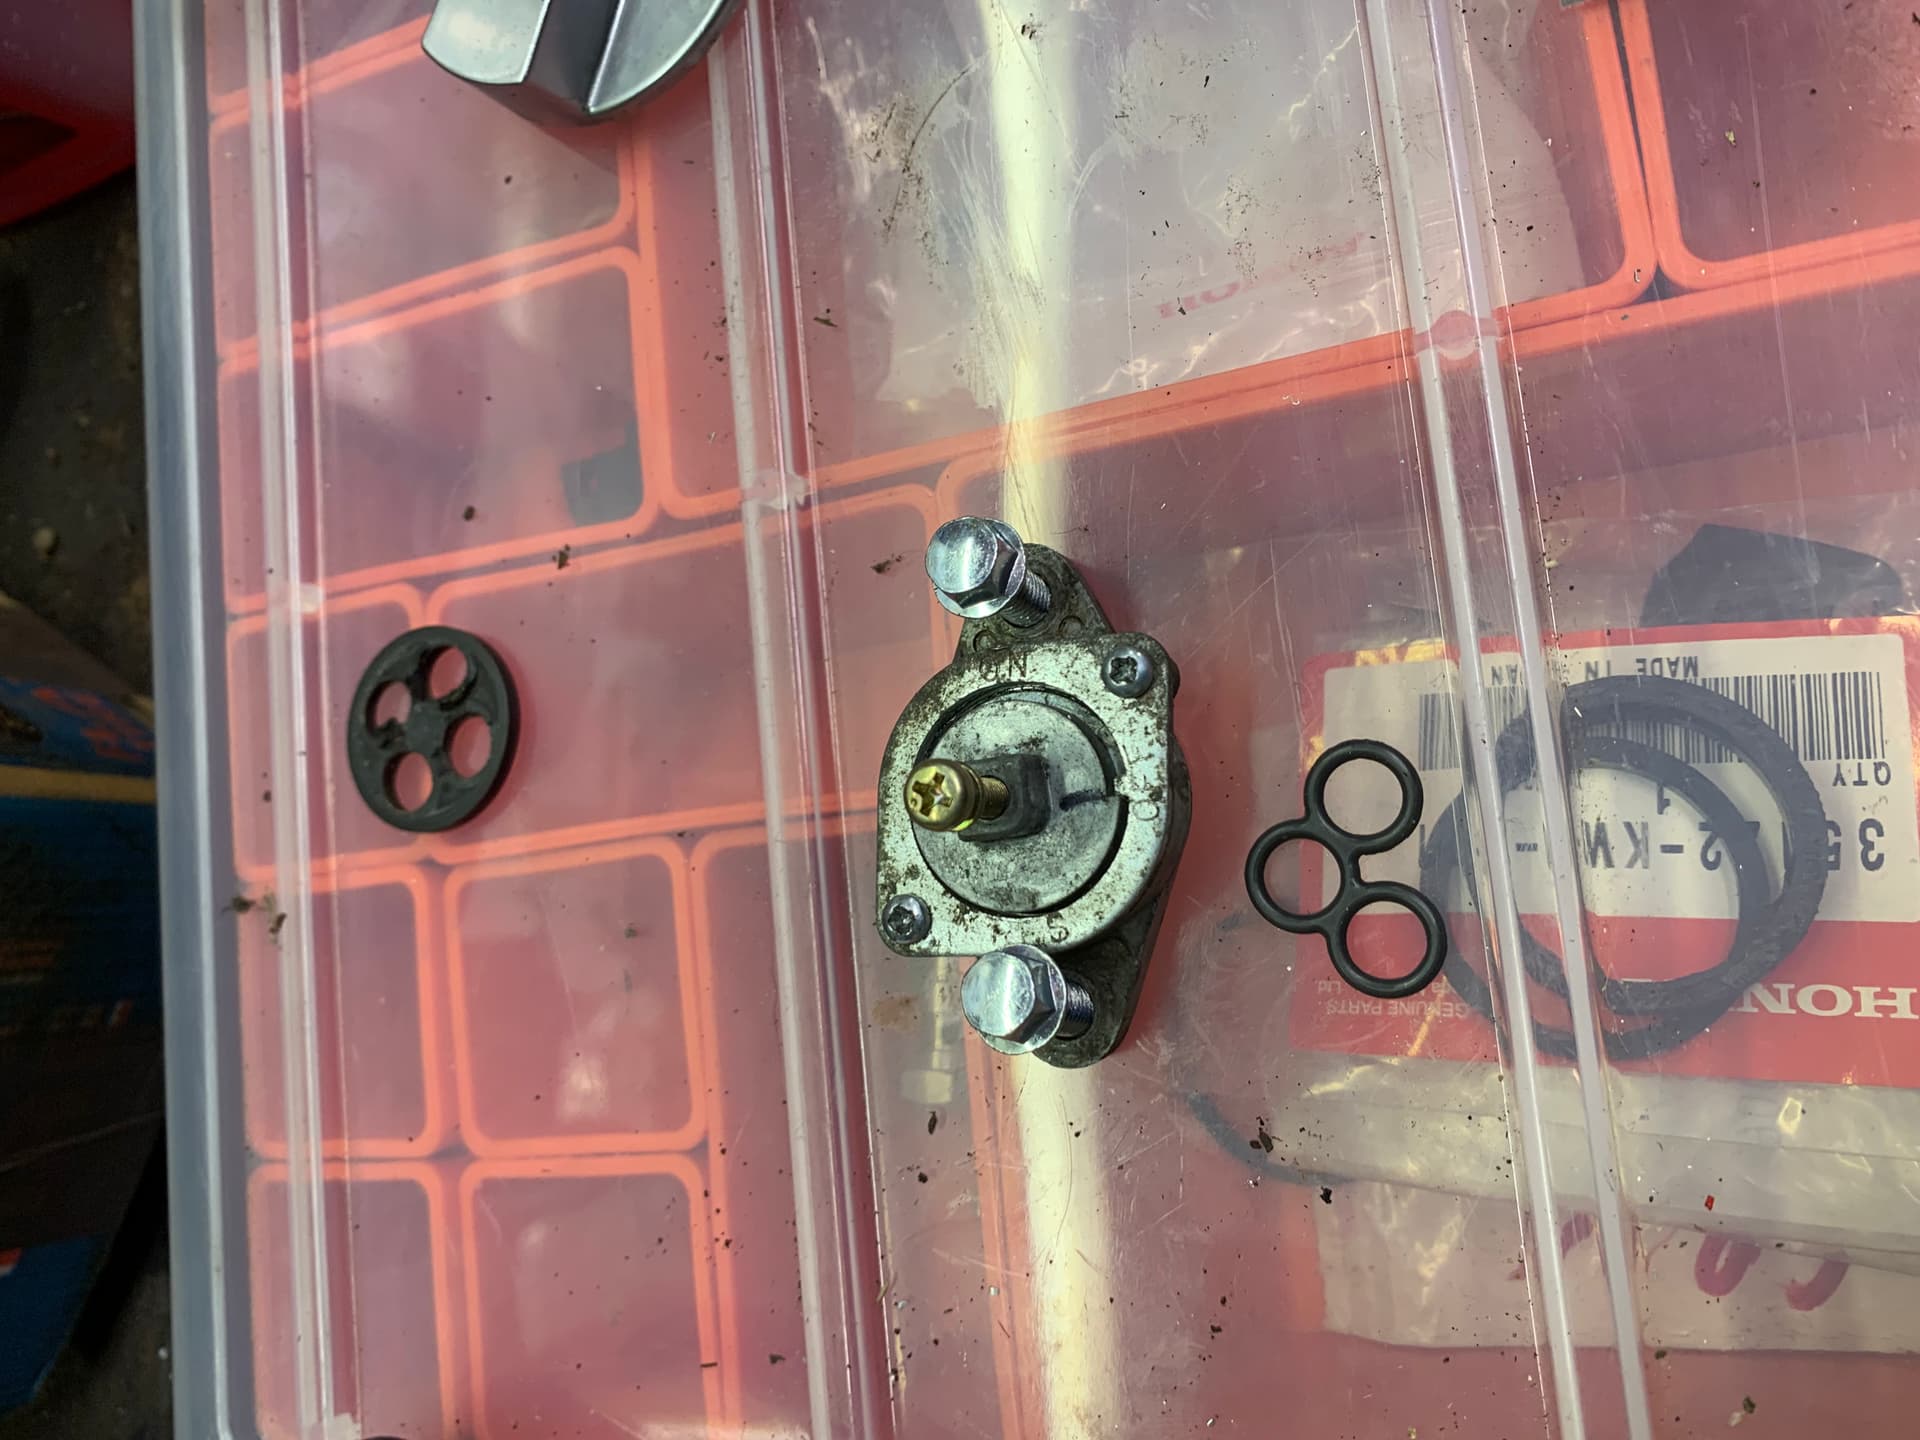
It is obvious now why the tap was leaking
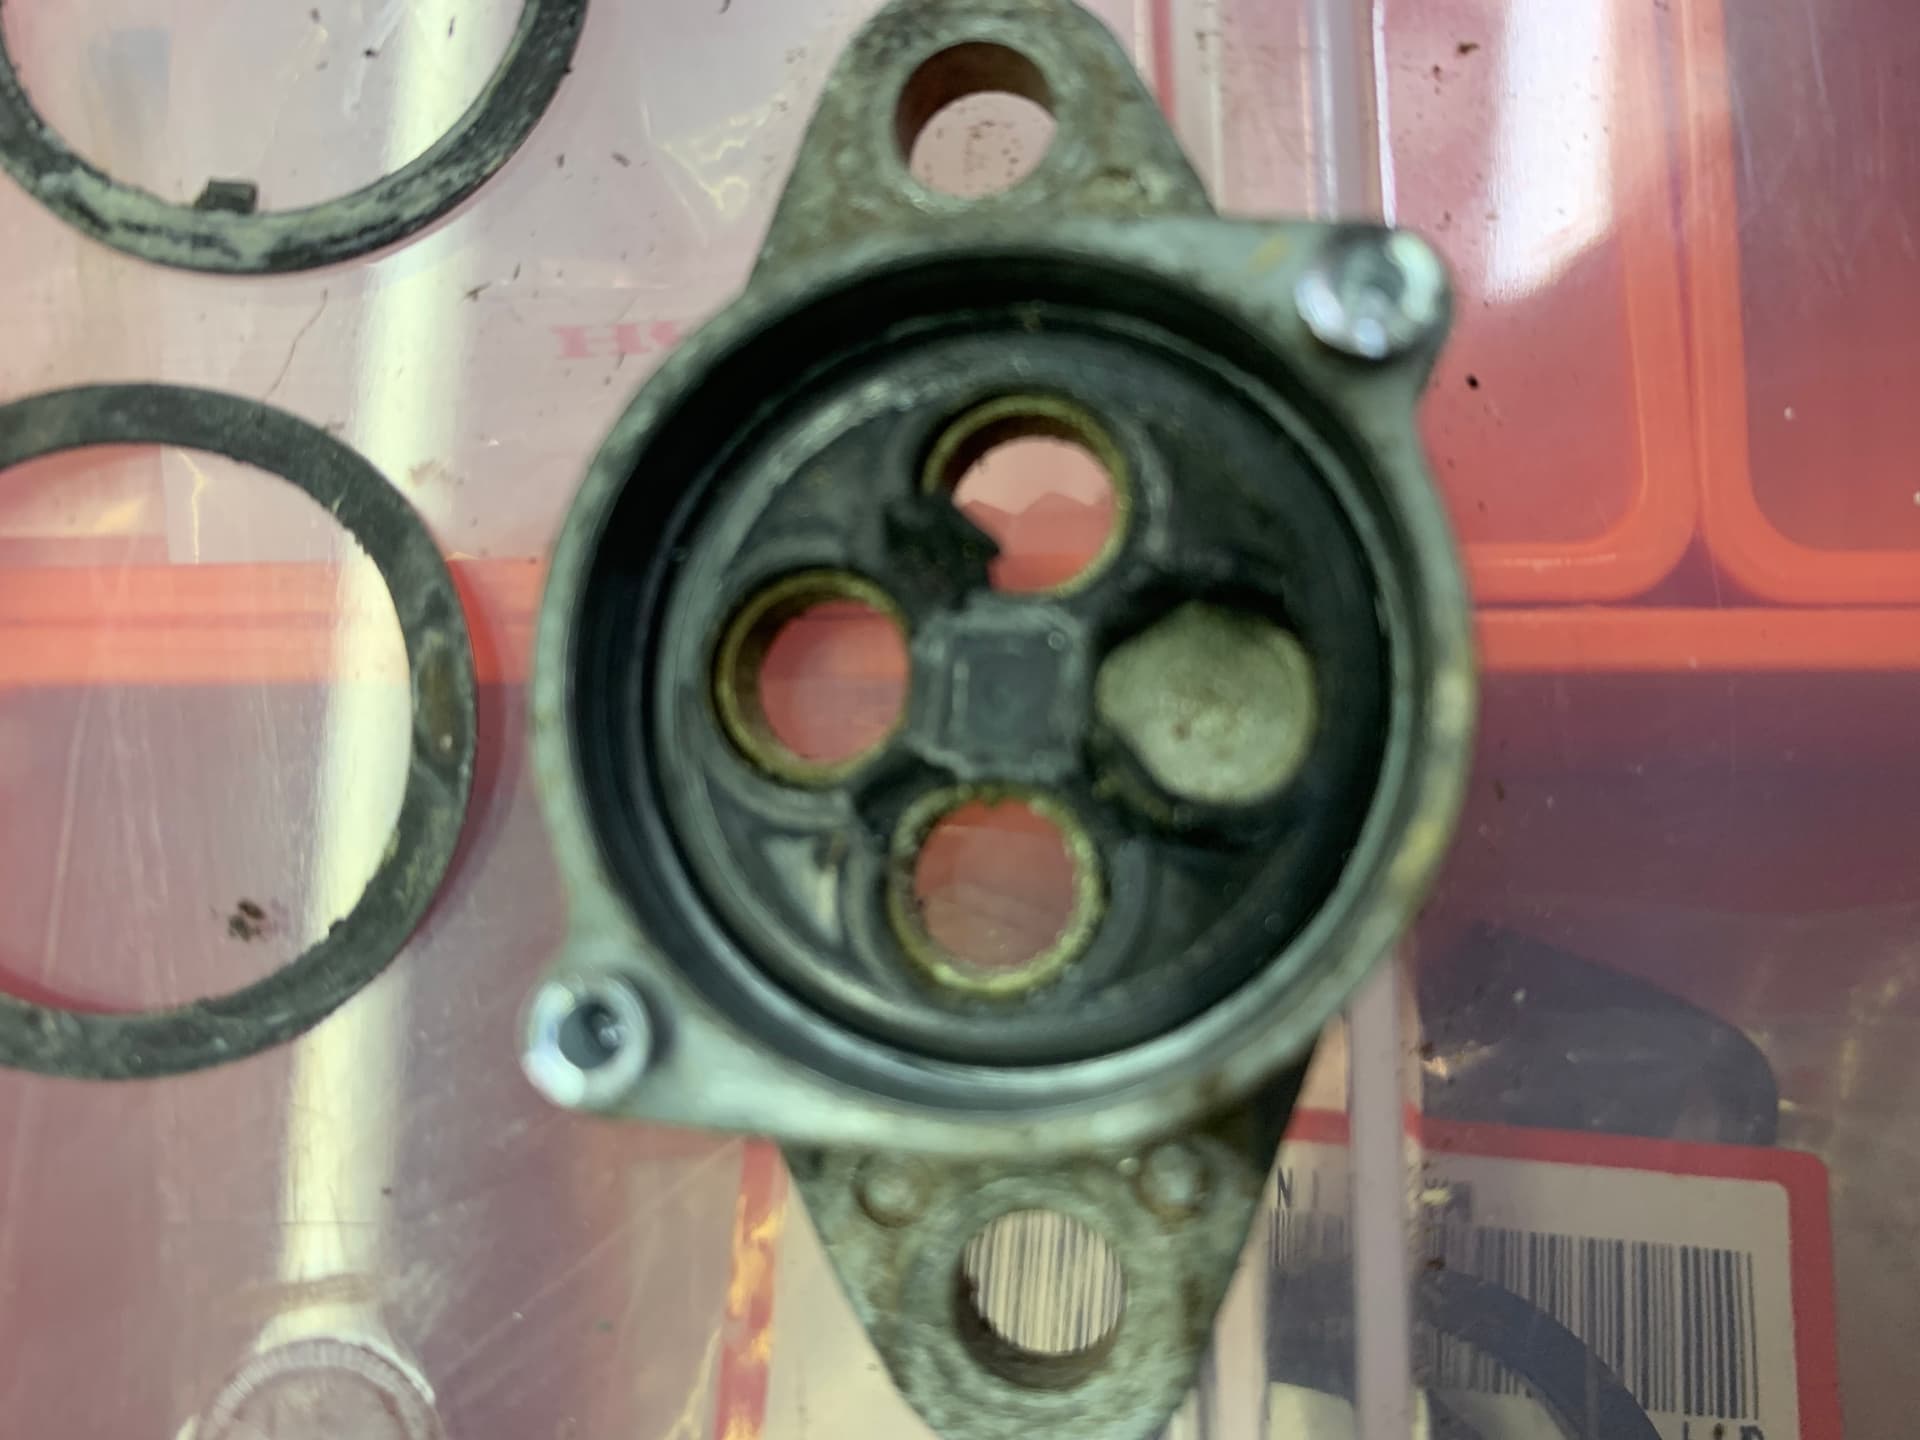
I had marked the parts so everything would align with the tap in the off position,so after replacing the outer seal on the tap centre I gave all the rubber components a wipe over with rubber grease and reassembled replacing new for old in the order I had laid out.
I placed the steel retaining plate over the posts and screwed the small self tapping screws in until the plate was tight to the body.
Job done
Nice explanation and photos Bif.
Overhauled mine in the same way and the leak cured. Rust flakes had destroyed the seal.
I did find that the tap is very hard to rotate now.
Did mine about 12 months ago. The tap is quite hard to rotate but more importantly it still leaks a little. I suspect too much pressure has ruined the new seal as well.
Good to have feedback on the repair,I have fitted the tap I overhauled to my project and feel myself it is a lot stiffer than standard.
Perhaps I will try shimming the front plate up a little on the next one to make it easier to turn but still be fuel tight
Instead of using the self tapping srews, I drilled a 2.4 mm hole and cutted a 3mm thread on my VFR400 tap.
Don’t drill “free hand” - use some vertical drill maschine. Use the small holes to have your drill centered.
The housing is zinc or alloy - be aware your drill tend to brake more easily
You have to shorten the 2 stubs a little bit , so the srews have some pressure on the plate for better sealing. But you need them to align the plate properly.
Axel
P.S.: for UK people NRP Carbs may be cheaper than All Balls due to lower P&P.
Further to my previous post on the petcock being hard to turn after repair I found the problem was the seal that sits in the groove in the handle mechanism. This was so tight I could hardly turn it at all even after lubing it.Took it apart and the seal is too thick and causes the tightness.Seems this seal is not the same as OEM one.
I took a a fine rotary sanding tool on my Dremel and gently honed the inside rim of the petcock where the seal sits. Finished off with a polishing with 2000 grit paper. A bit of grease and back together again.
Works easily and smoothly now.